When Block
When block let's you start an automation when something happens in your system.

Table of contents
🎬 Video tutorial
Using multiple when blocks
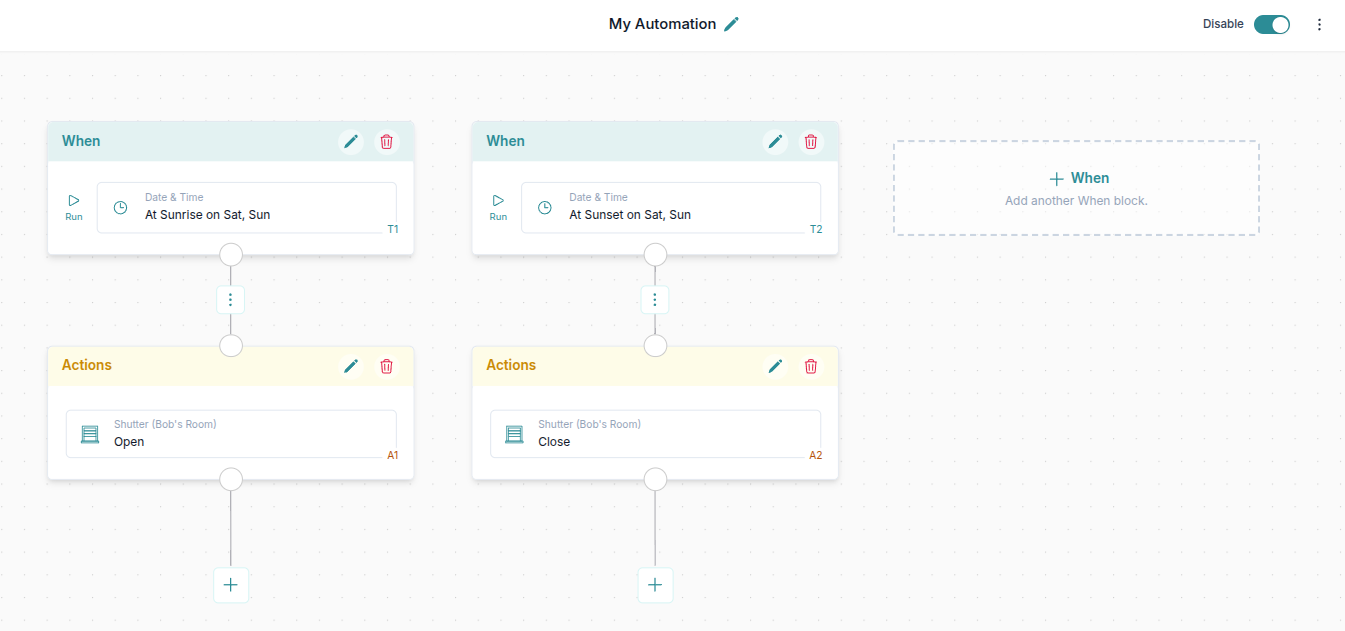
You can setup multiple independent flows in the same automation. Simply create additional When blocks. This is useful when you want to create multiple automation flows as a part of a broader automation that you want to do and you want to keep everything in one place.

Trigger types
There are multiple types of triggers available:
1. Time, Date, Sunrise & Sunset
You can start an automation based on the time or date in the system.
Possible options:
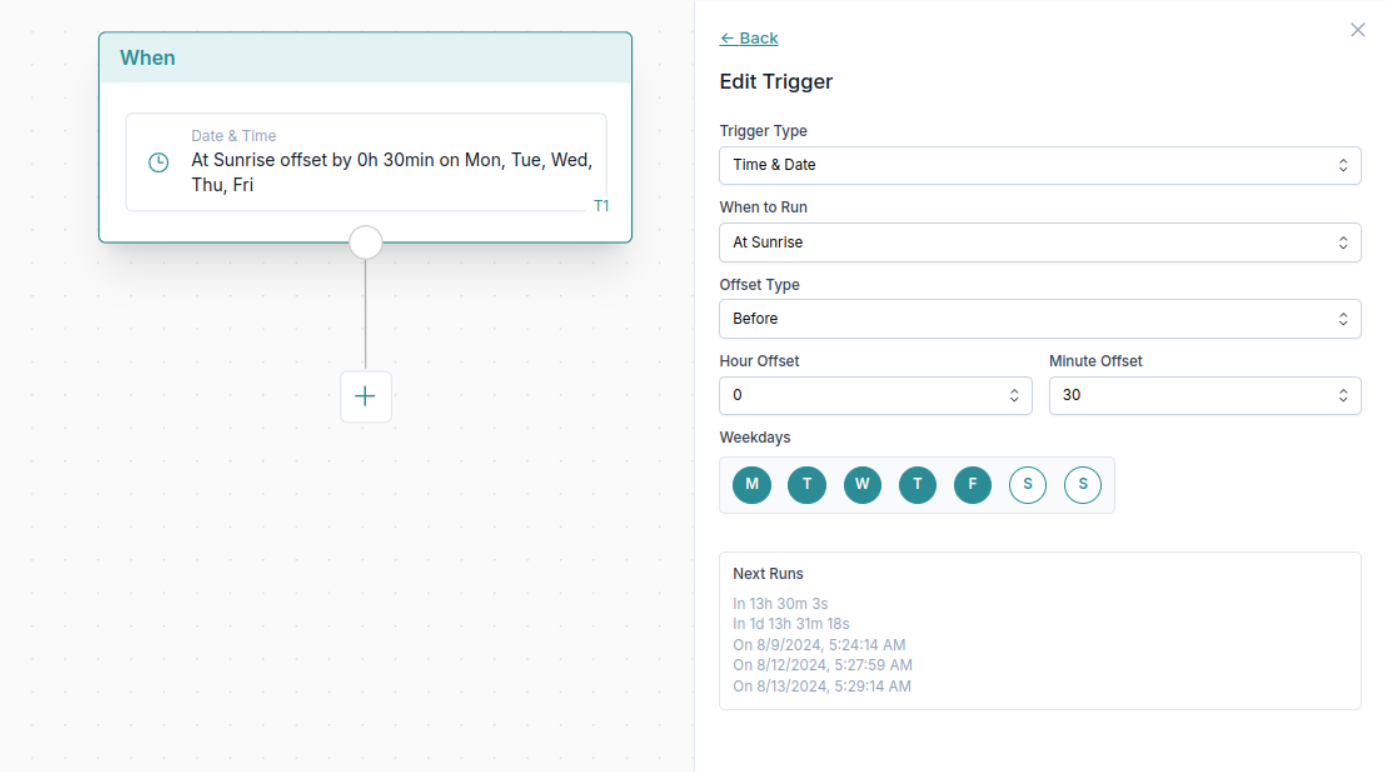
Day of the Week- run on selected days of the week at a specific timeAt a Specific Date- run at a specific date at a specific timeEvery Month- run every month on a specific day and timeEvery Hour- run every hour at a specific minute, for example every hour at 30 minutesEvery Couple of Minutes- run every couple of minutes (customizable)Every Minute- run every minuteEvery Couple of Seconds- run every couple of seconds (customizable)Sunrise & Sunset- run on a sunrise or sunset at specific days of the week, with a possible before or after offset (up to 4 hours offset). You can also manually set the time & location of the device in case the automatic settings are not accurate enough.

Example: During the week automation trigger.

Example: At sunrise automation trigger.
A preview of when the next automation will be run is also shown (see image above).
2. Device change
You can start an automation when a device state changes.

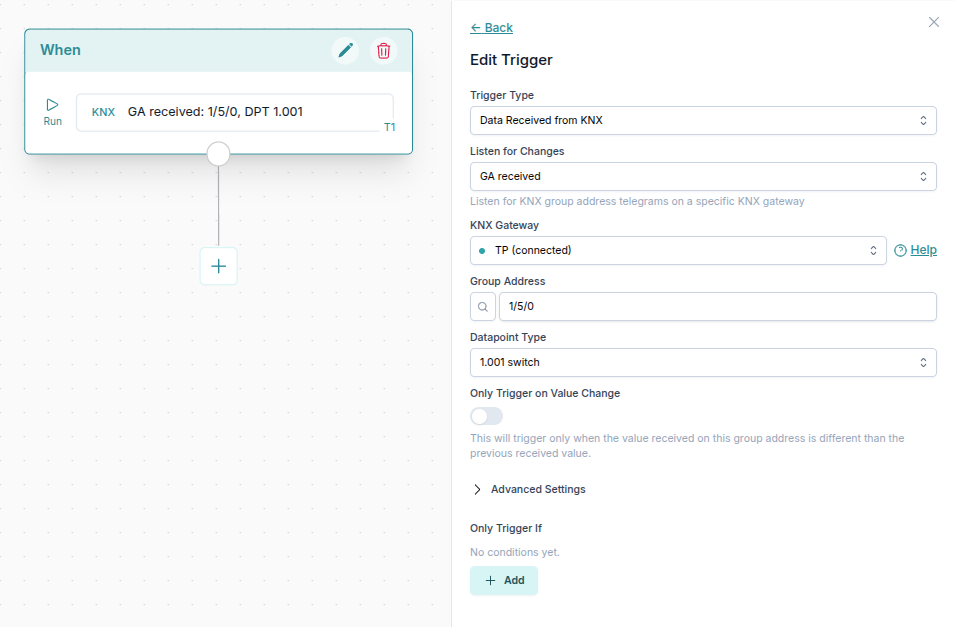
3. Listen for KNX telegrams
You can listen for KNX telegrams received on specific group addresses and gateway and use the received value in the automation.
Learn more in the Working with KNX in Automations guide.

Using conditions within triggers
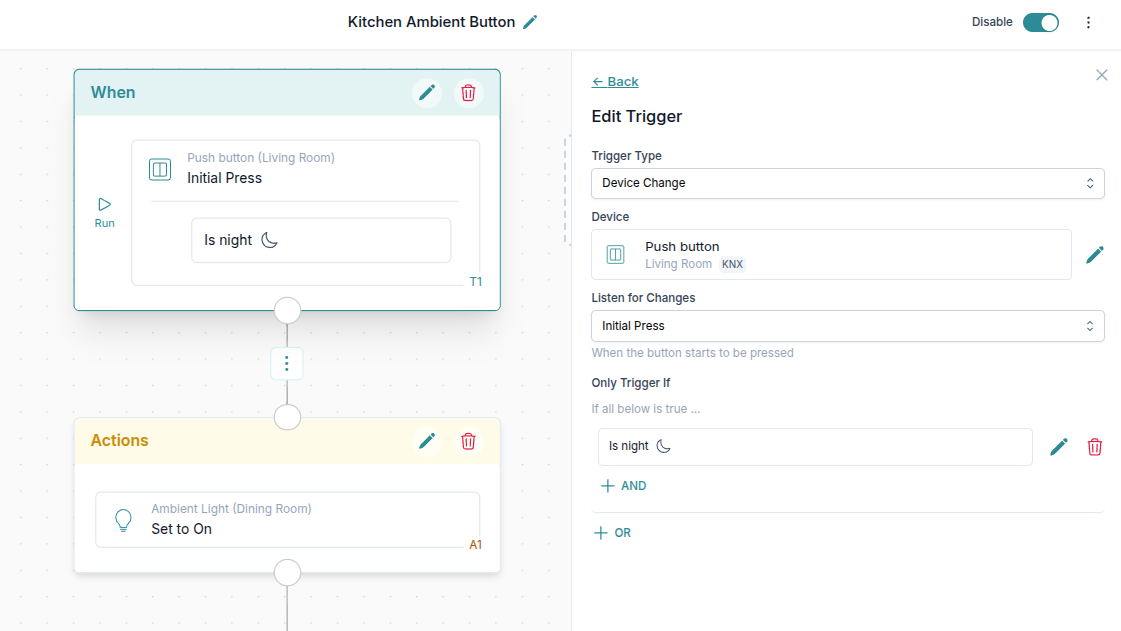
In device and KNX triggers you can directly add conditions. For example you can check if the motion is actually detected, or if it is currently night.
See Conditions block to view all types of conditions that can be used.

Listening for multiple triggers in the same When block
You can listen for multiple triggers in the same automation.
⚠️ Only one of the triggers needs to be triggered for the automation to run.

Both
Date & Timeas well asDevice Changeare used as a trigger, but only one will be triggered and thus have data.
Using trigger values
Note that if multiple triggers are used, only the trigger that was triggered has a valid value set that you can use in the automation. You can always check which trigger was triggered by using dynamic data of the trigger (triggered value). See how to use Dynamic Data.
Using trigger value in automation
Value received in the trigger can be used later within the automation.
It can be used in the Dynamic inputs as shown below. You can quickly identify from which trigger the value was taken by looking at the tag (T1 in example below).

⚠️ Note that if multiple triggers are used, only the trigger that was triggered has a valid value set that you can use in the automation. You can always check which trigger was triggered by using dynamic data of the trigger (
triggeredvalue). See how to use Dynamic Data.
Learn more about Dynamic Data in the Using dynamic data guide.