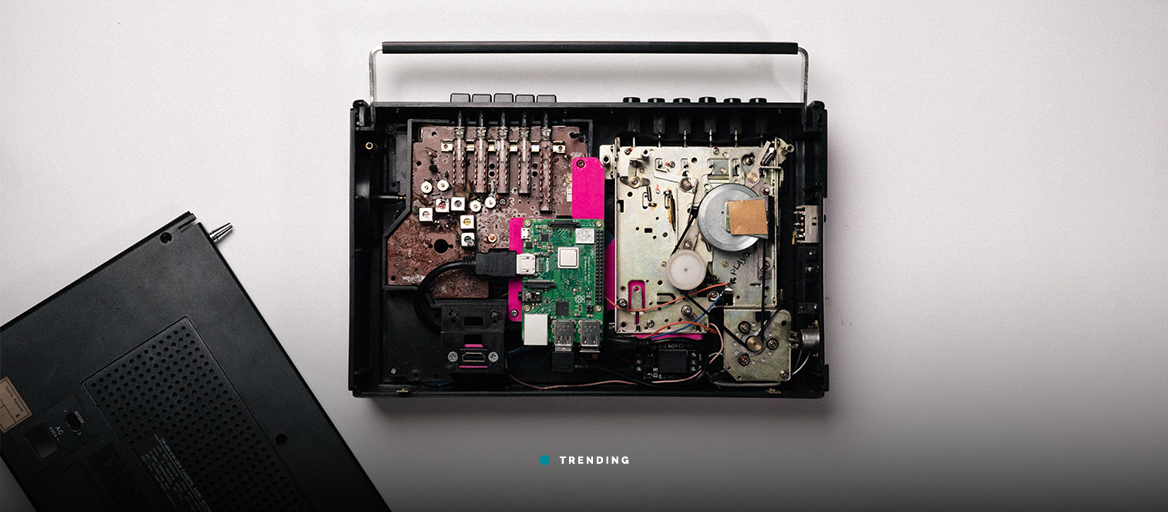
What?
Cassette tapes from the last century mixed with the state-of-the-art tech of today?
I know this sentence makes no sense when you first hear it but believe me it’s possible and it makes for a fun DIY project anyone can try.
So, do you want to know how I made an old cassette player 10 times smarter?
A few years ago, I came across an article on how to build a Raspberry Pi jukebox using NFC cards. It works by placing the NFC card near the reader which triggers music playing on a sound system. I always thought that that idea was nice, but I felt like something was still missing. I wanted something old-school looking but also technologically advanced.
I started eyeballing old cassette players that I could turn into a smart music player. Since I didn't want to commit to yet another project, it was always stuck at that “just looking” phase.
Fast forward a few months and we are having a Secret Santa party at the 1Home office. I had no idea what I should put on my wish list and then that old-school cassette player popped into my brain. I put it on the list just for fun even though I wasn’t really counting on my Secret Santa to acquire it for me. Yet there it was on Christmas Eve.
I got a nice Conic cassette player from the 80s with a radio that was still in decent shape and working fine. I felt a little bit sorry for gutting it, but some sacrifice had to be made to make this project run.
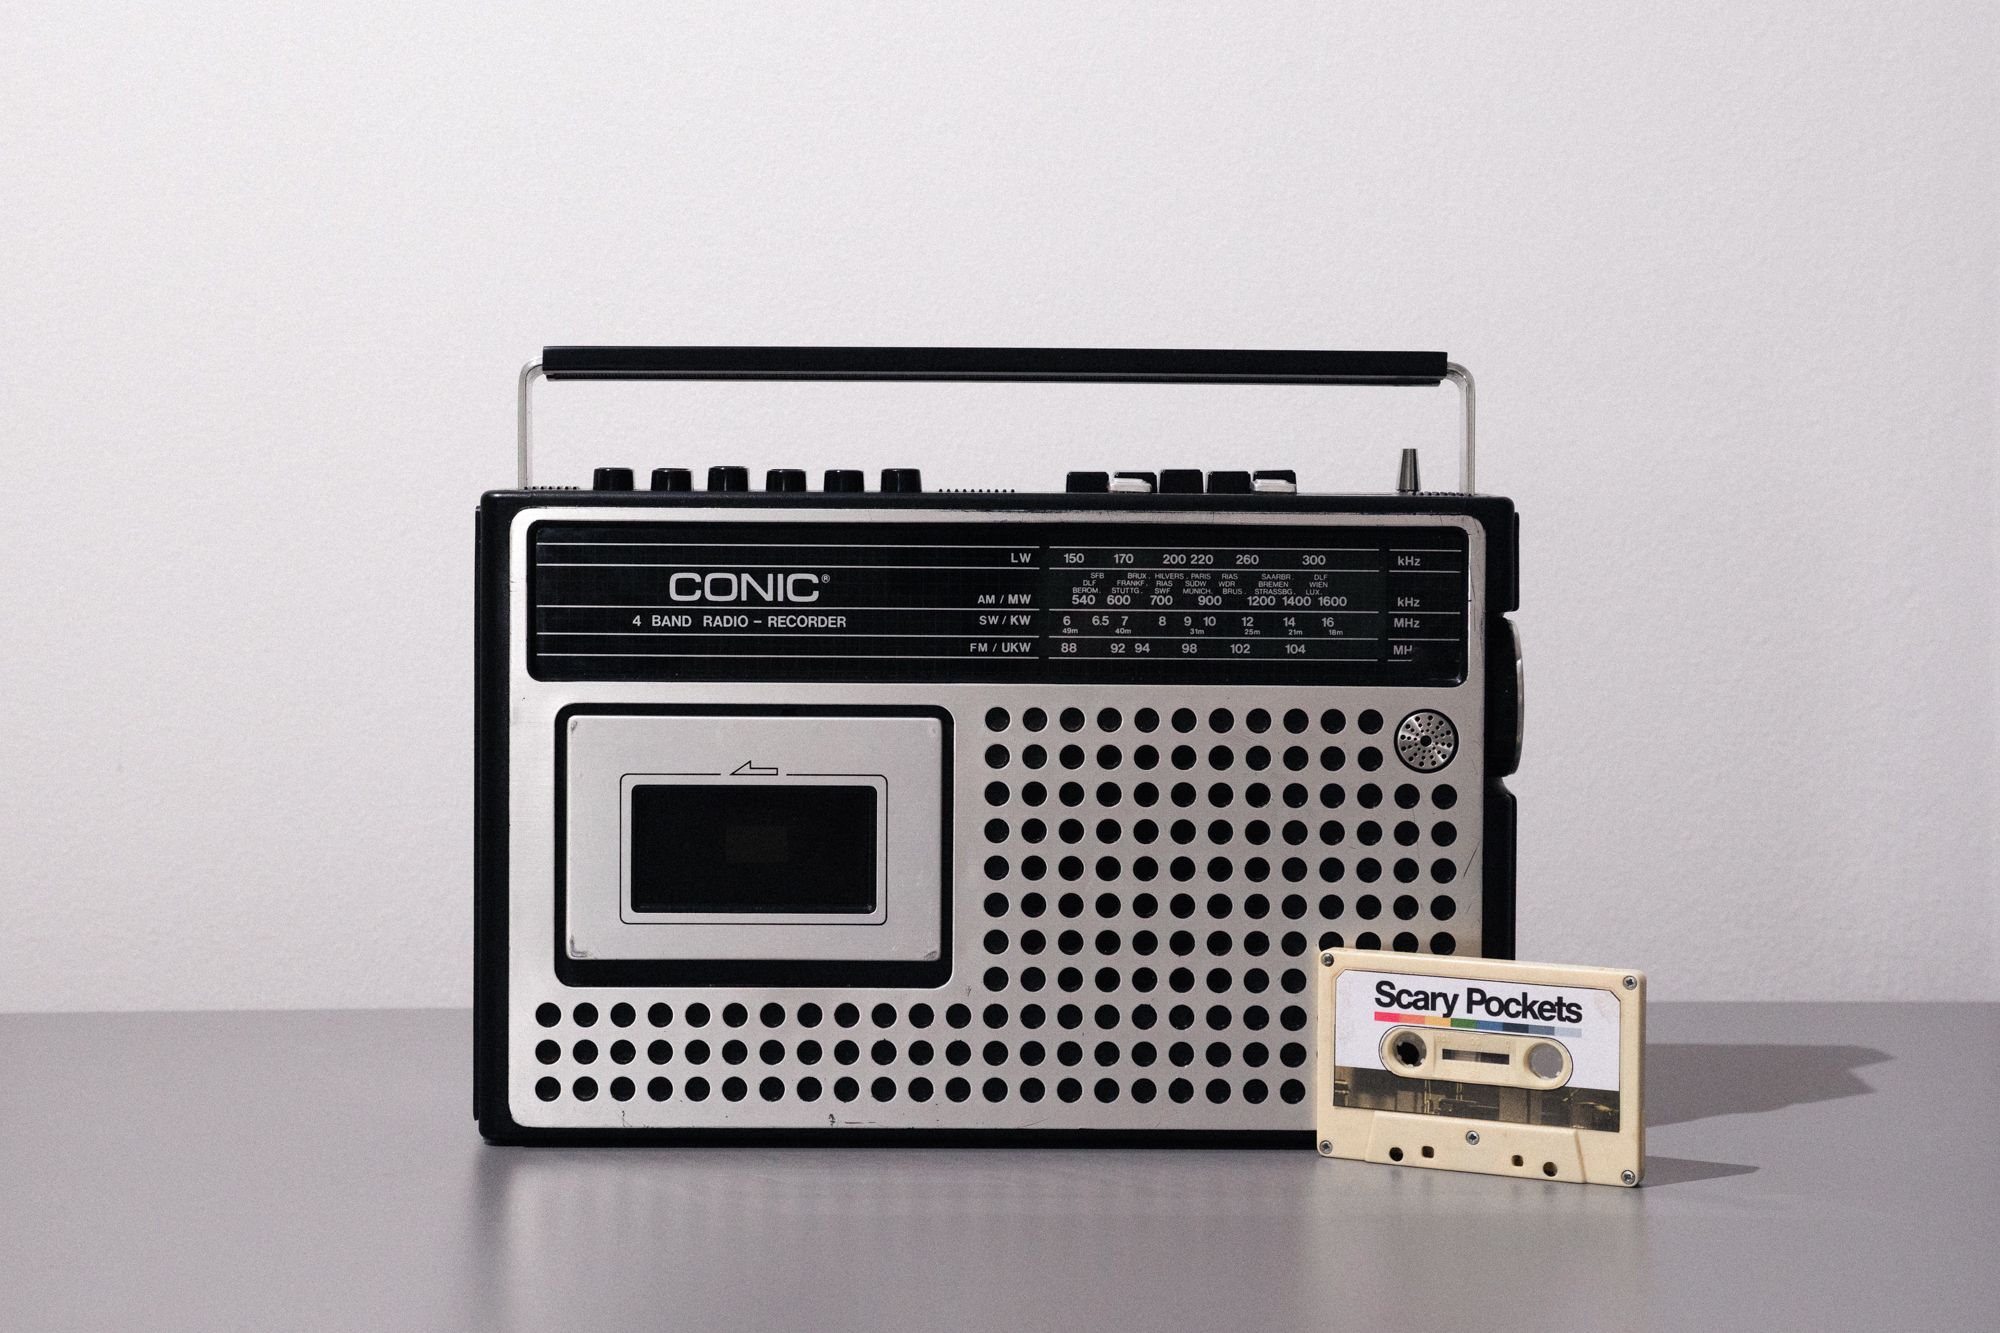
The plan was to create a cassette player that would play music on Chromecast devices when an NFC-tagged cassette would be inserted into it. Each tape would have a different NFC tag with each representing a different album, artist, or playlist to play. Since the cassette player was capable of playing AM/FM radio too, there was also the option to support playing different radio stations via the Chromecast devices, based on the input selected on the player.
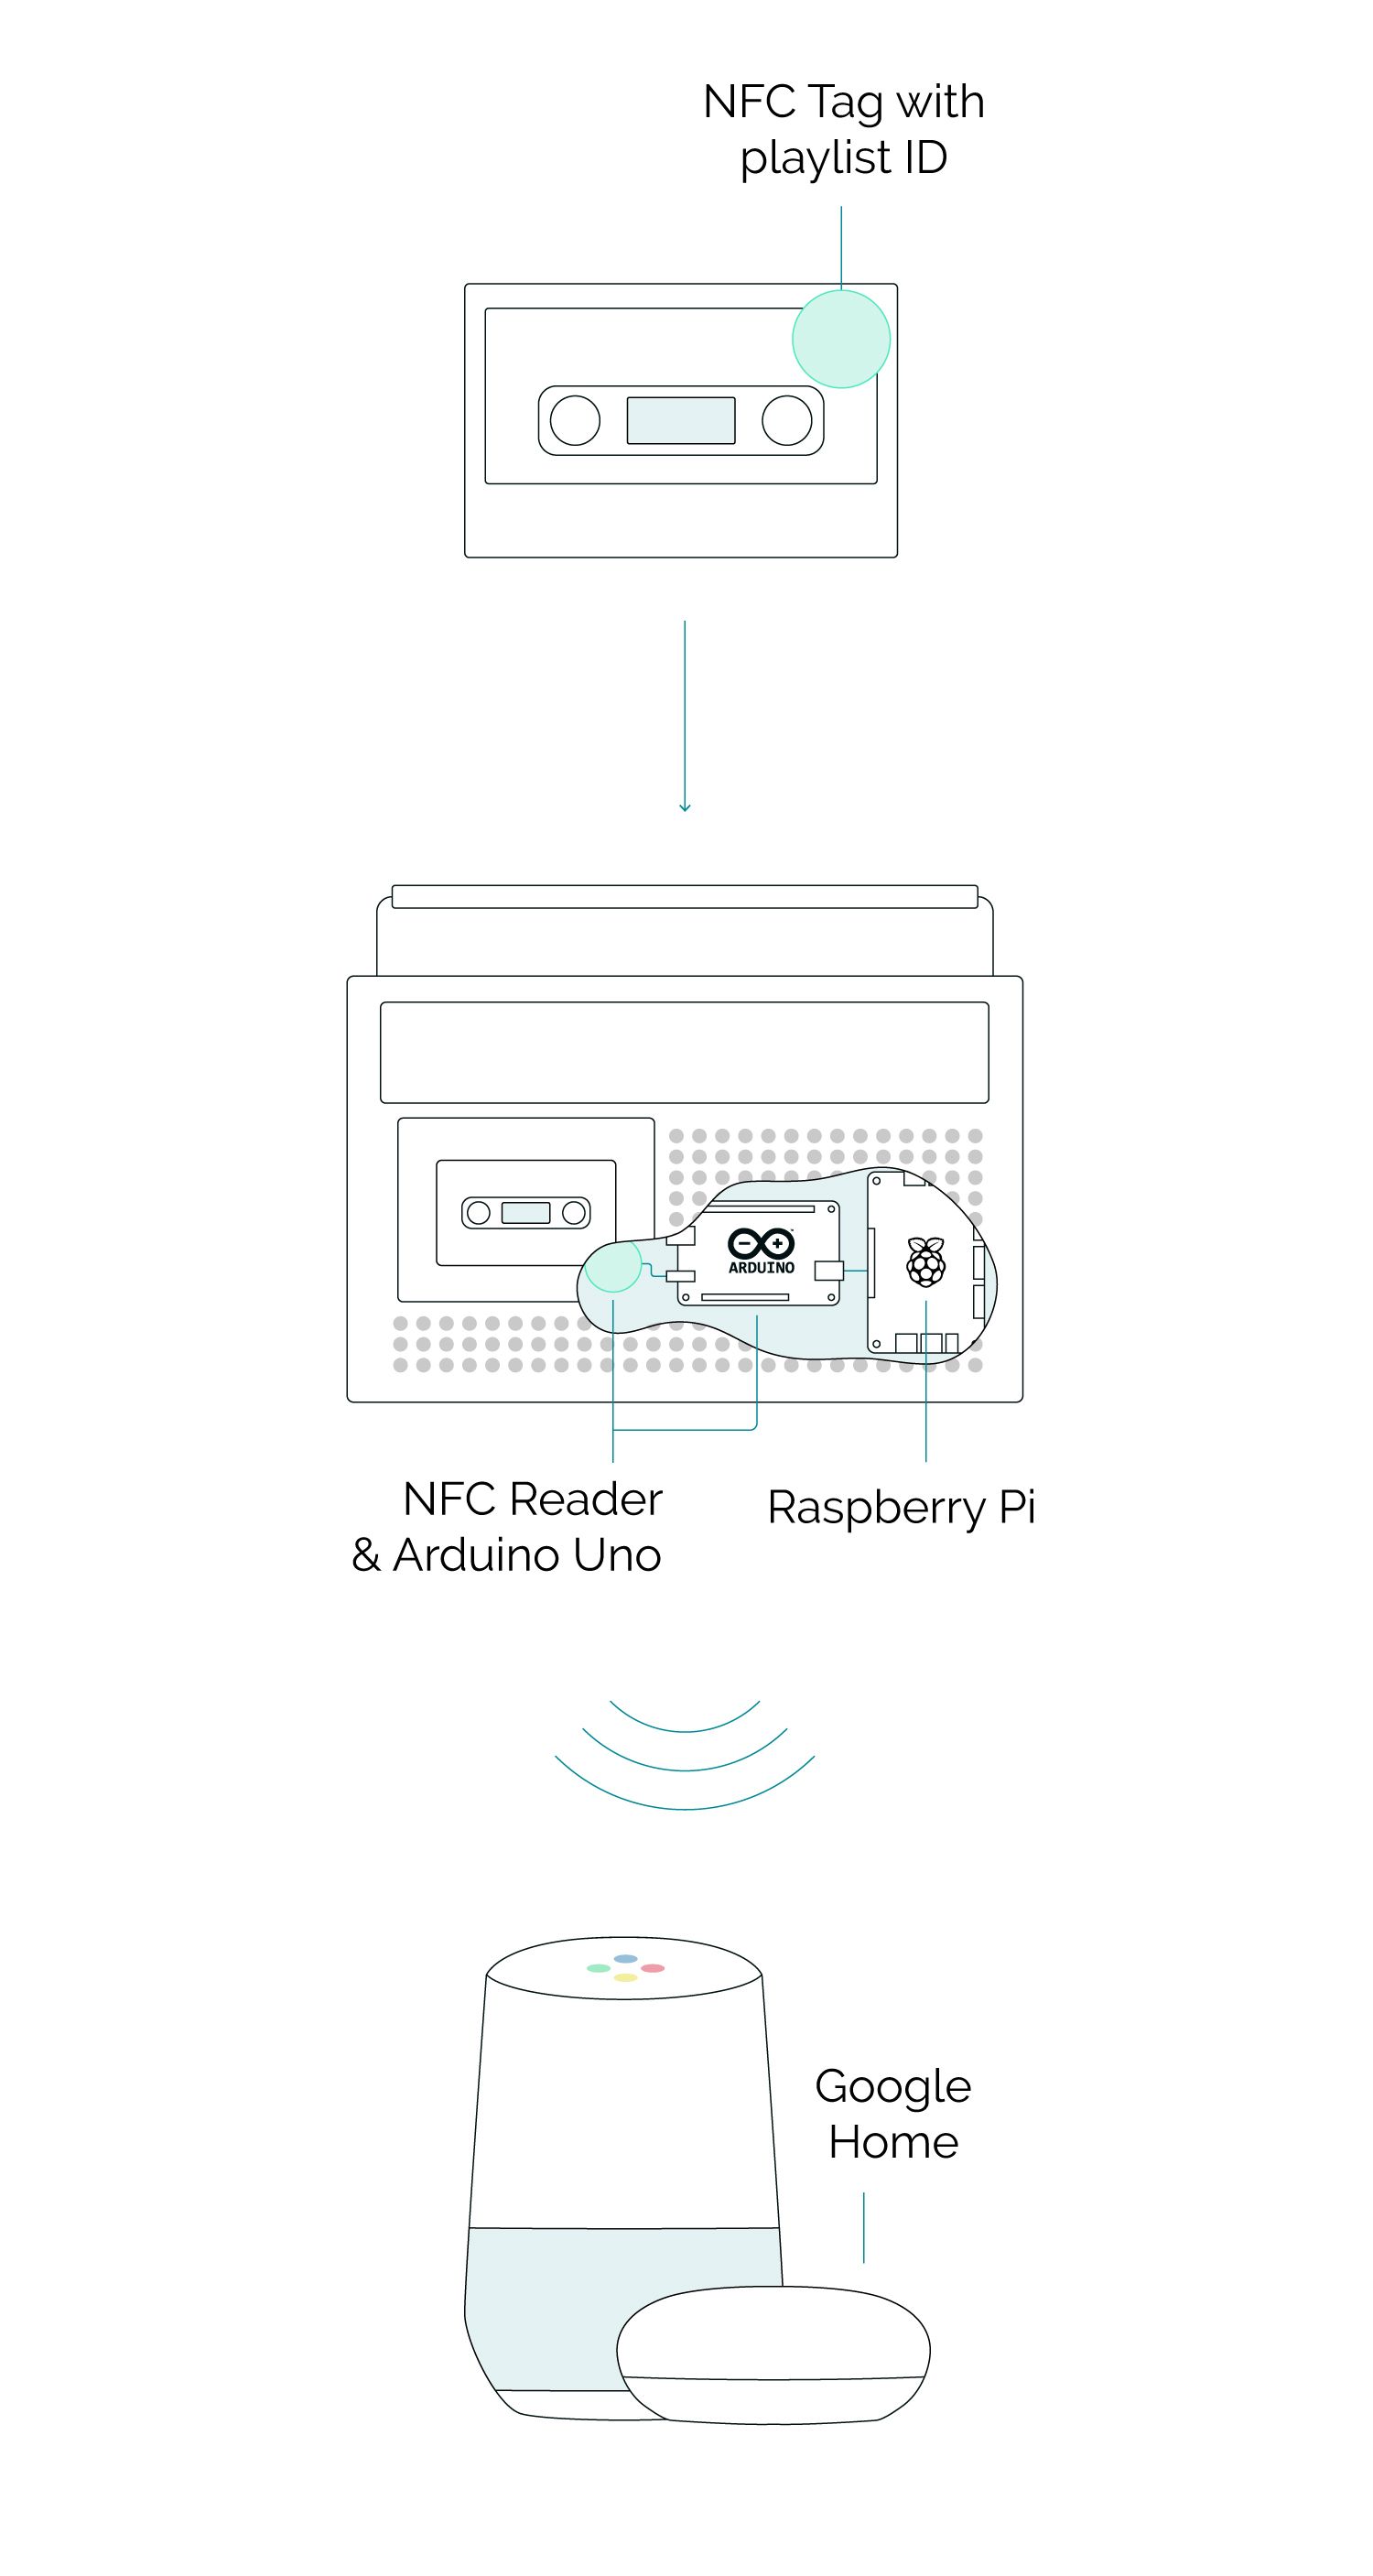
To achieve this, I would need Raspberry Pi as the main unit with software that would control the playing of music or radio stations on the Chromecast device.
This software would also communicate via Serial over USB with Arduino board, to which I would connect electronic parts such as:
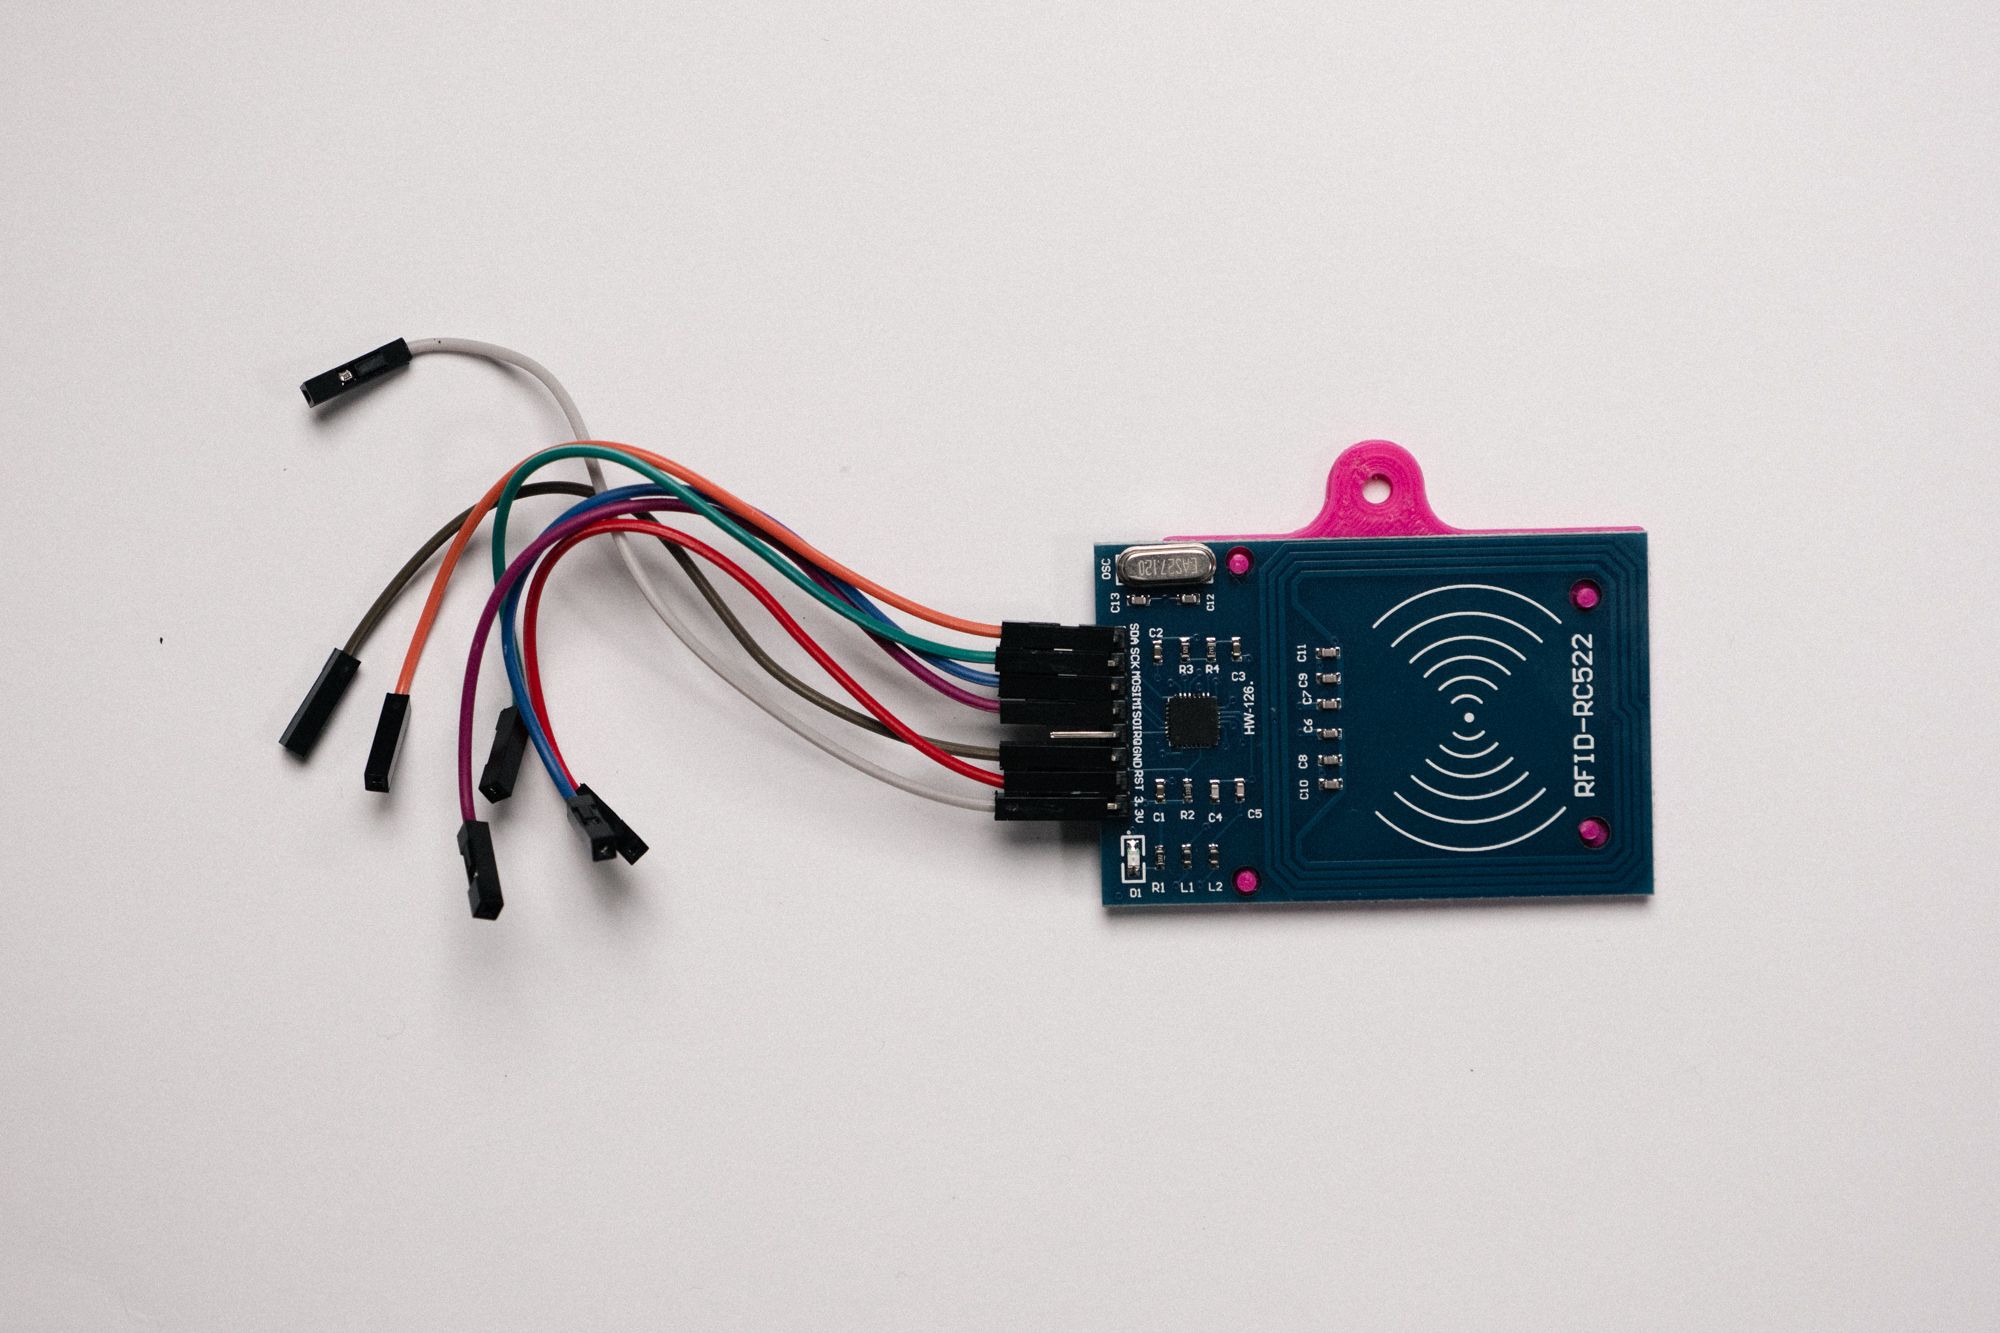
- the NFC reader,
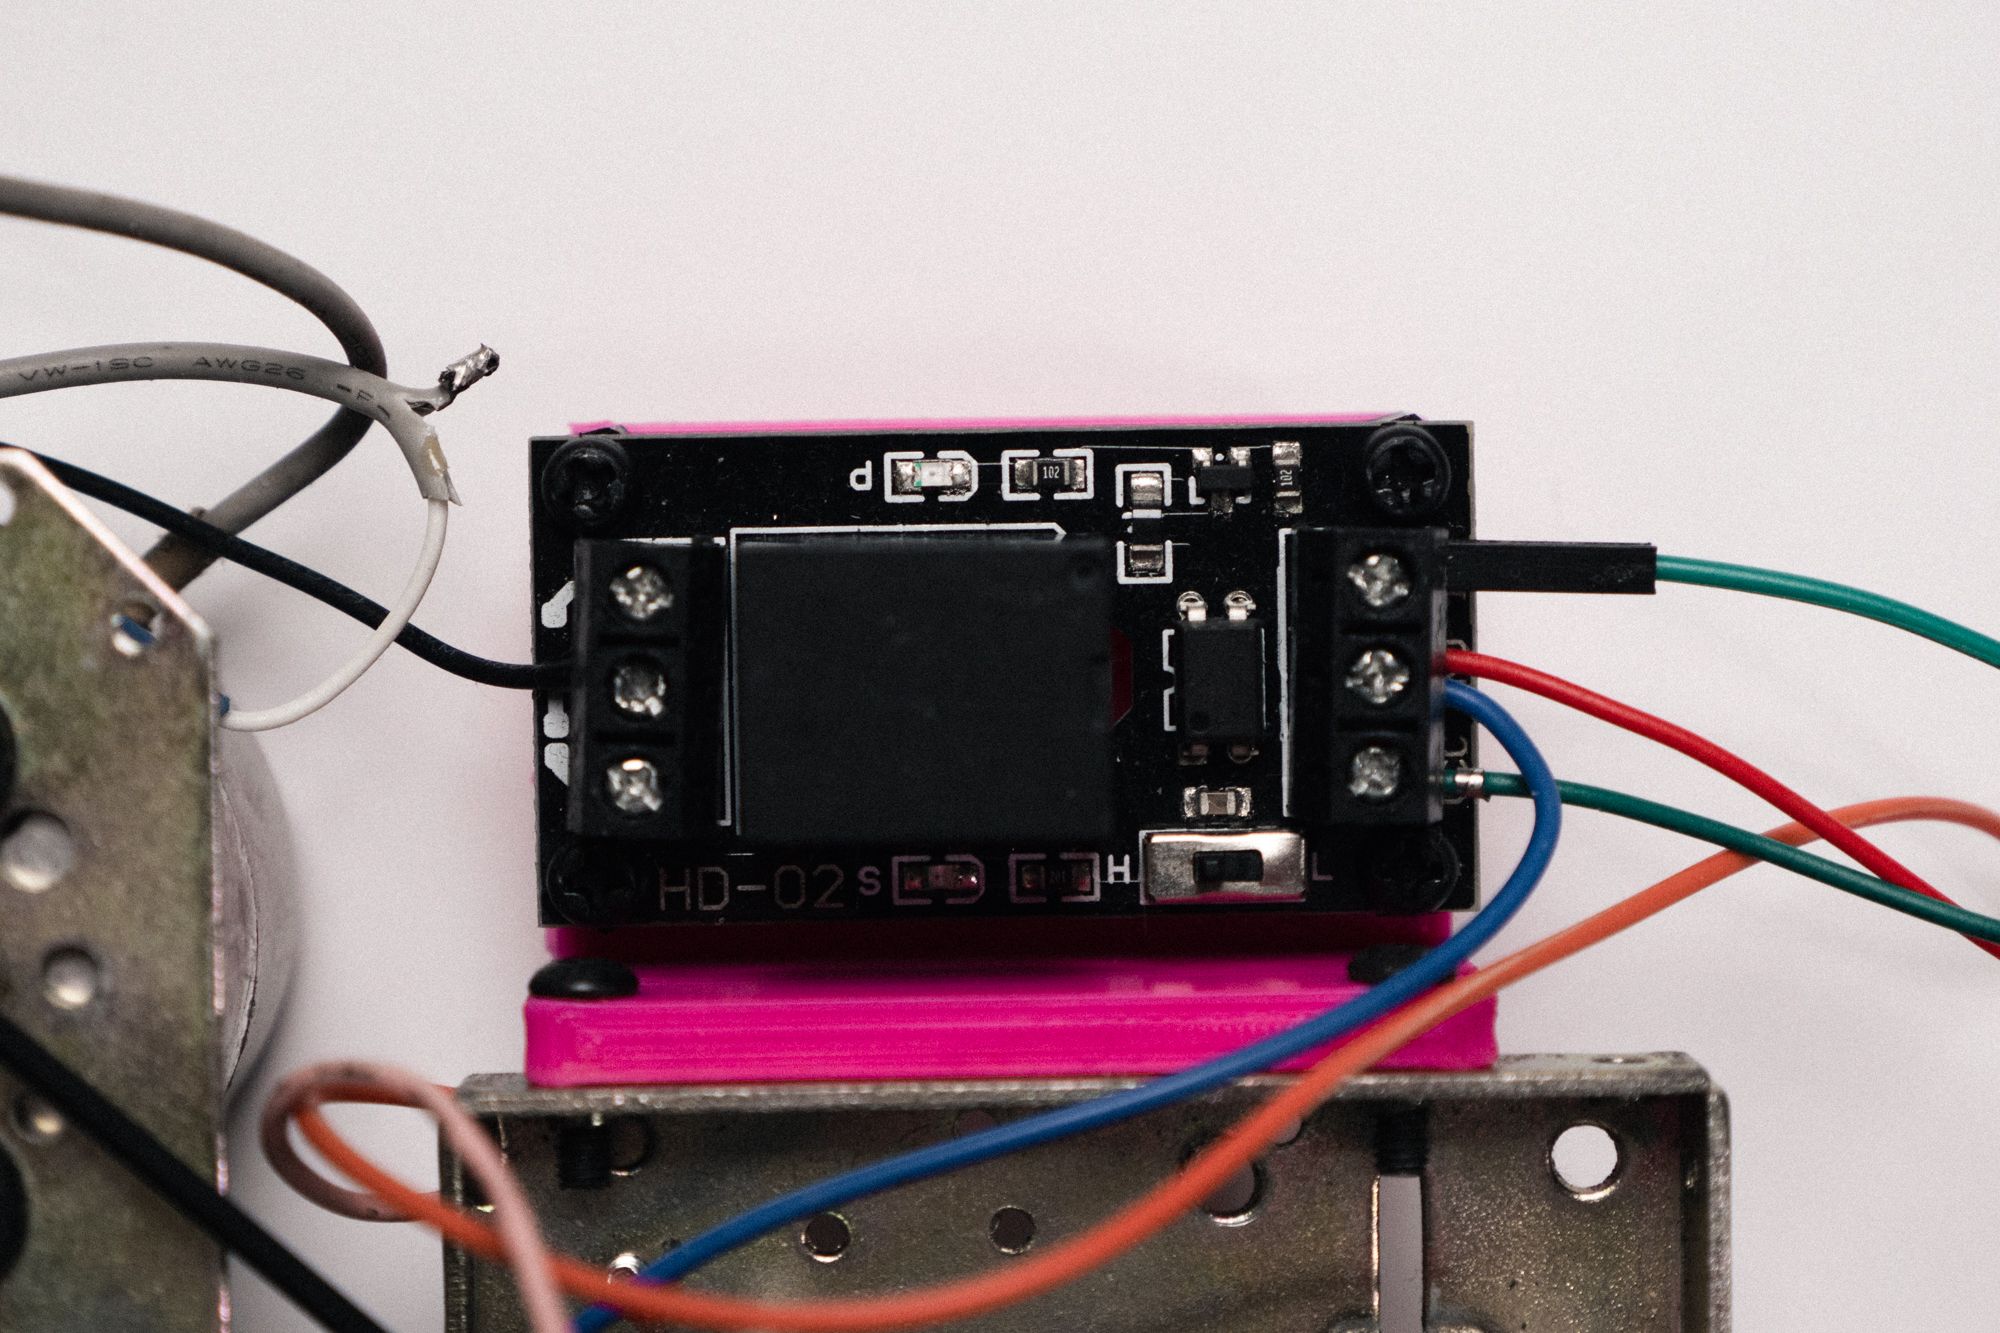
- relay board,
- input switches and
- LEDs.
I wanted to keep as much of its original parts as I could. Especially the mechanical ones to preserve that old-school feel of pressing the clicky buttons and triggering the contraption that makes everything go.
The whole cassette mechanism itself is quite remarkable with a lot of levers and wheels connected to the motor with a belt. I was able to preserve a big part of it, I removed mostly the electronic parts that were taking care of reading cassette tape and recording to it.
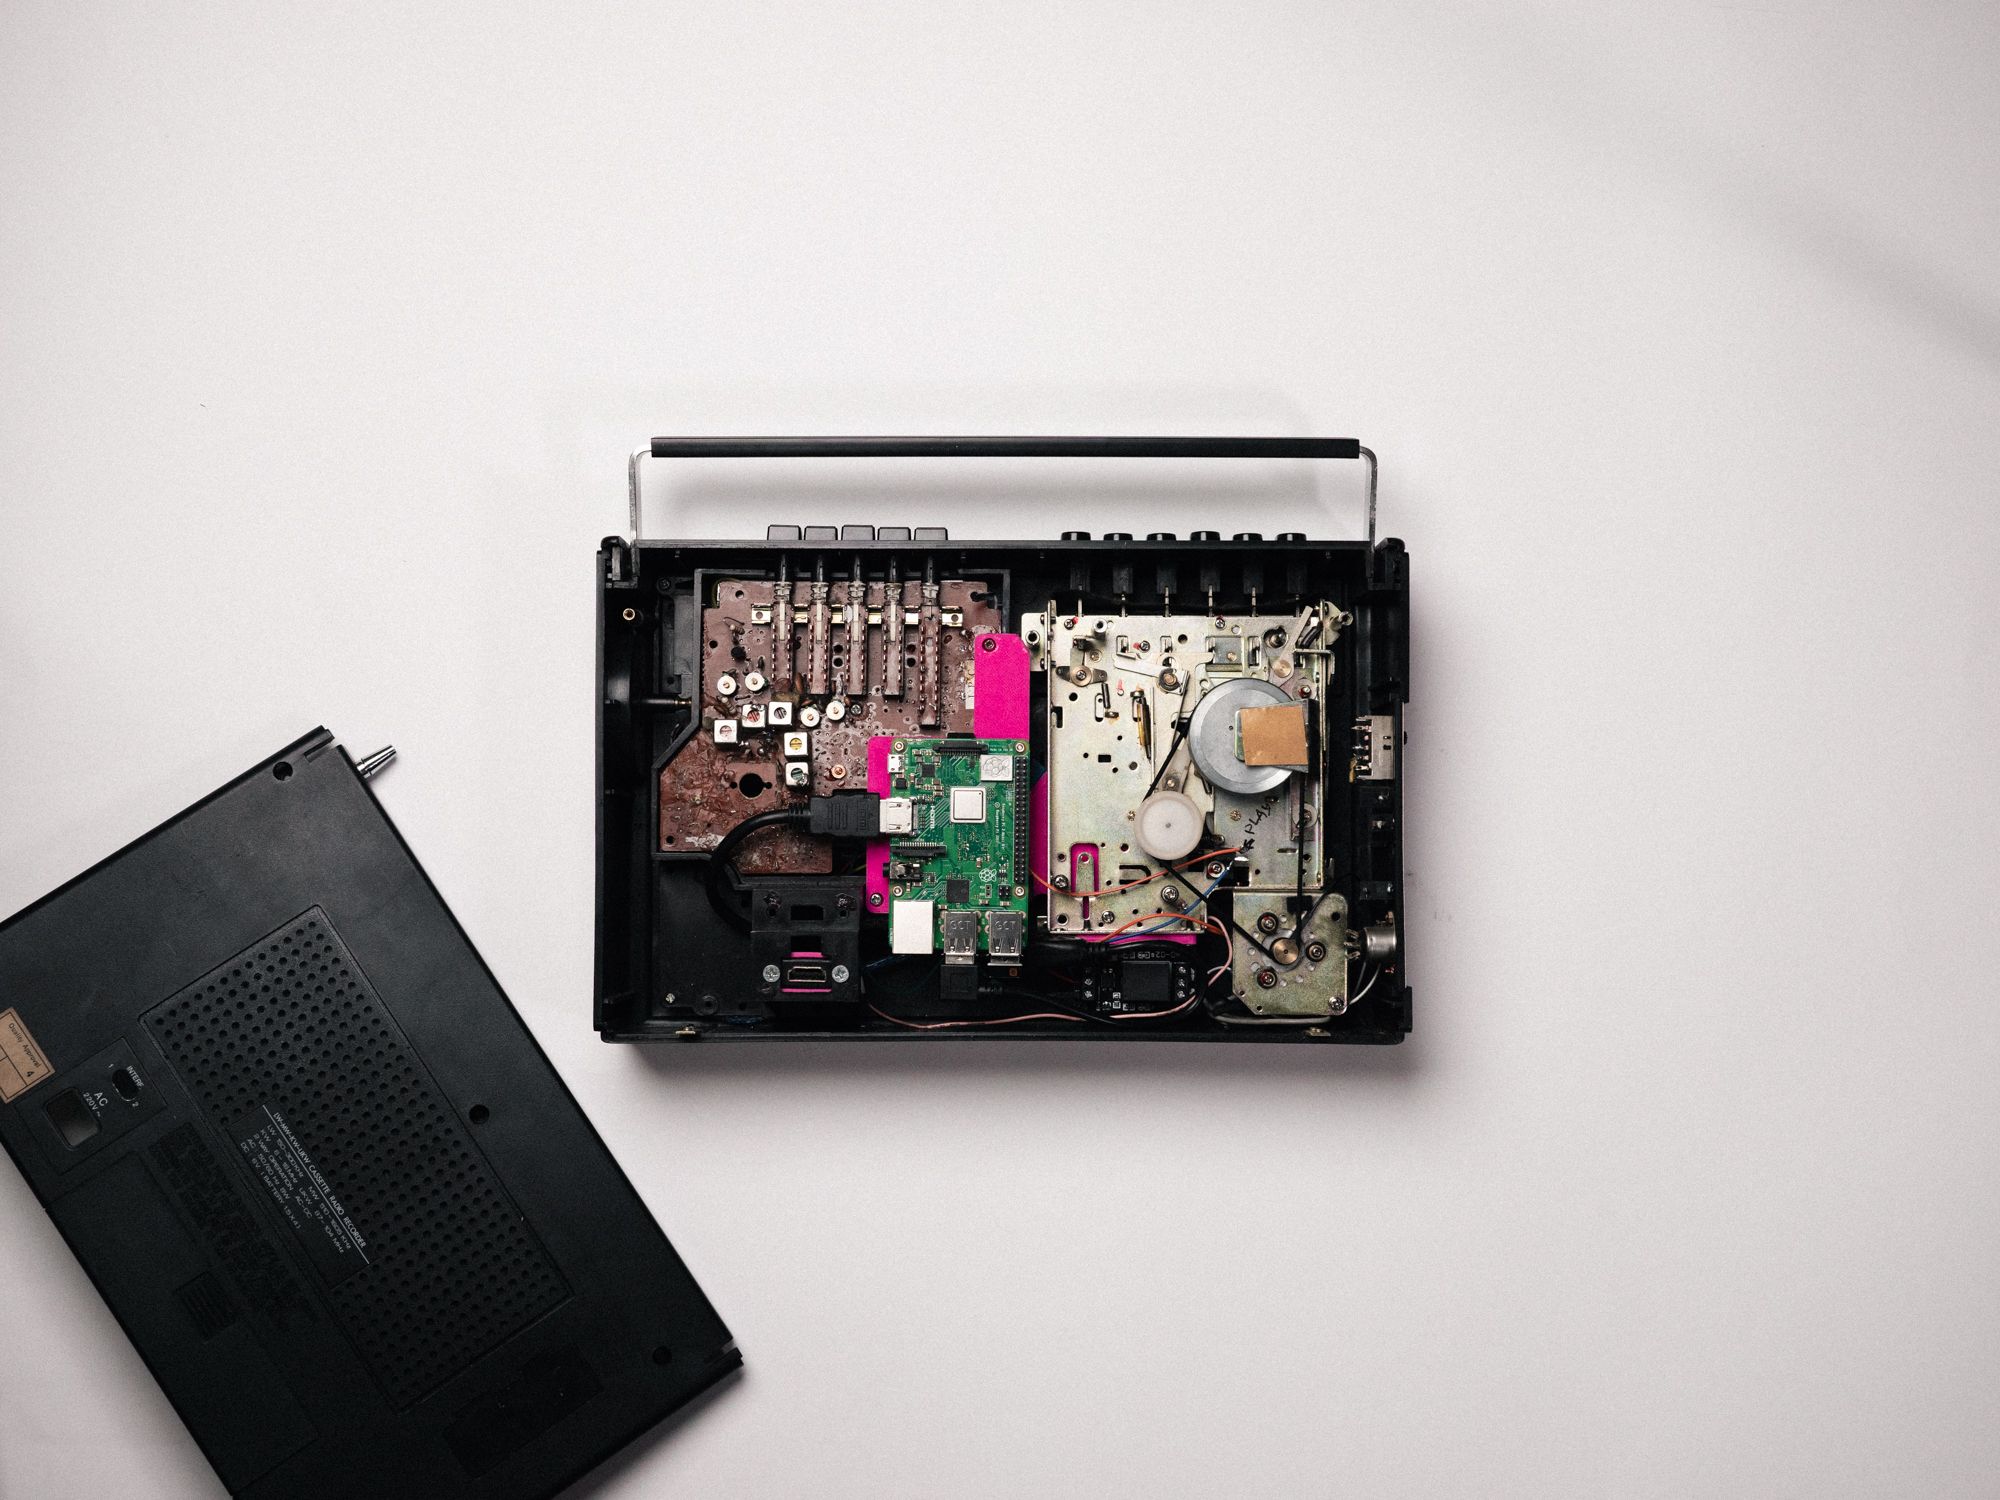
I connected the motor to one relay, so I could later connect it to the Arduino and turn it on and off to simulate the rolling of the tape. I also connected two small metal plates that touch together when the play button is pressed. This way I can know when music should start playing, motor running, and light illuminating the cassette tape inside.
Under the cassette mechanism I mounted the NFC reader connected to Arduino that would read the NFC tag from inserted tape to know which artist or playlist it should play. To mount all these components, I printed a few parts on the 3D printer to fix them in place.
Your new all-in-one KNX / Loxone Server.
On the other side of the player, the electronic components for the radio were positioned. I took most of it out and only kept the electronic board with original push switches. I pulled wires from those to connect them to Arduino so I will be able to detect when any of the buttons are being pressed and play the corresponding radio station. Initially, I wanted to use the frequency selection wheel but in the end, it would be too much hassle to make it work so I dumped the idea.
For Arduino and Raspberry Pi, I also made 3D-printed mounts so they can be secured in place.
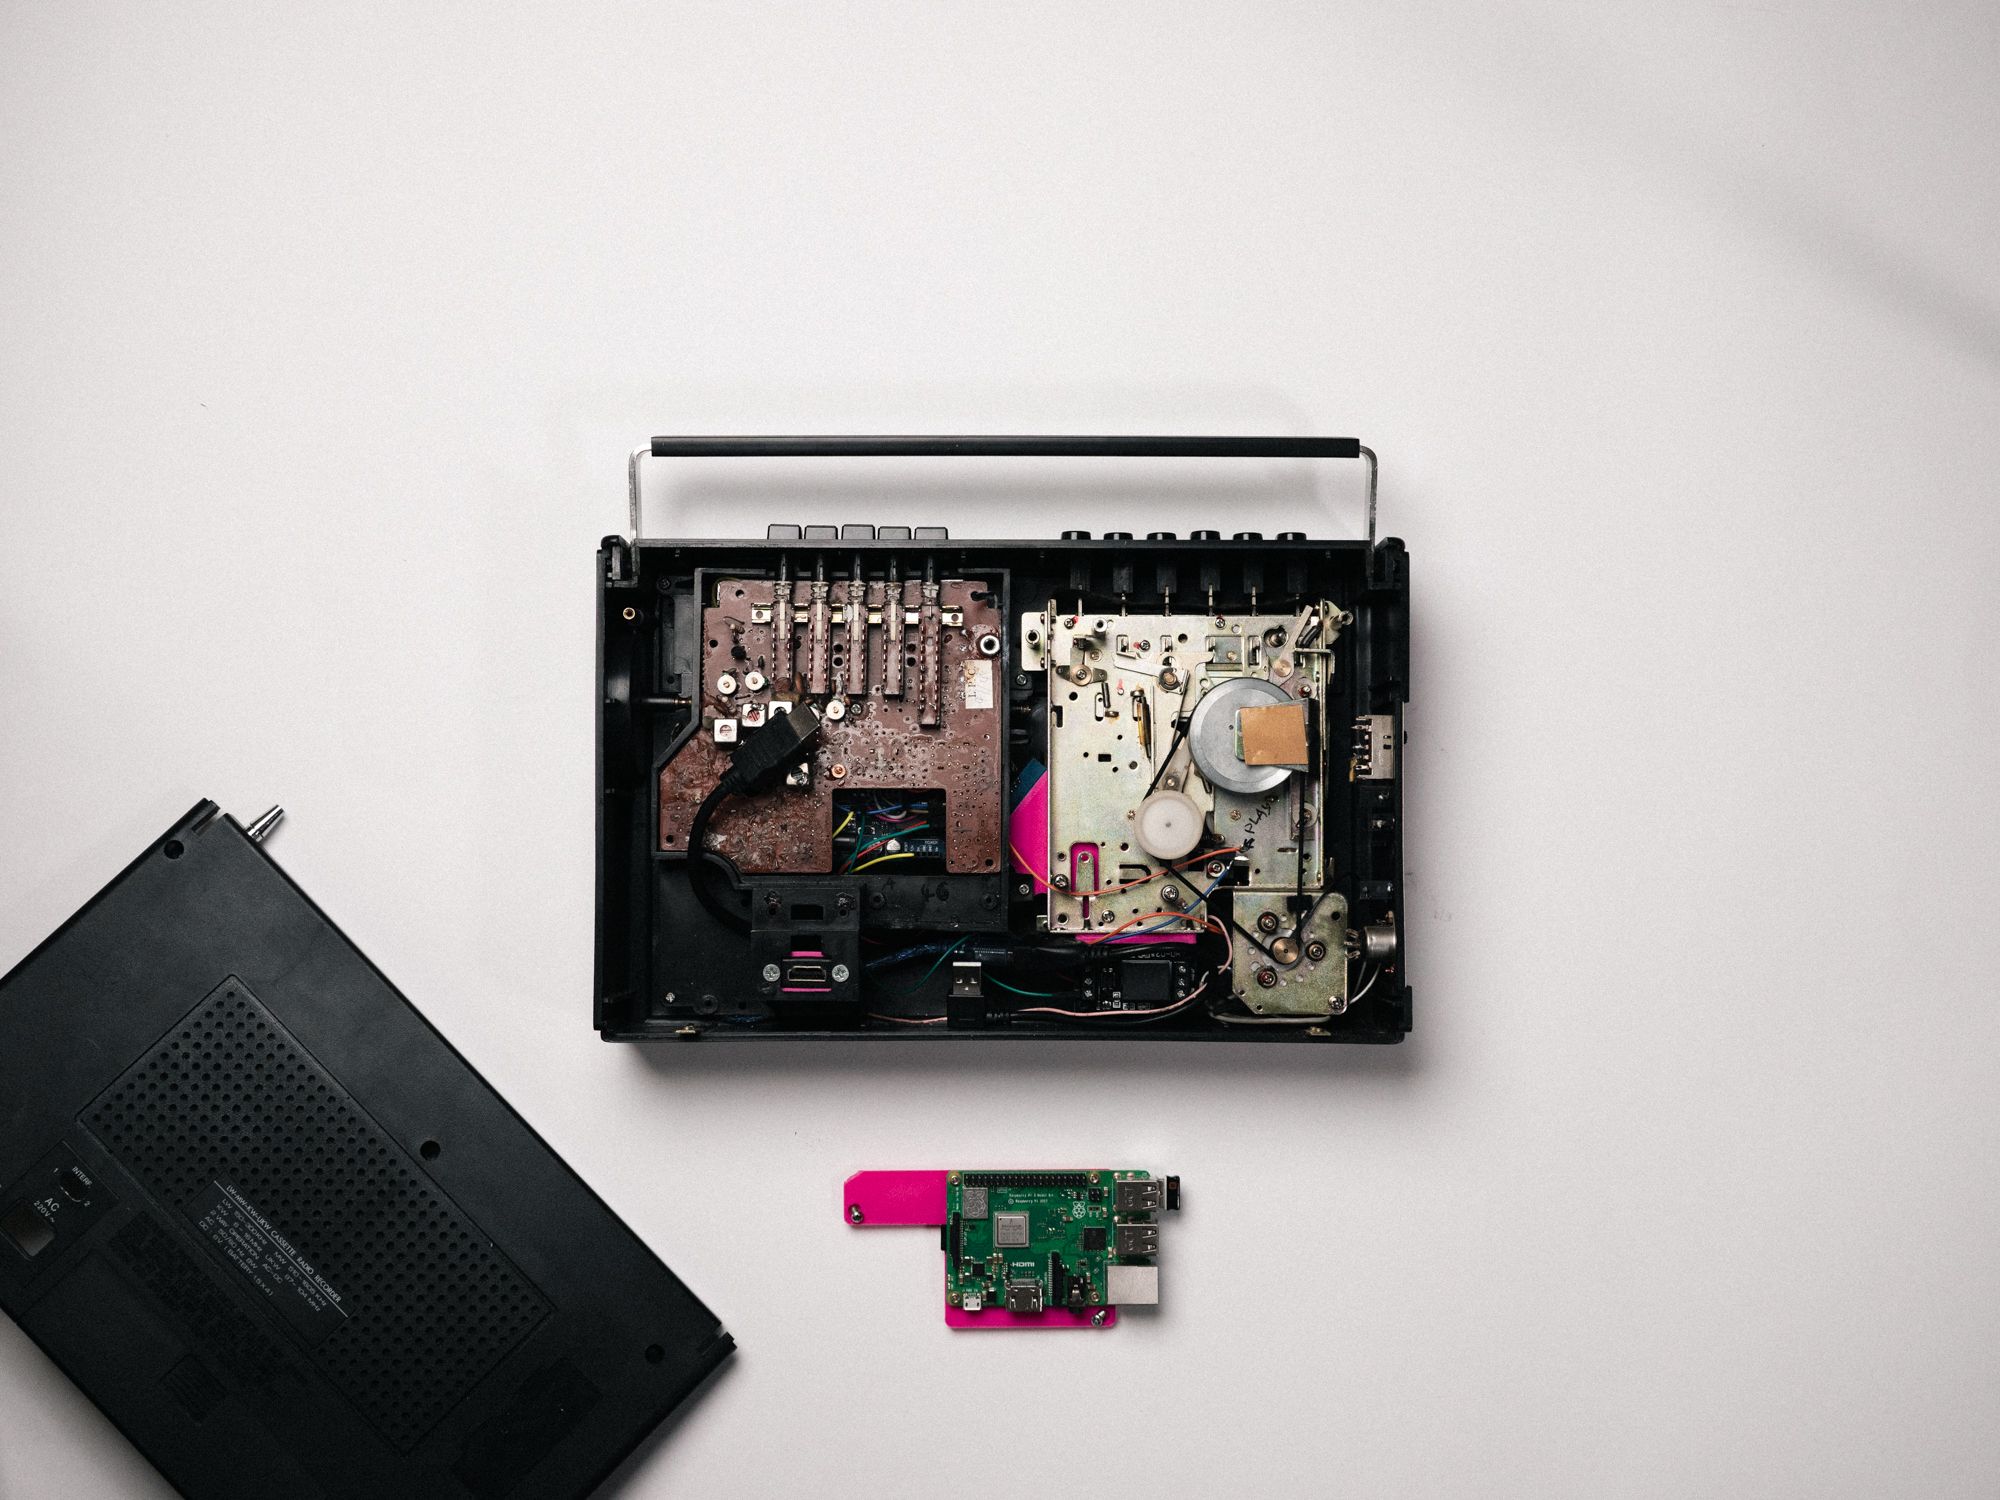
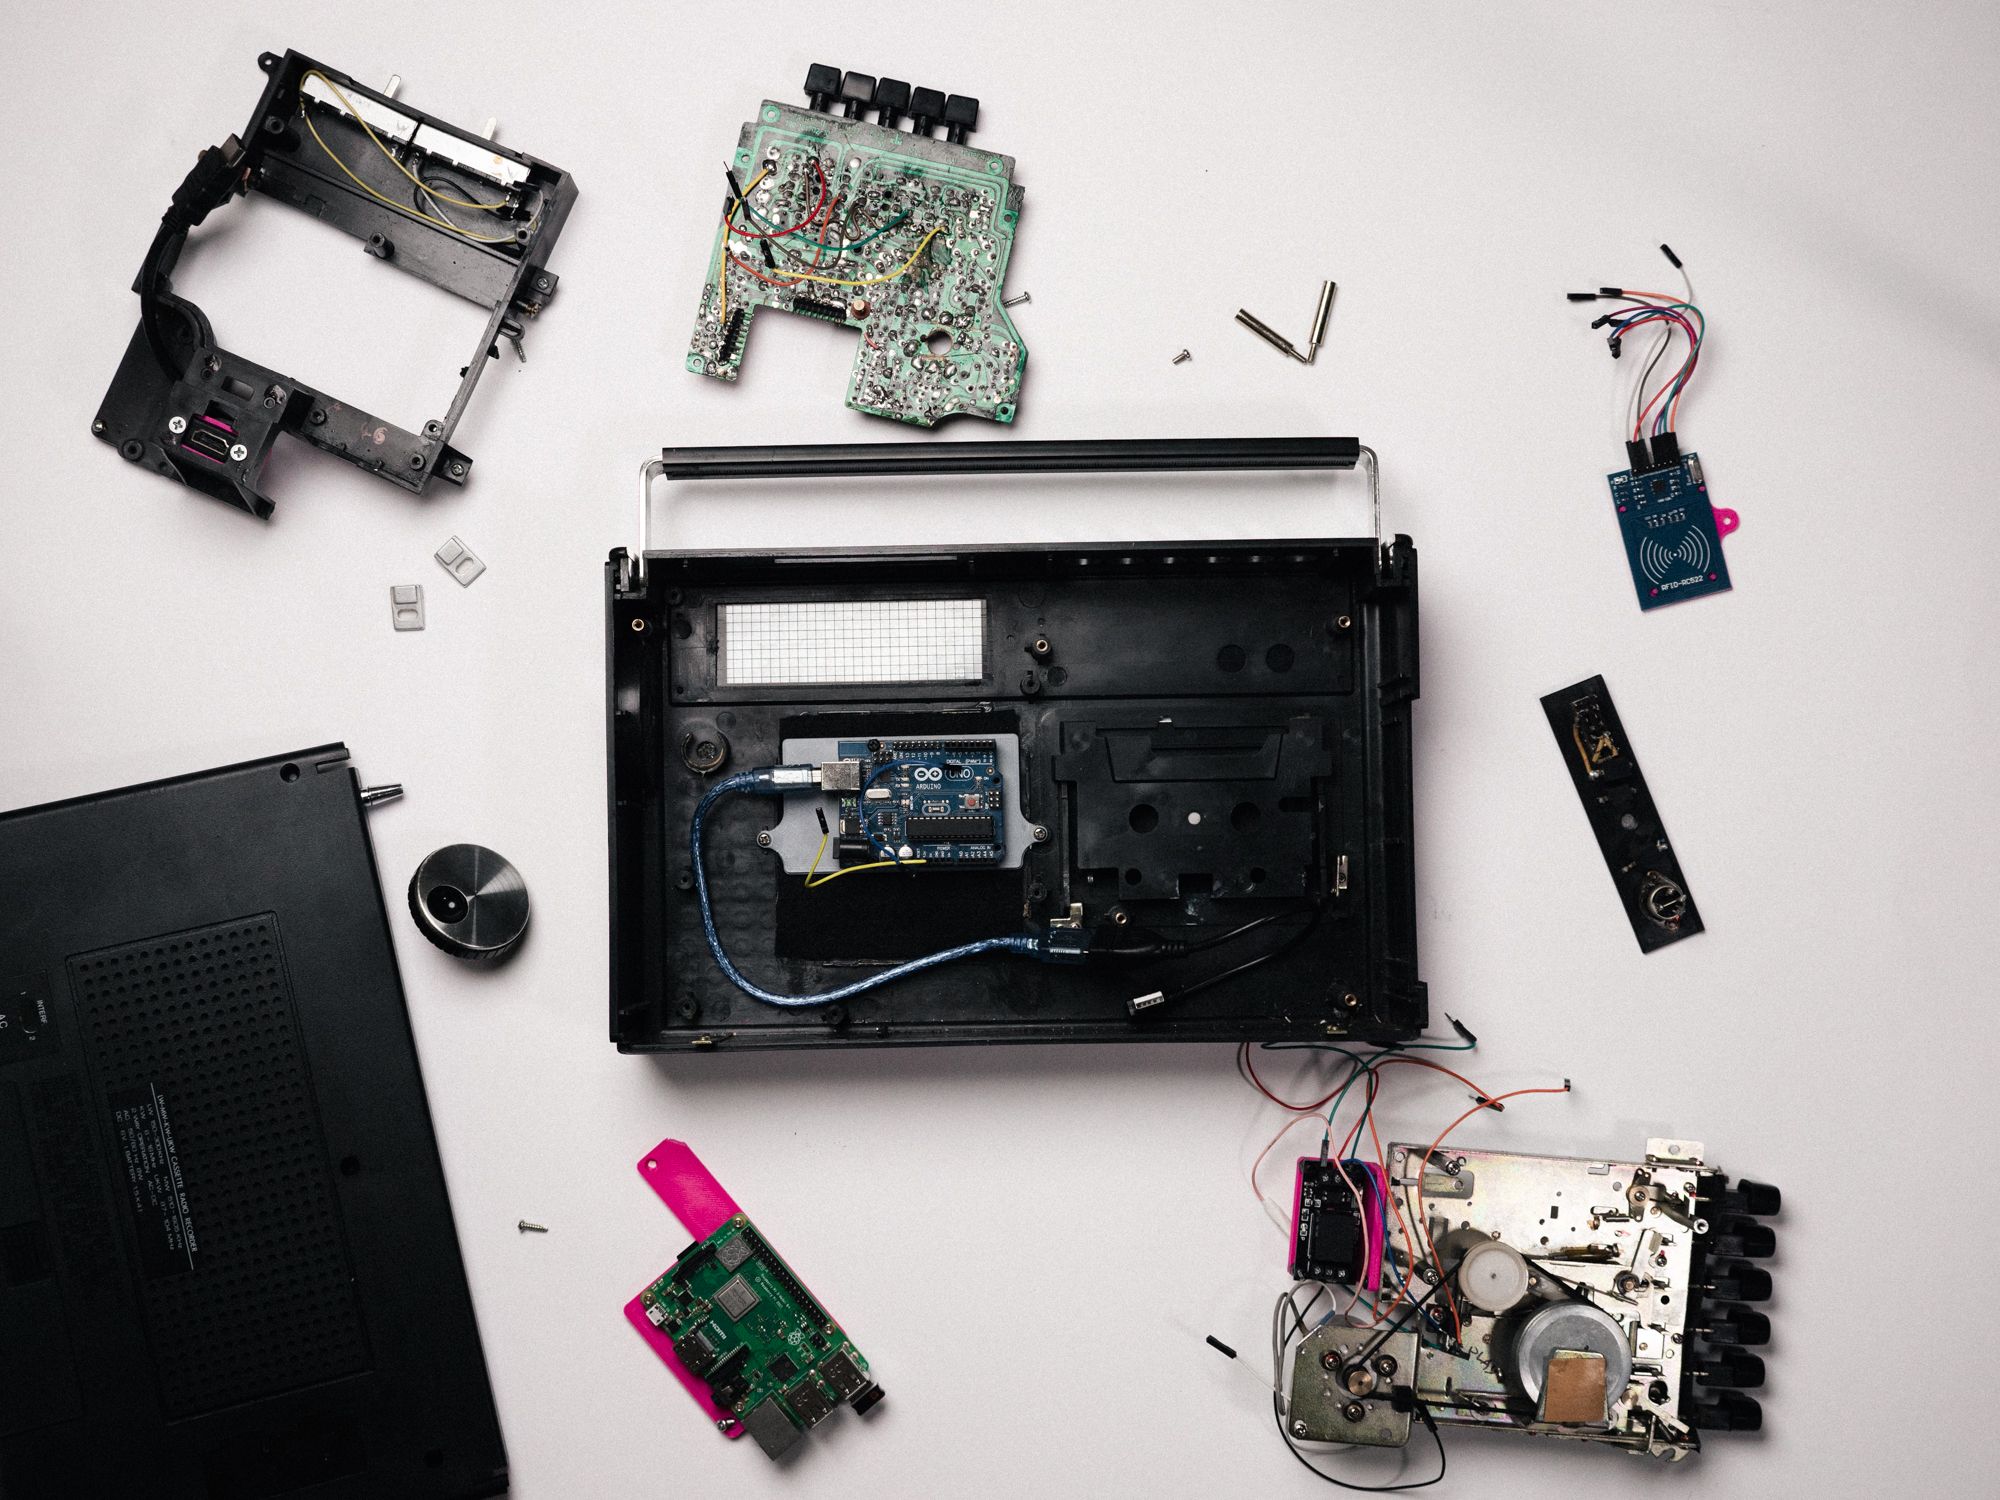
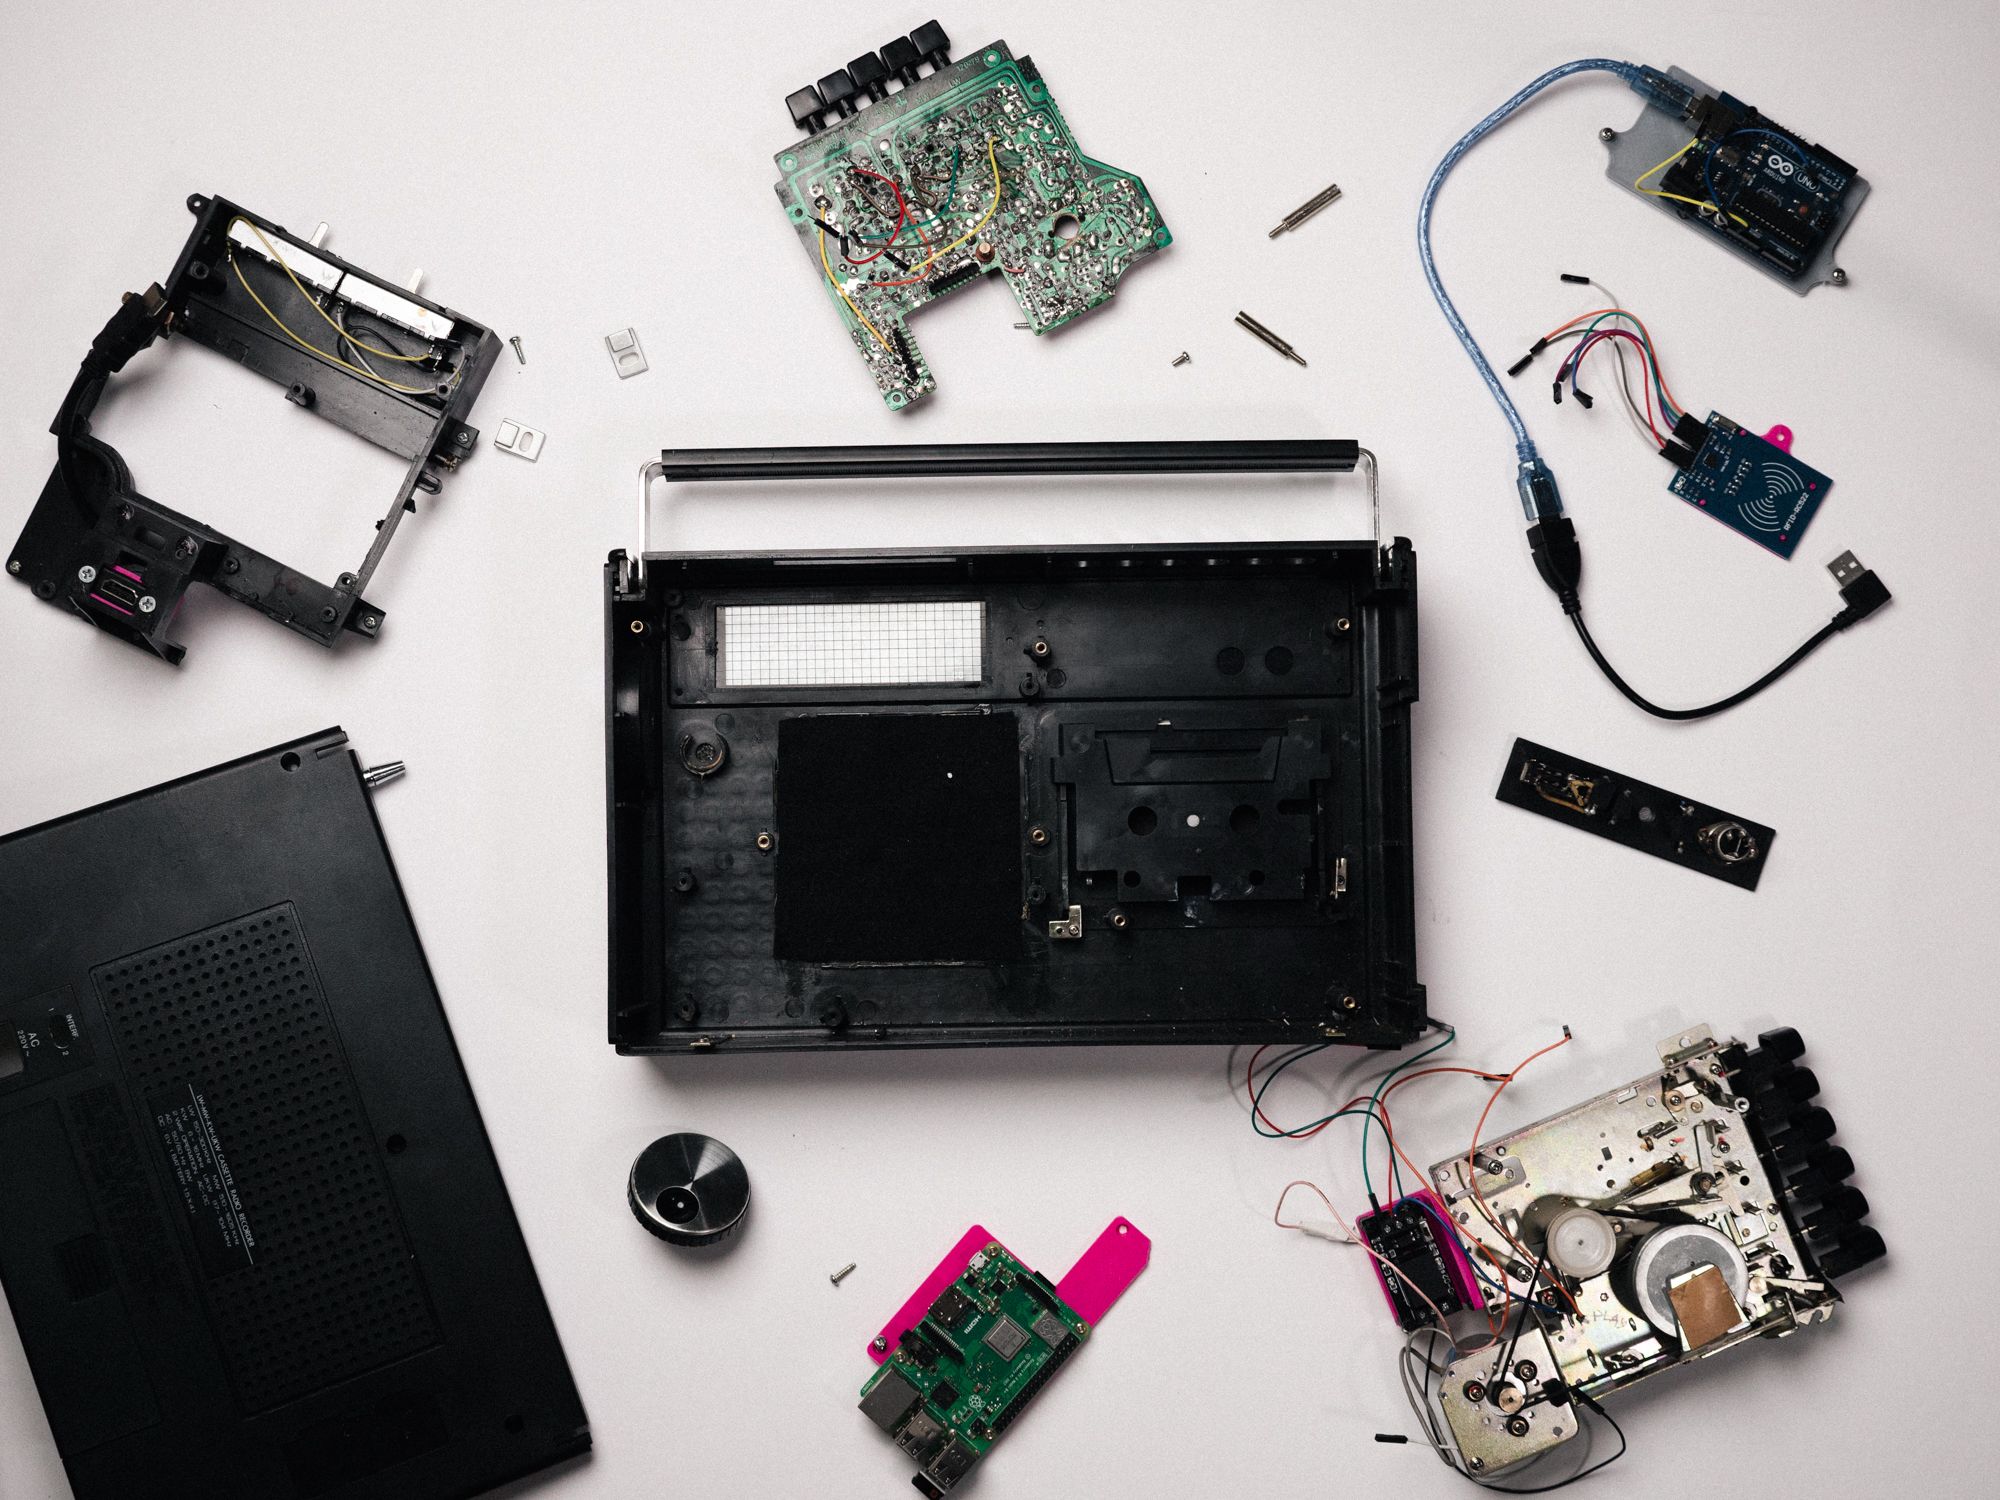
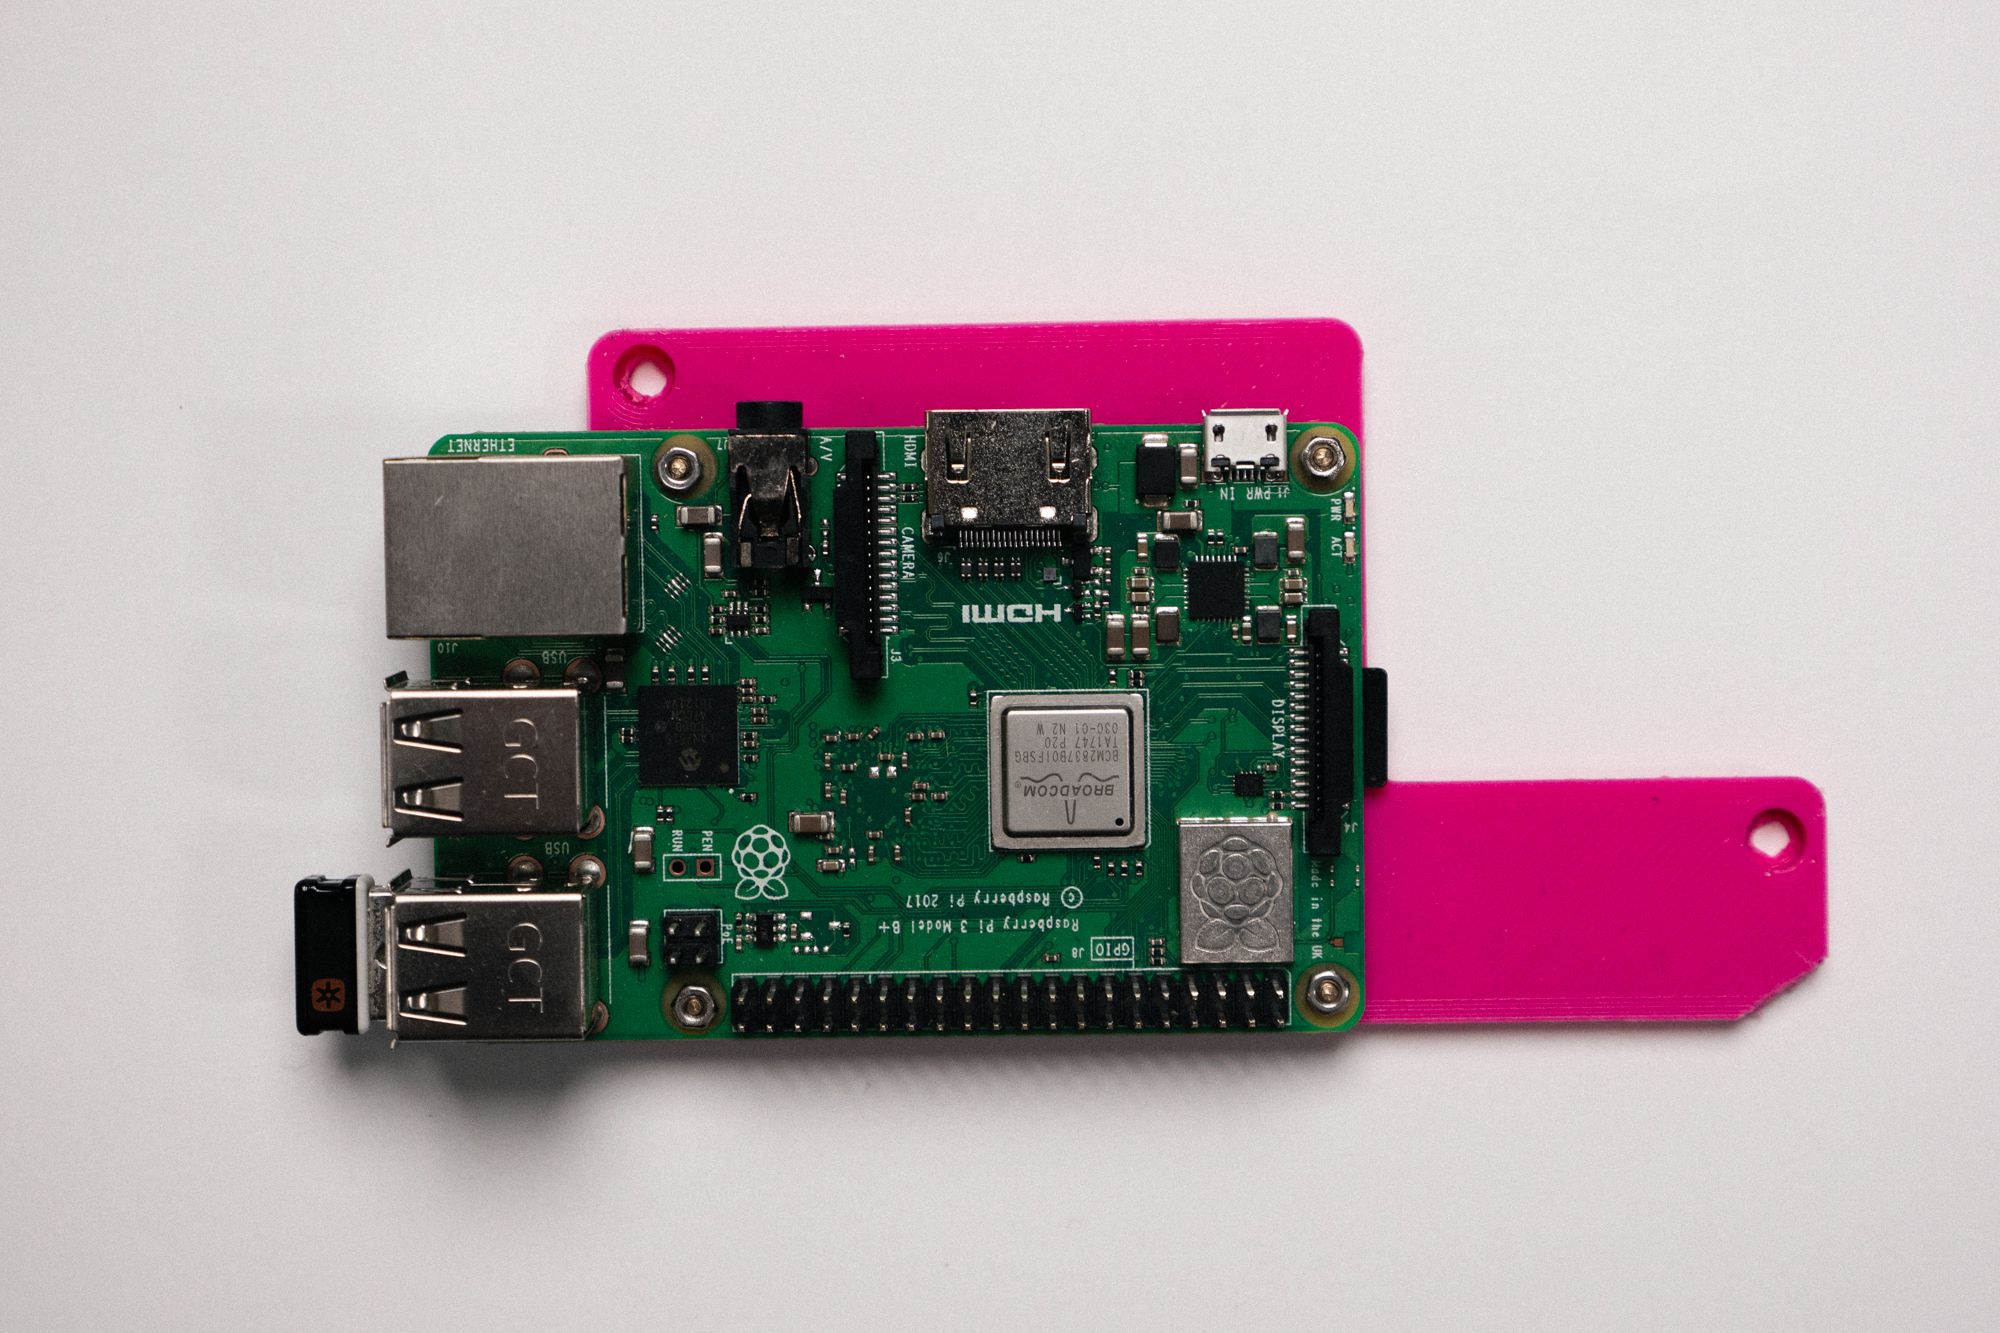
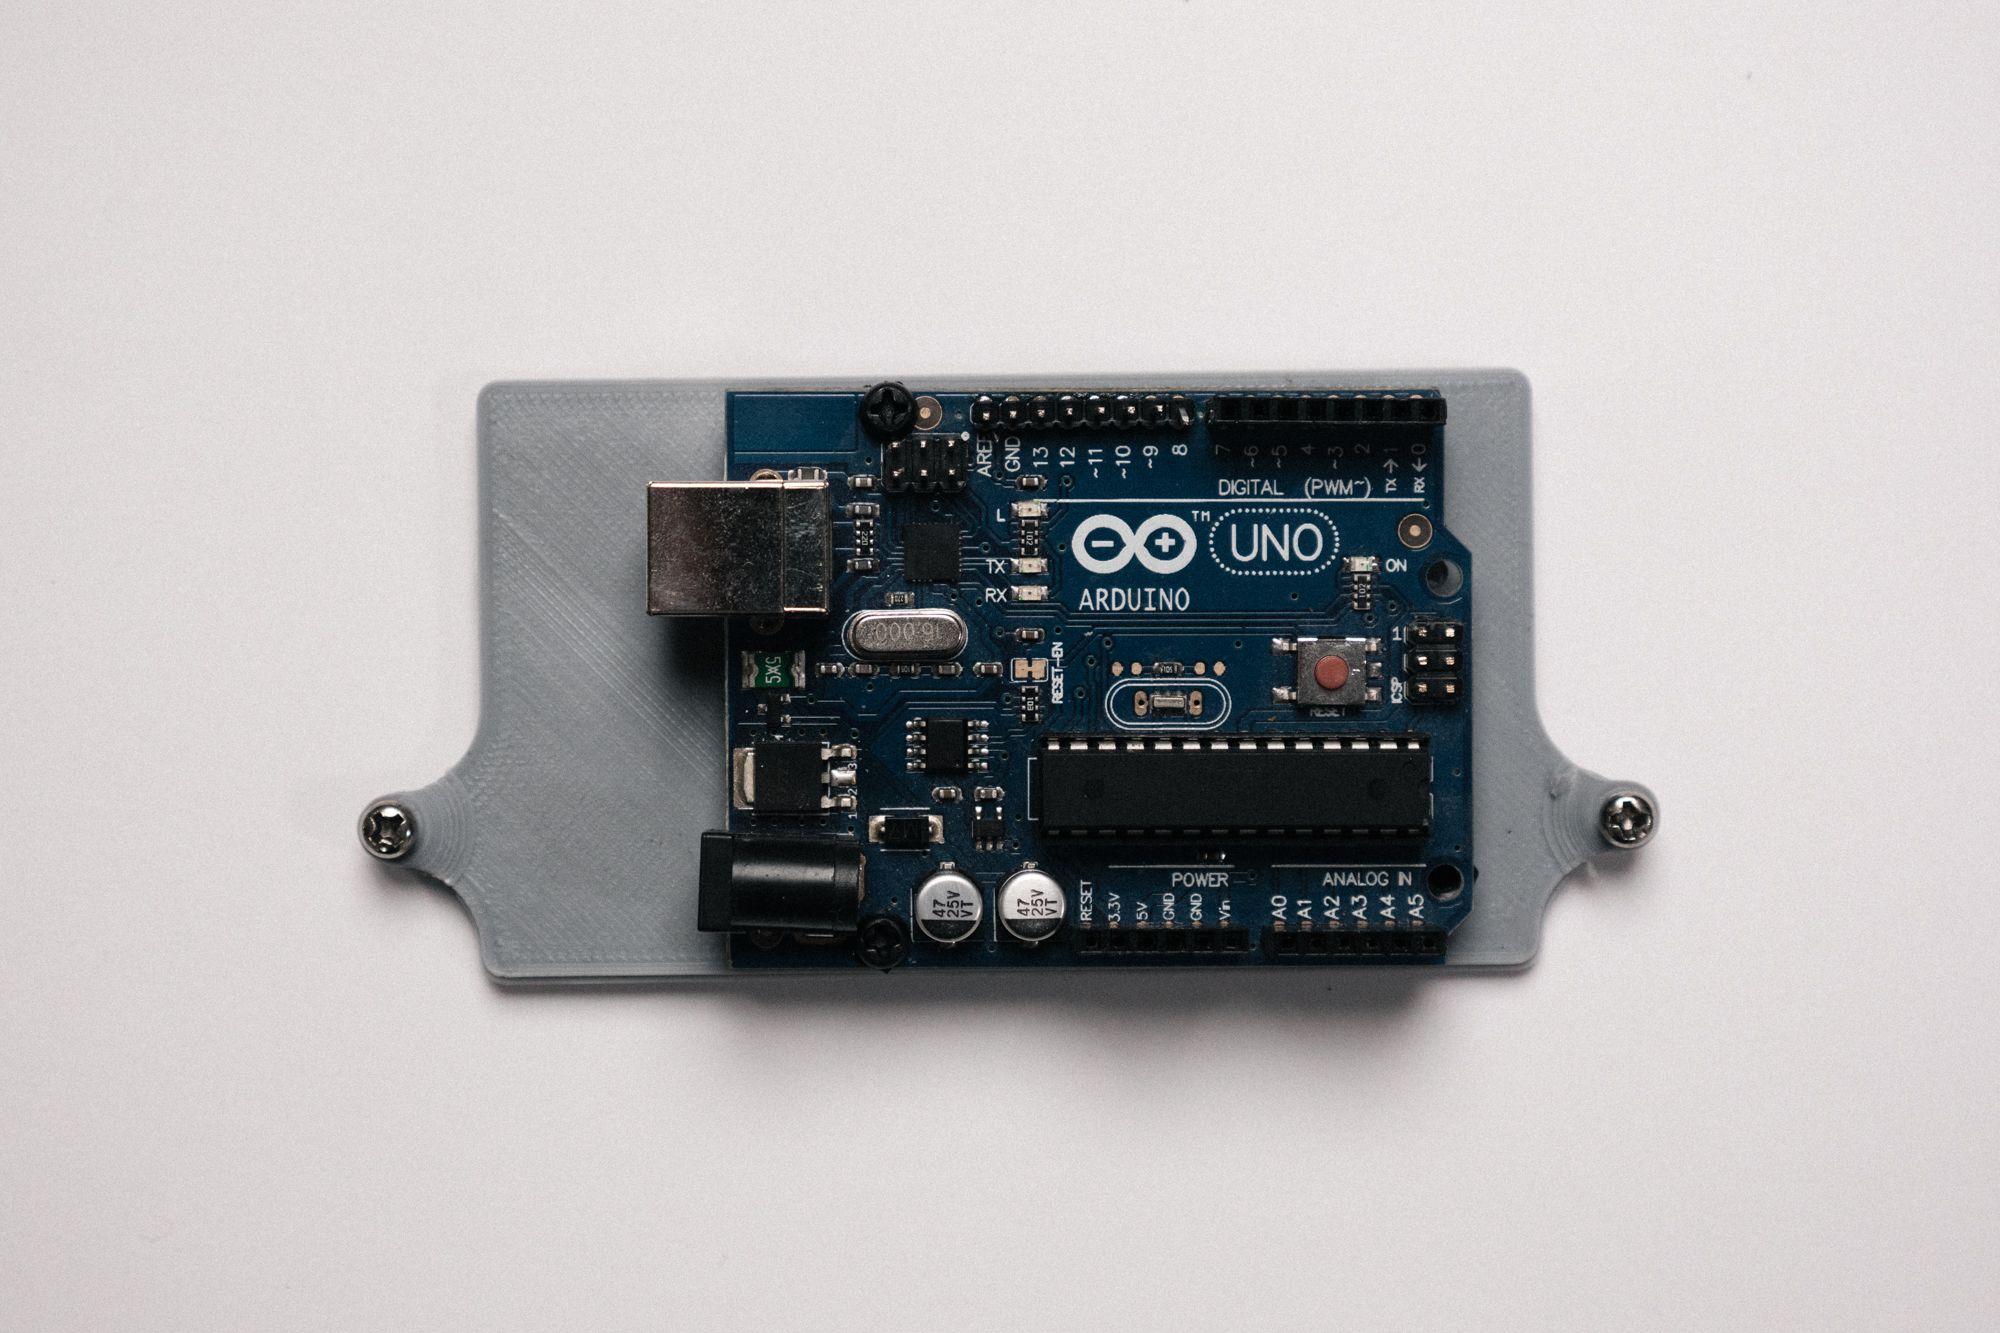
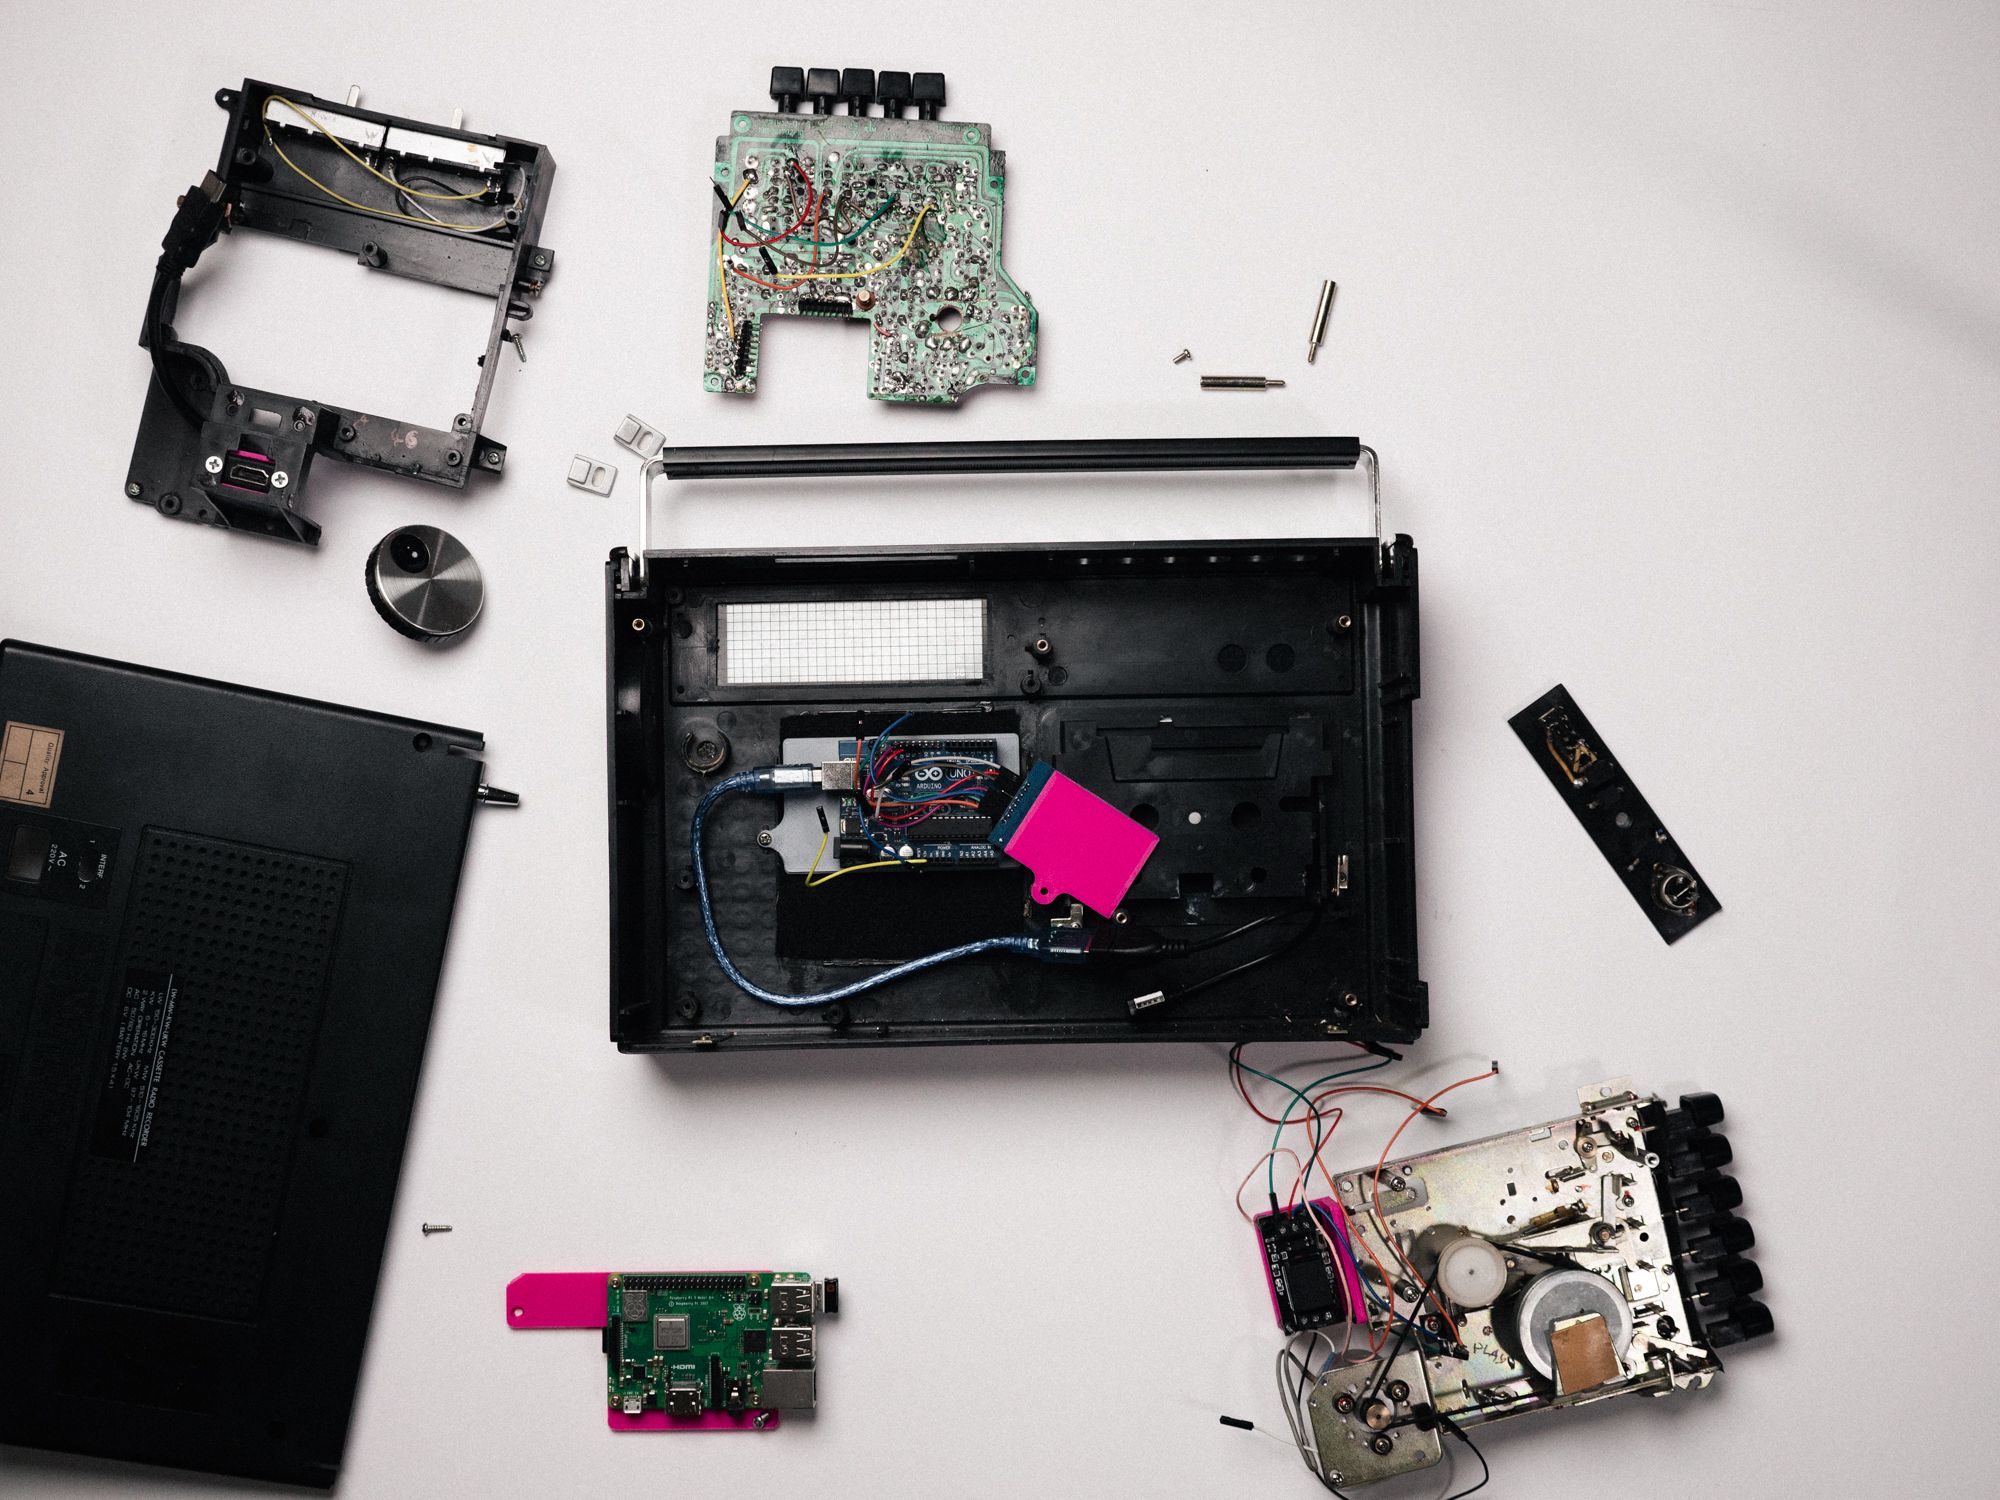
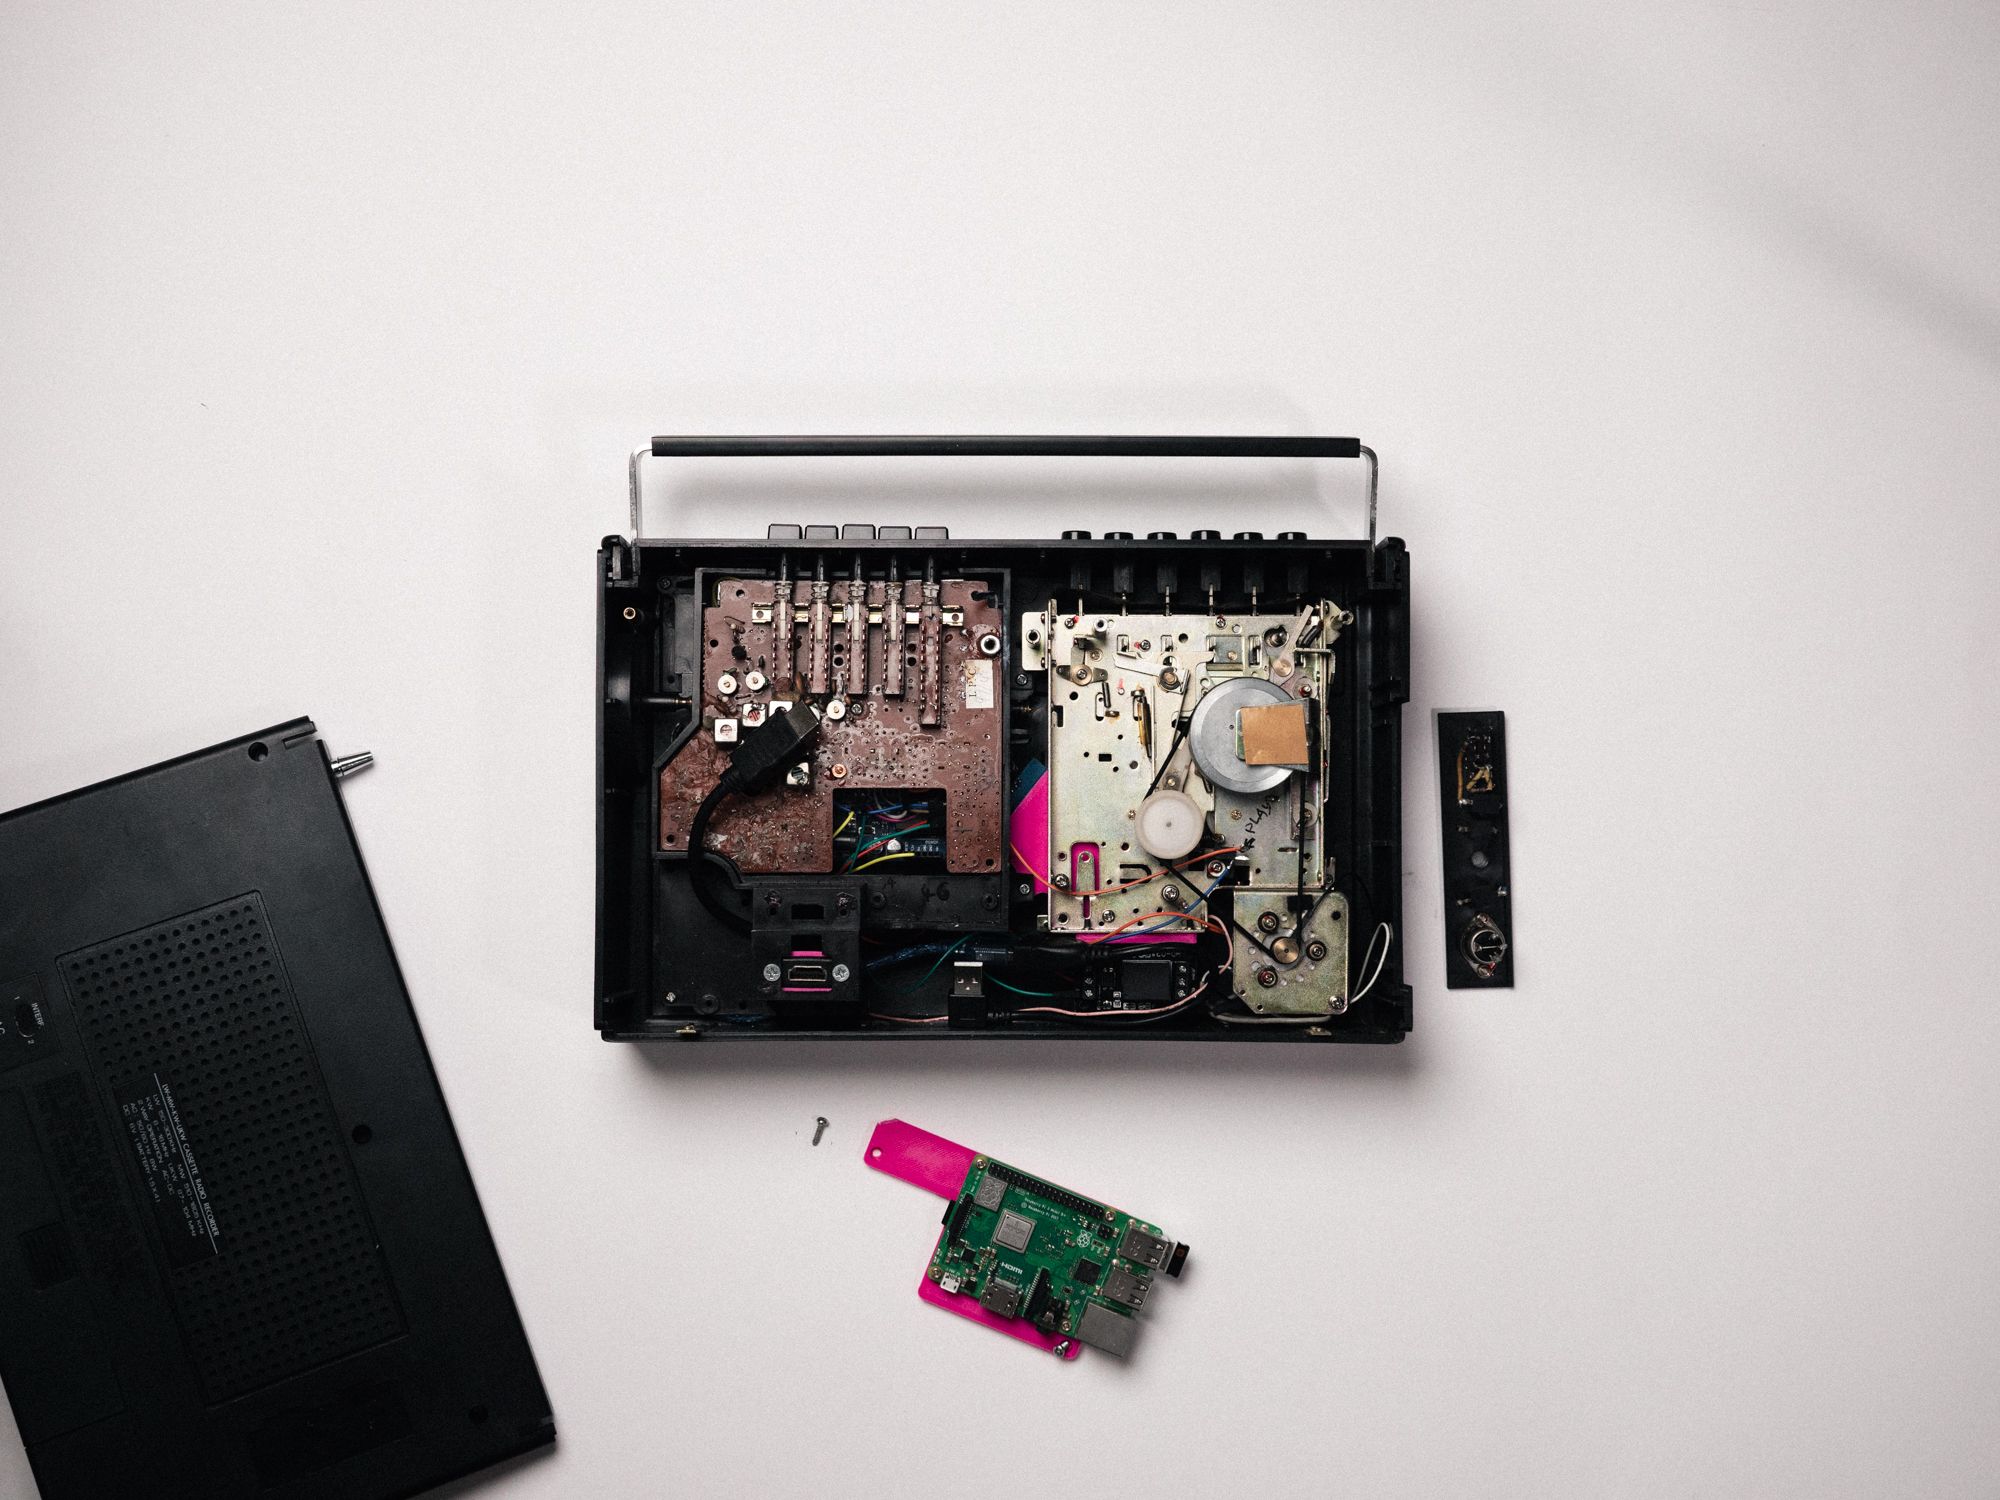
In my “old cables” box I found one short HDMI extender that I routed from the power plug hole in the back case to Raspberry PI so I could connect a screen to it and for the Raspberry Pi control I just plugged the dongle from a cheap keyboard/mouse combo into the USB port and voilà! The computer inside of the cassette player was now ready to be used.
The next thing I did was to start programming the brains of the player.
I started with the software on Arduino, which is pretty trivial, it just sends to the Raspberry Pi the commands: which radio to play, which tape was inserted, or what button was pressed. It also turns on the tape motor with relay and LED for illumination.
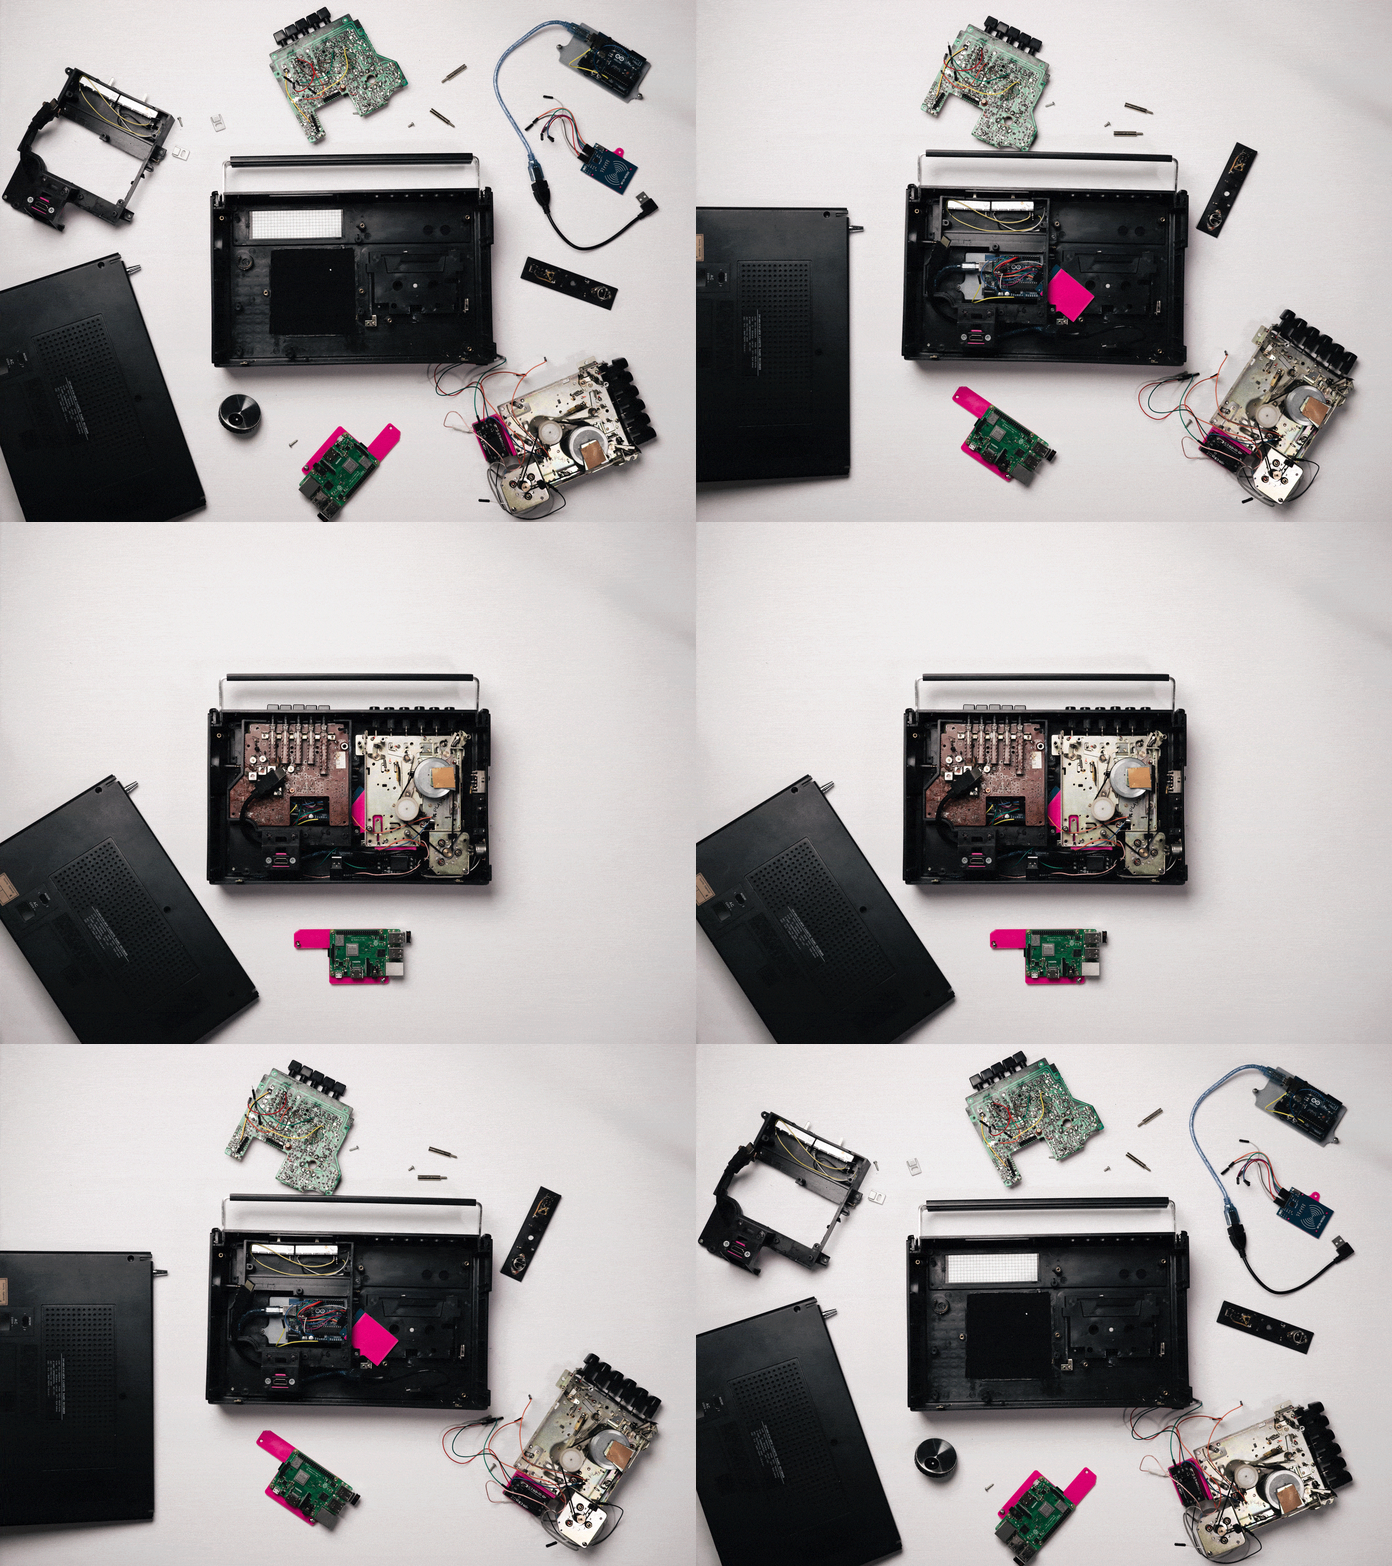
The system on the Raspberry Pi on the other hand is more complex, it consists of two parts:
The first one is responsible for communication with Arduino, triggering radio stations to play on Chromecast devices, and some basic web UI which allow the user to select active speakers, define radio stations, and set up playlist mappings for NFC tags. I used Node.js for that since it has plenty of libraries already available and it allows me to rapidly prototype and play around.
The second part of the system is the HomeAssistant instance, which I initially wanted to avoid since it is total overkill. After numerous hours spent trying to solve problems of doing the same thing from Node.js I gave up and set up HomeAssistant in a matter of minutes. I installed Spotify and Spotcast integrations and then created an automation that is triggered by webhook from Node.js service and starts playing the music from Spotify to the selected Chromecast device.
With this all set up, I now have a cassette player/radio which instead of playing audio from its internal speaker, casts music to Chromecast device and allows me to play music with higher quality and use all the features the Google Home ecosystem is bringing to the table.
This project was incredibly fun for me since it connected all different fields to make something that’s usable and a total eye-grabber.
Here’s how it looks in action:
Since this is a DIY project it of course isn’t finished yet. I still have many improvements to do in the software and squash a few bugs. I am also thinking about volume sliders on the top of the player, which are simple potentiometers that could be used to control volume on the Chromecast device.
Recently I also had an opportunity to work with Sonos speakers and integrating those instead of Chromecast devices would also be much easier since they have very capable API. Here should Google really take a few more notes on how to drive such an ecosystem of speakers much more efficiently.
Your new all-in-one KNX / Loxone Server.

