Smart homes aren’t just business for us, they’re also incredibly fun to build!
Especially when you add the dimension of voice to it.
A couple of months ago we have moved our Ljubljana Development office to an exciting new location. The new offices, however, lacked character and we wanted to spice them up with something special. Since we don’t only do smart homes with voice control for work, but also for fun, it was a no brainer to create something smart for our offices.
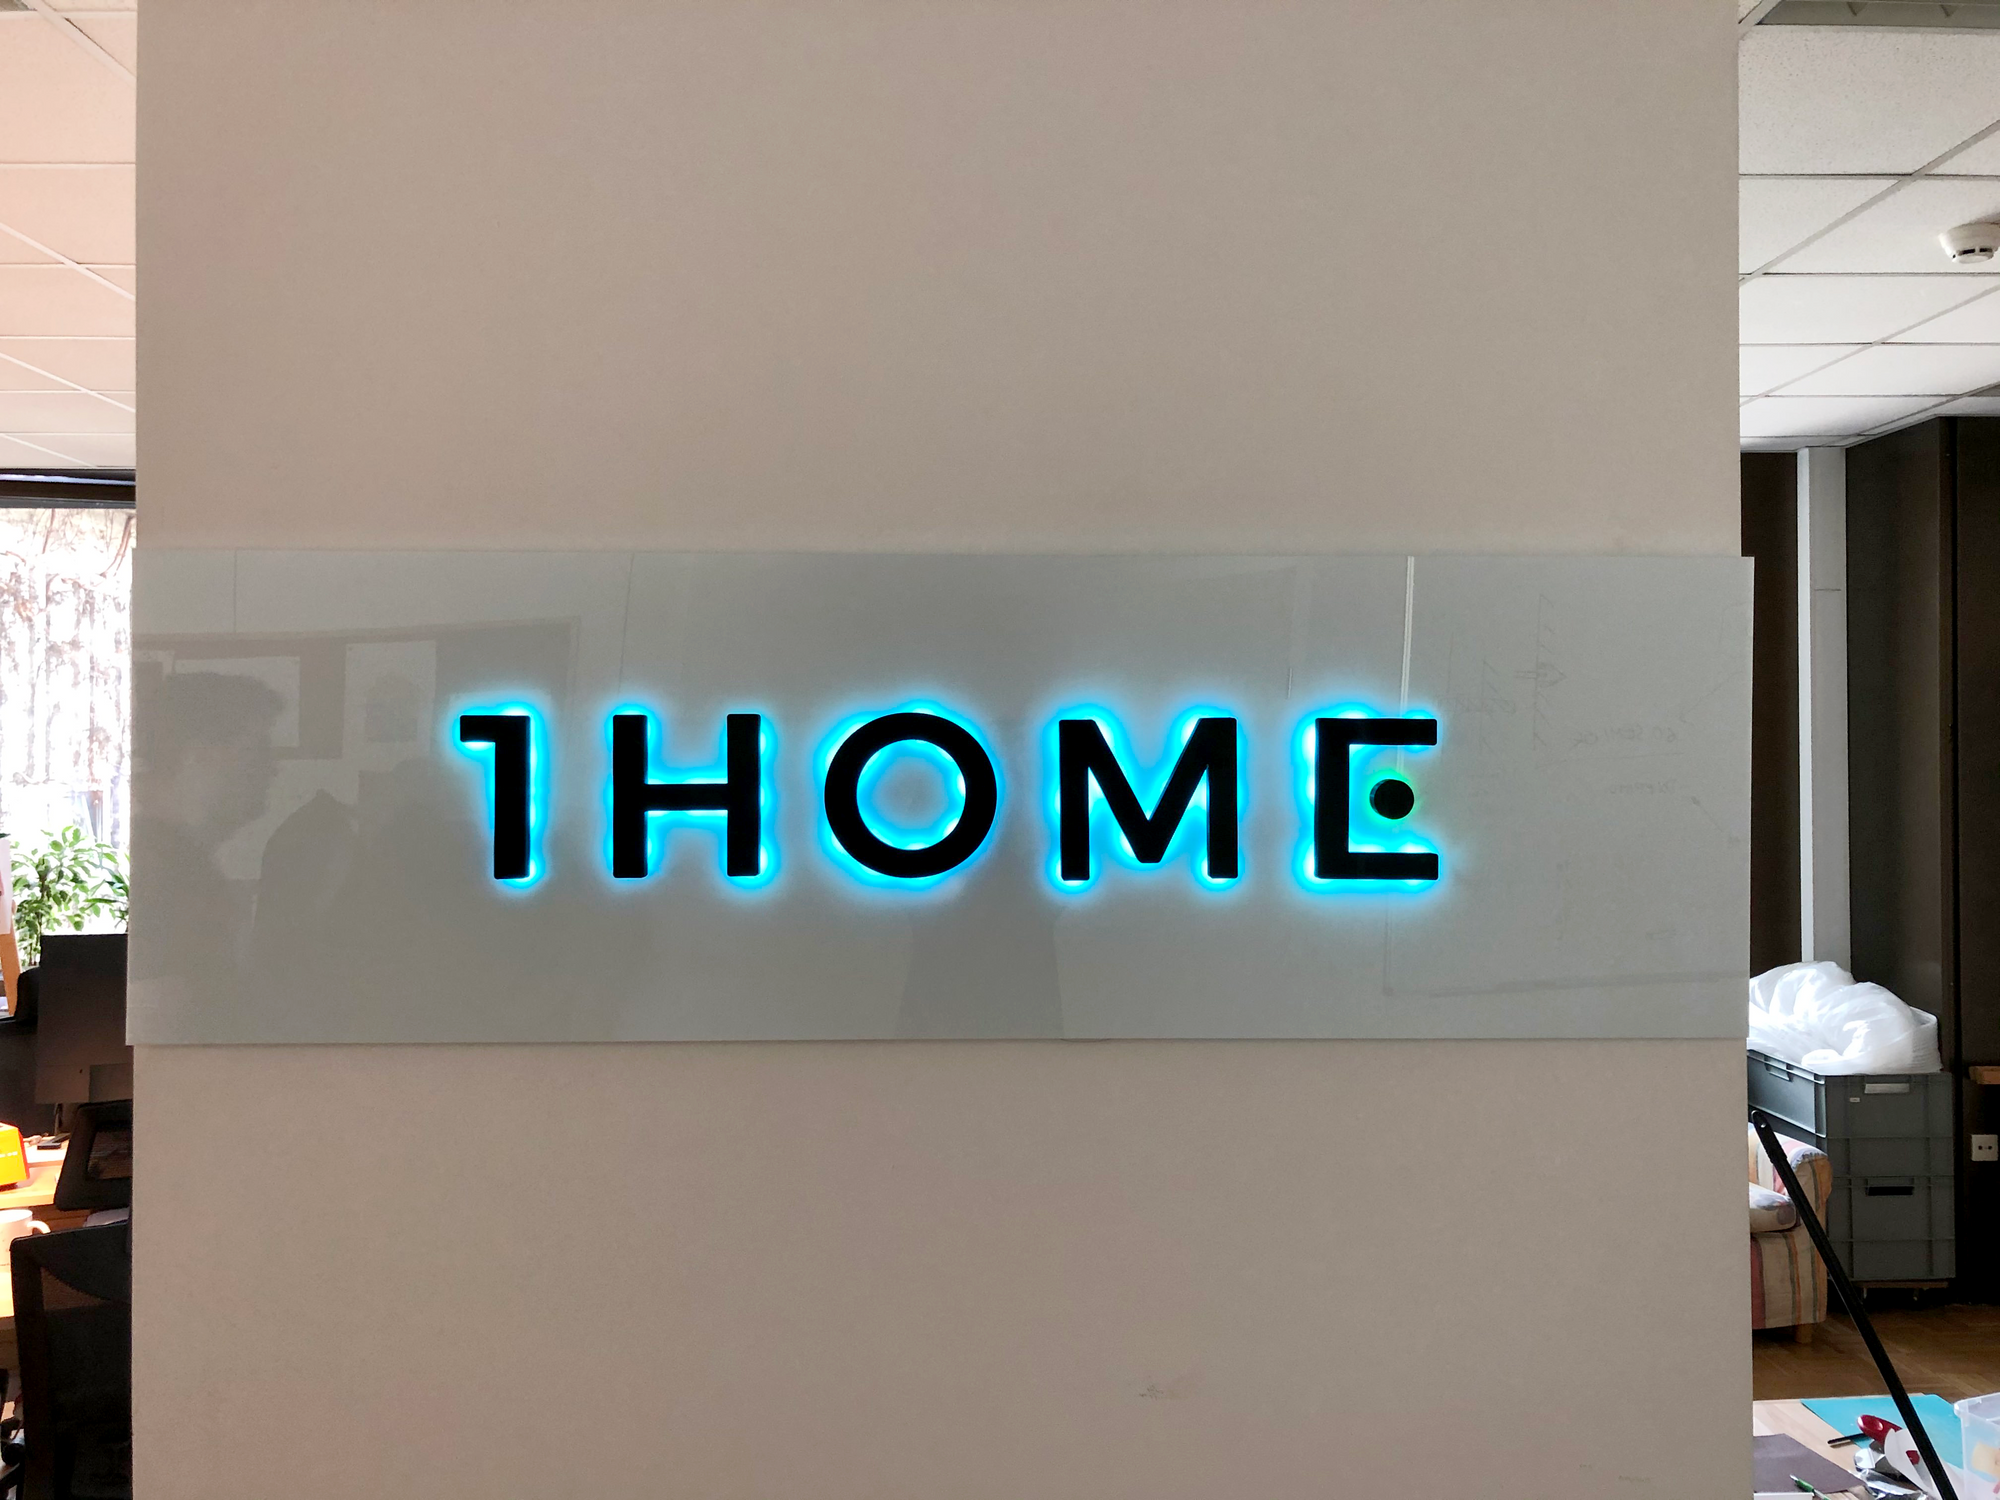
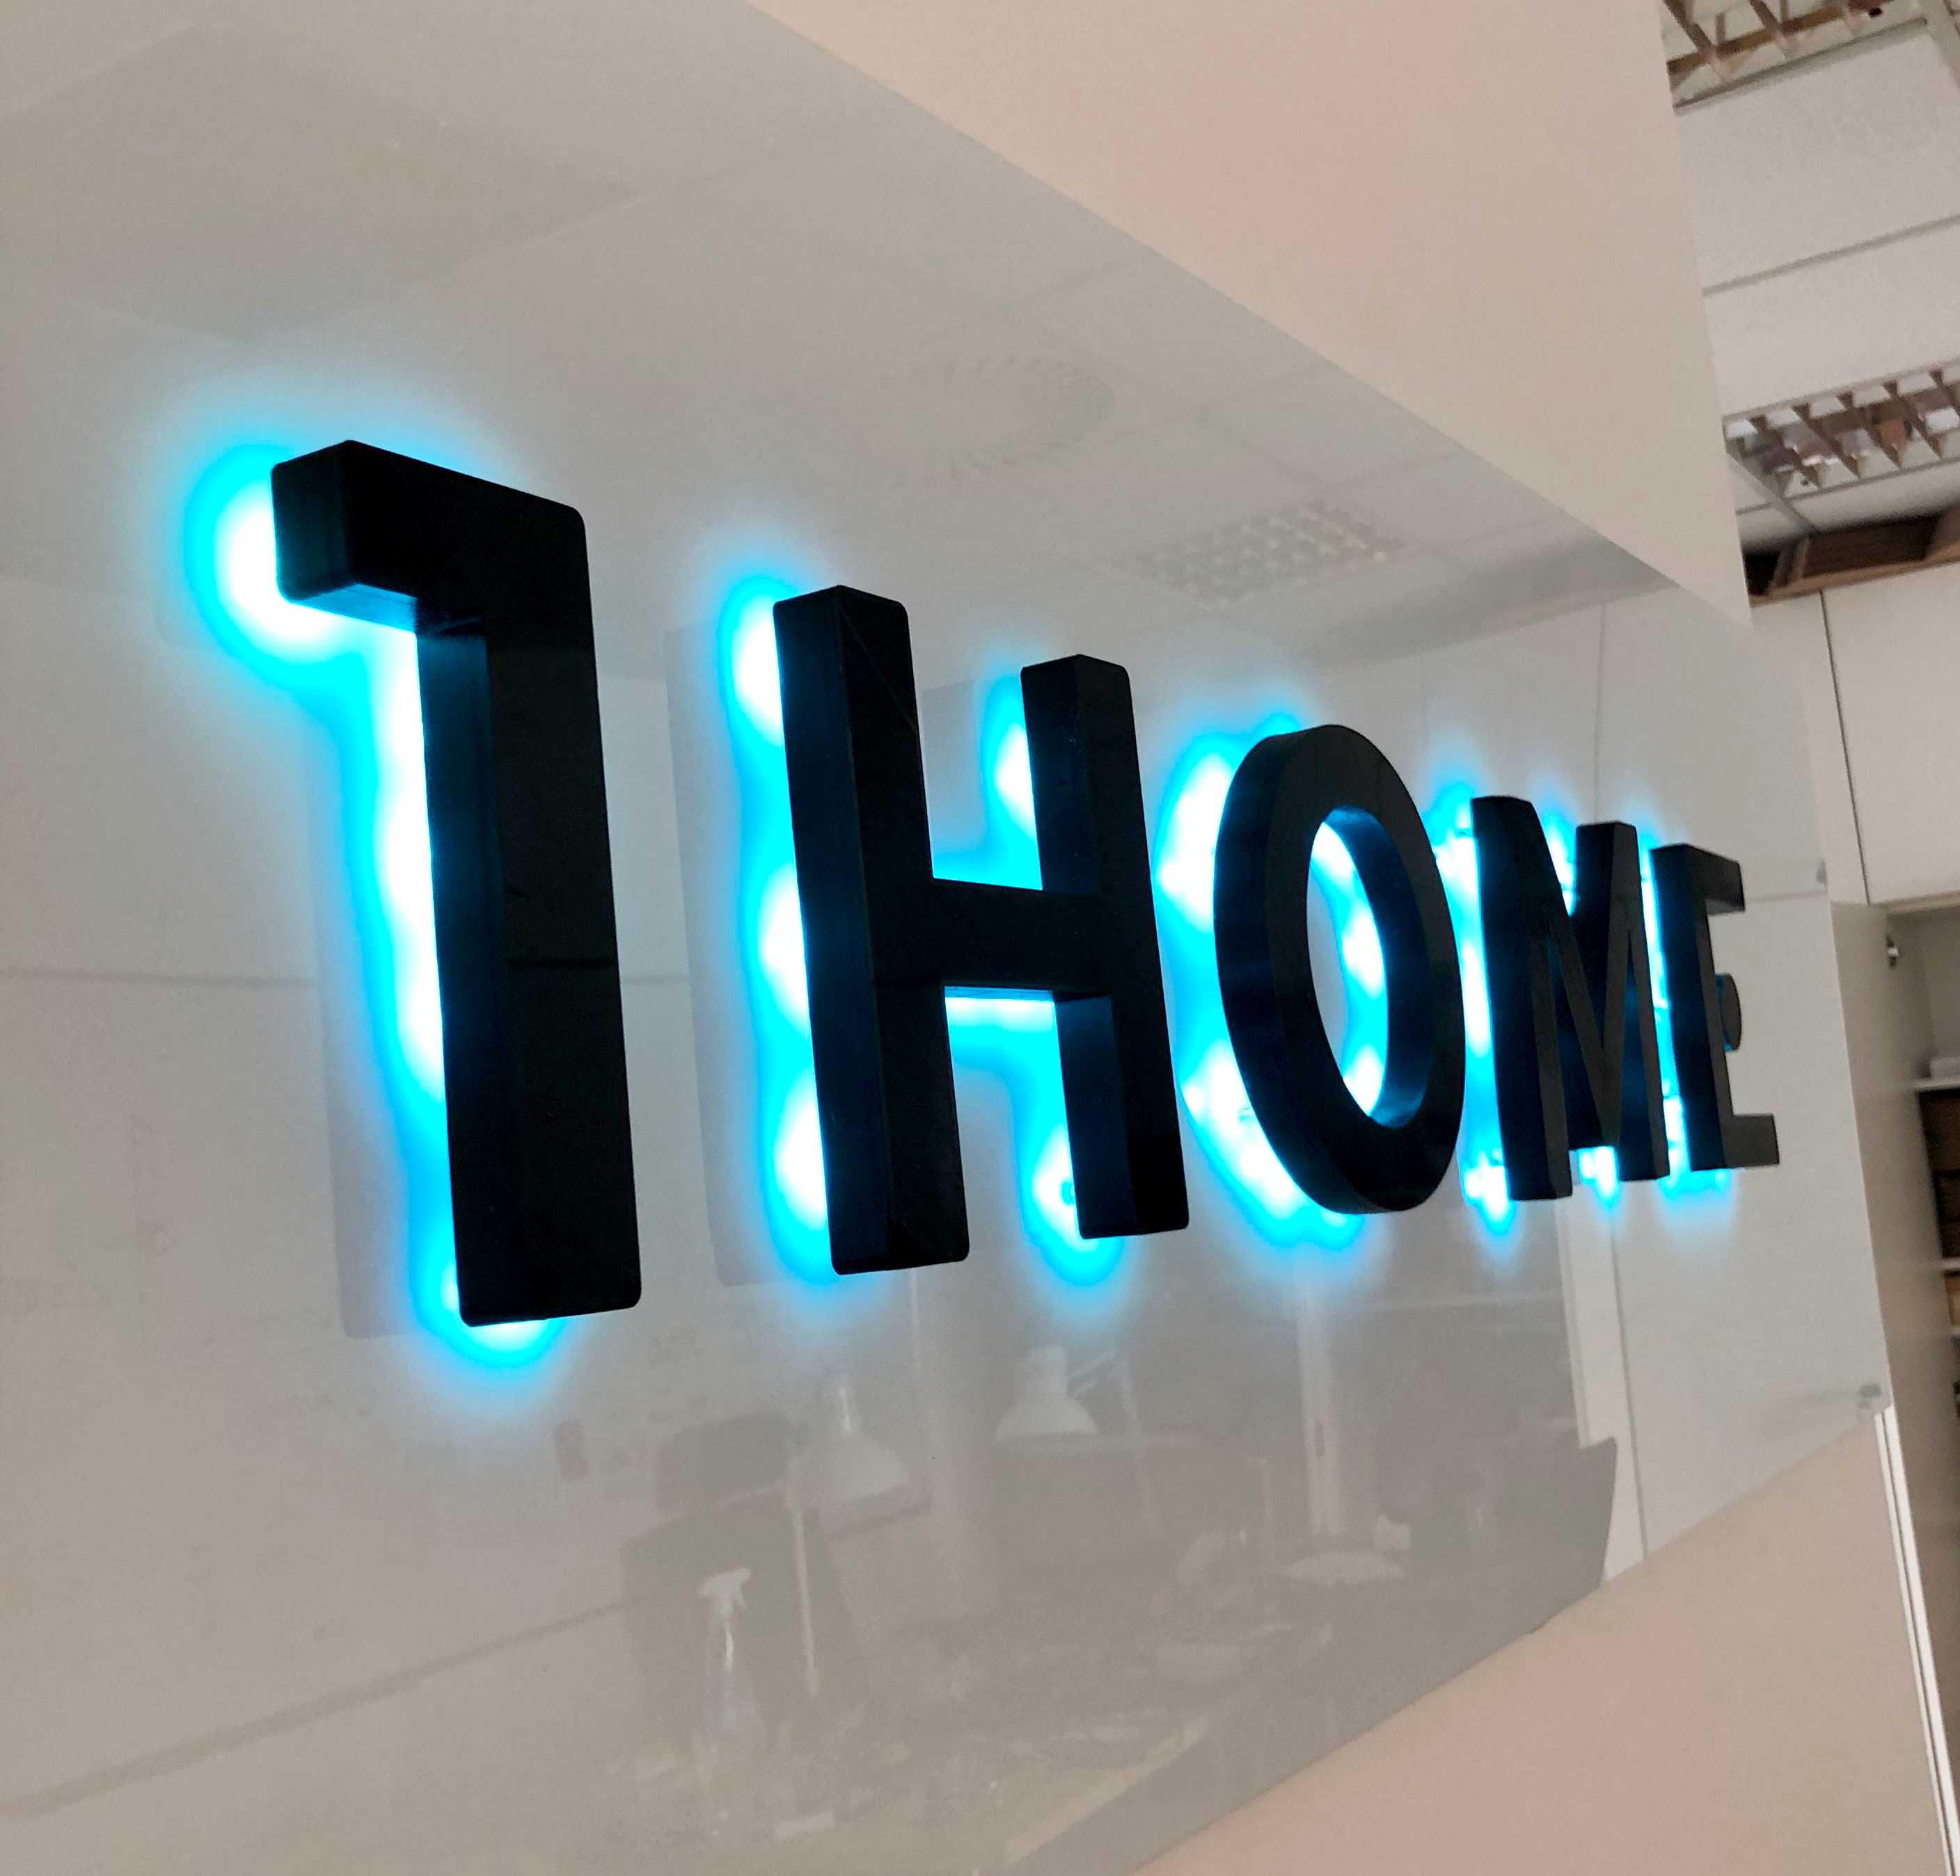
Instead of a voice controlled Christmas tree or festive lights that have been re-created a thousand times, we’ve decided to DIY something more exciting—we have made what is probably the only KNX LED office sign that you can operate with voice commands!
See how it works:
And honestly anyone can build a similar project, it’s simple and fun to DIY.
How to DIY a voice controlled KNX sign?
STEP 1
Have a group of smart home enthusiasts with a creative idea 💡
STEP 2
We have designed the look of the sign, created a schematic view of the wiring behind the letters and planned the setup of the smart home servers.
STEP 3
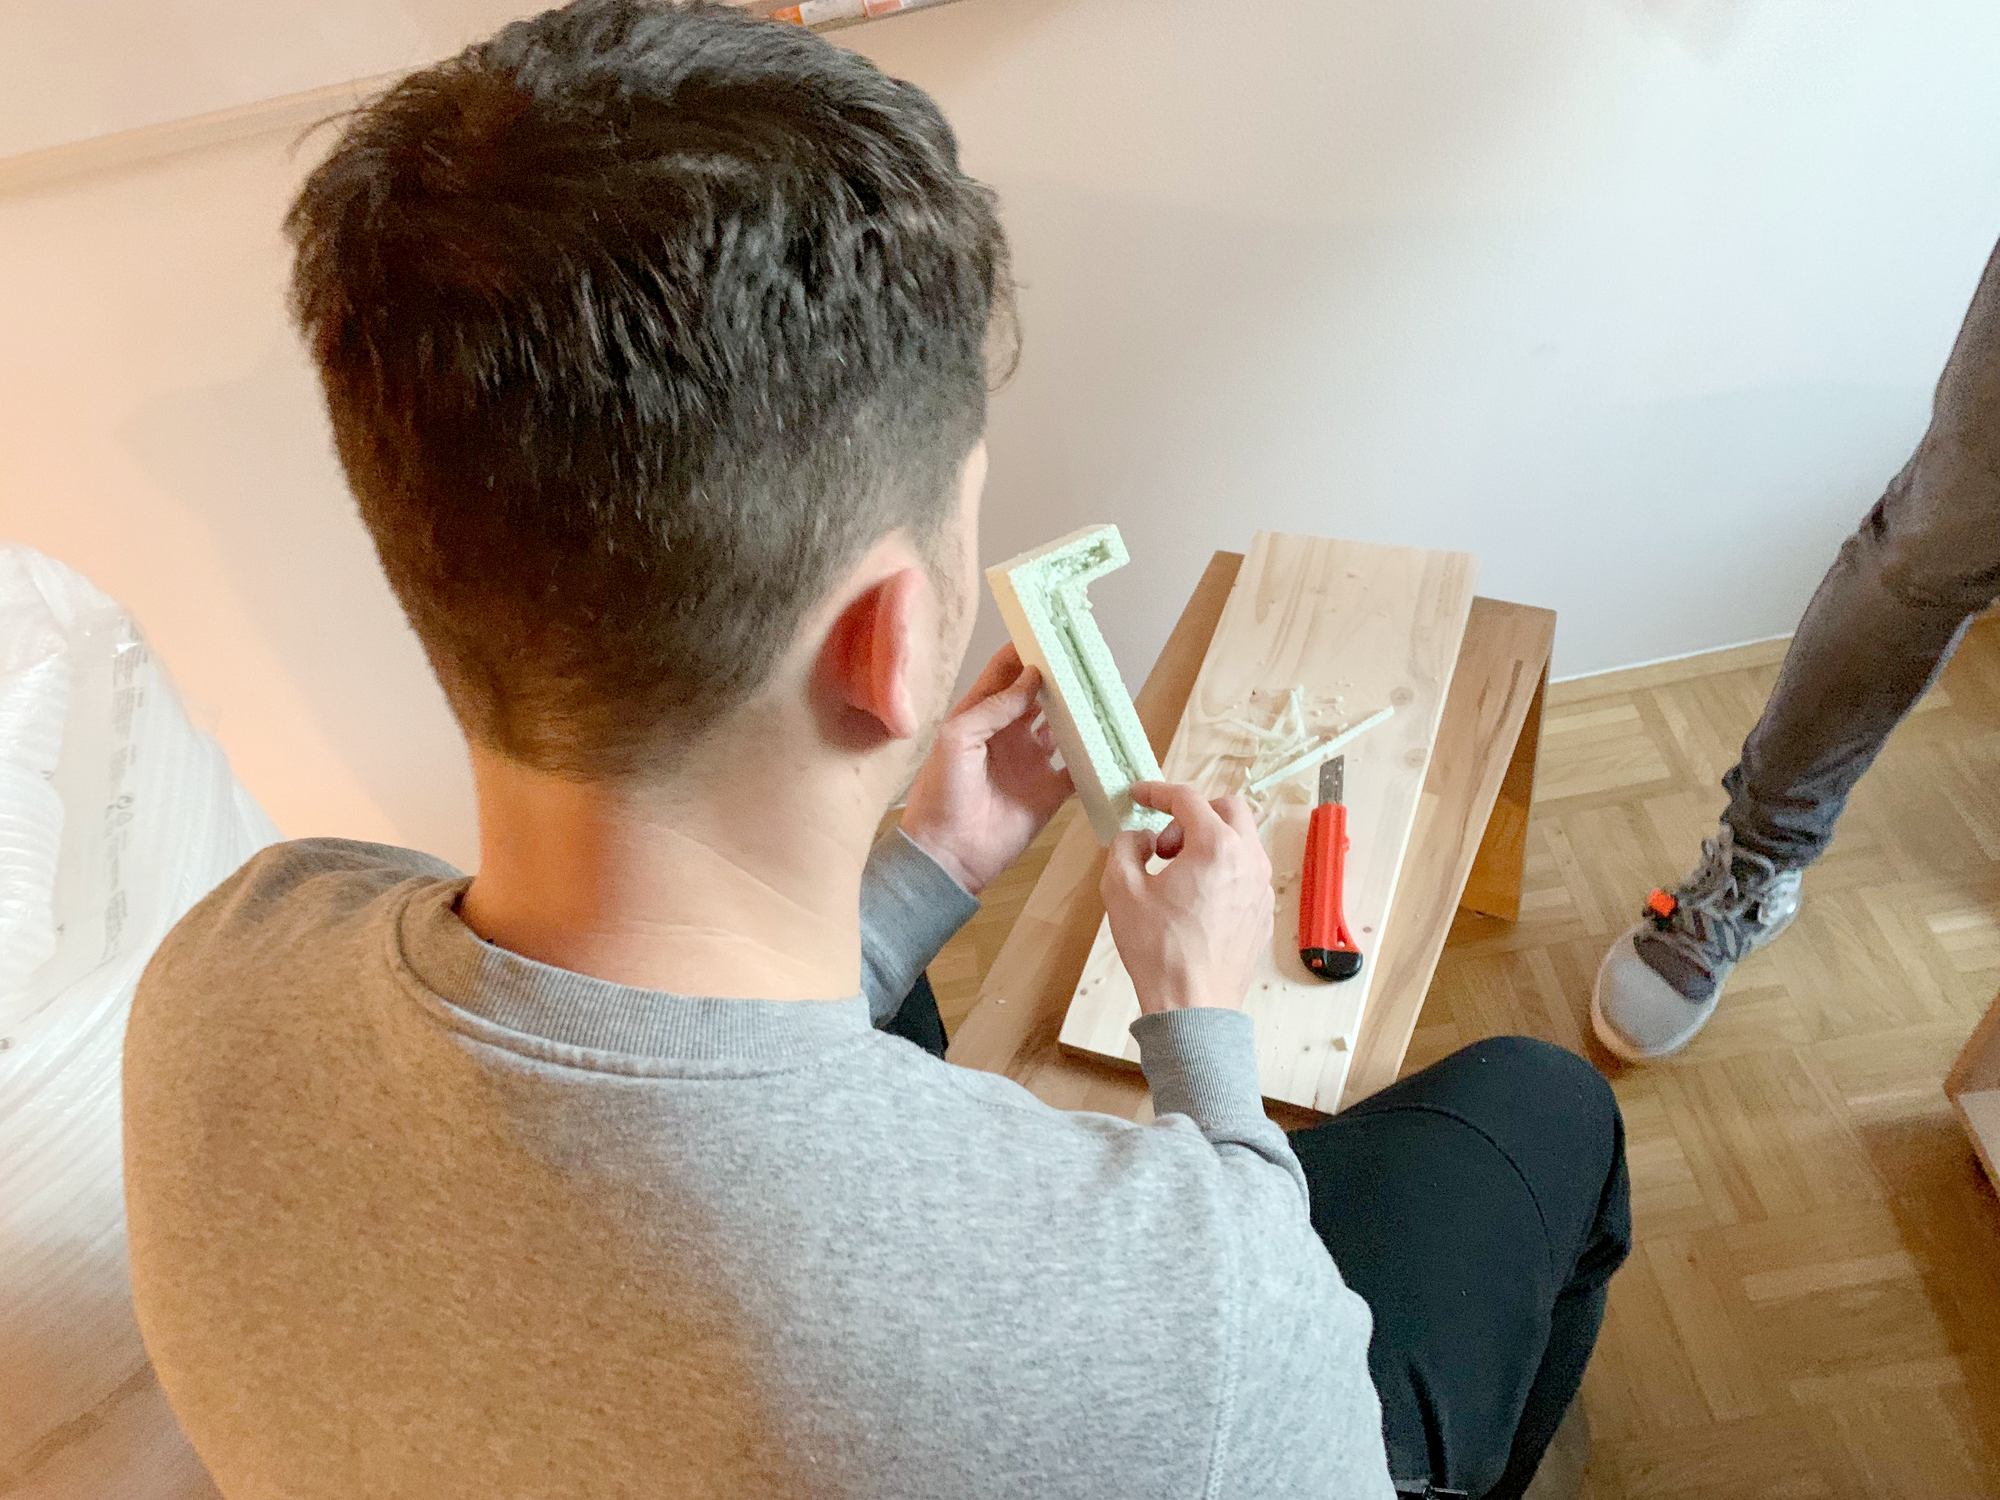
Then we have cut prototype lettering out of polystyrene, carved the tunnels for wiring, lights and stands for the screws into the letters.
STEP 4
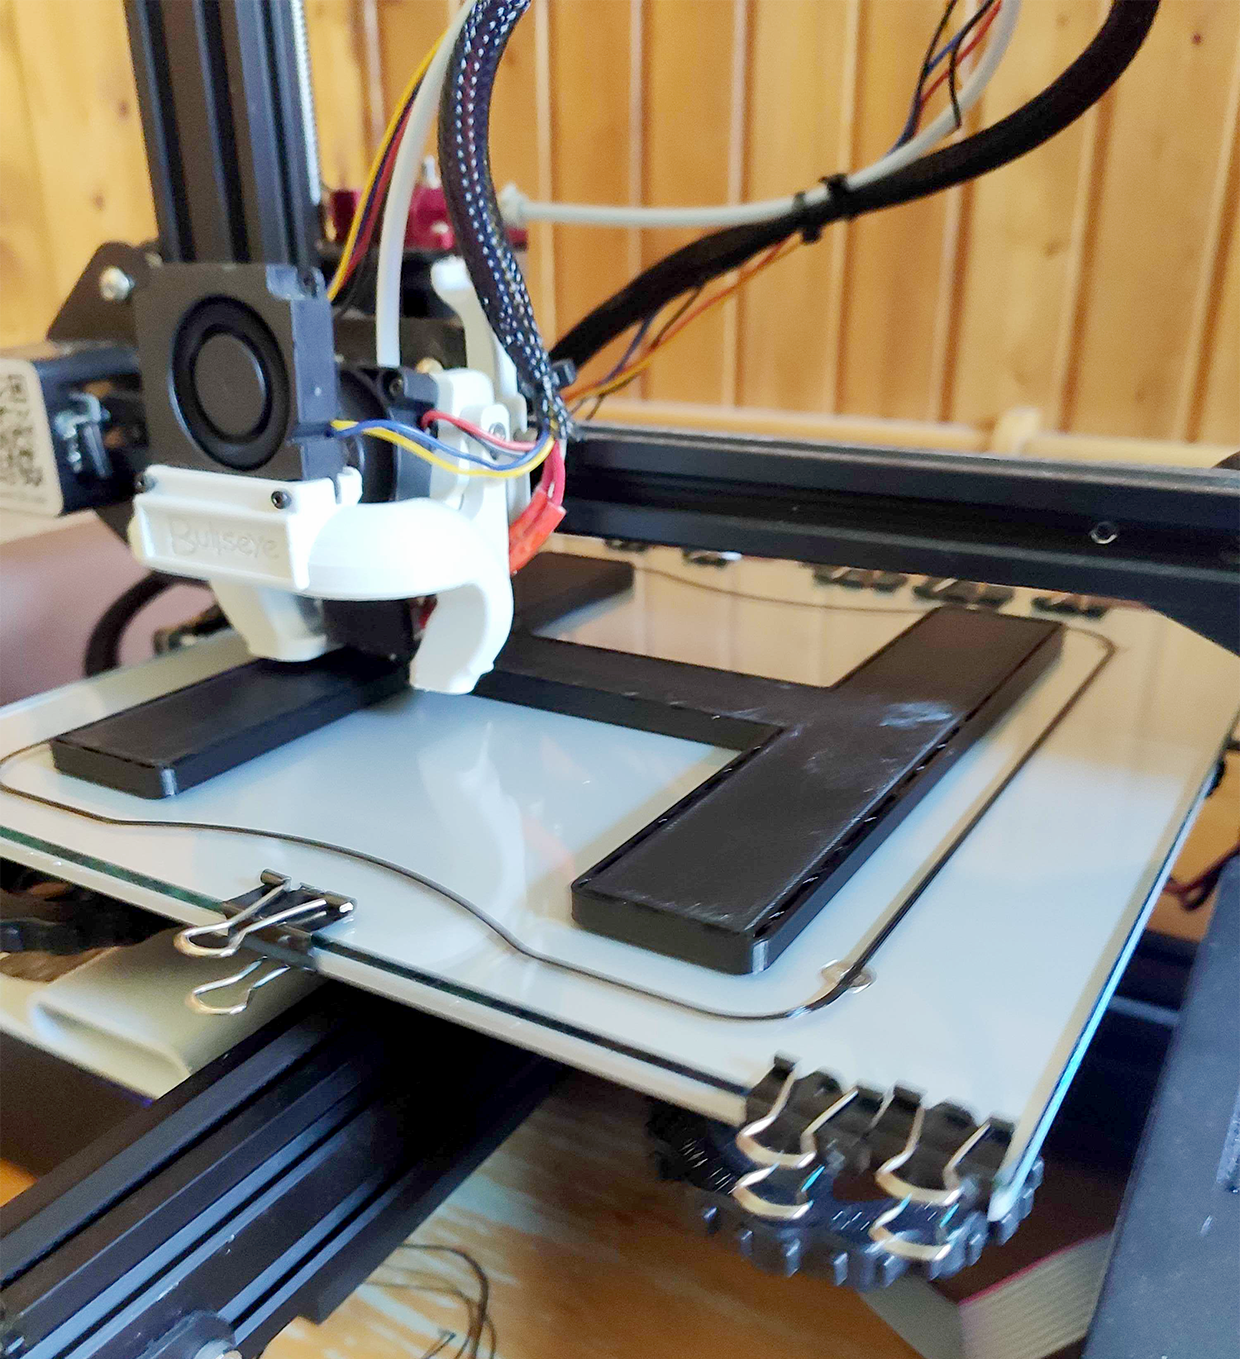
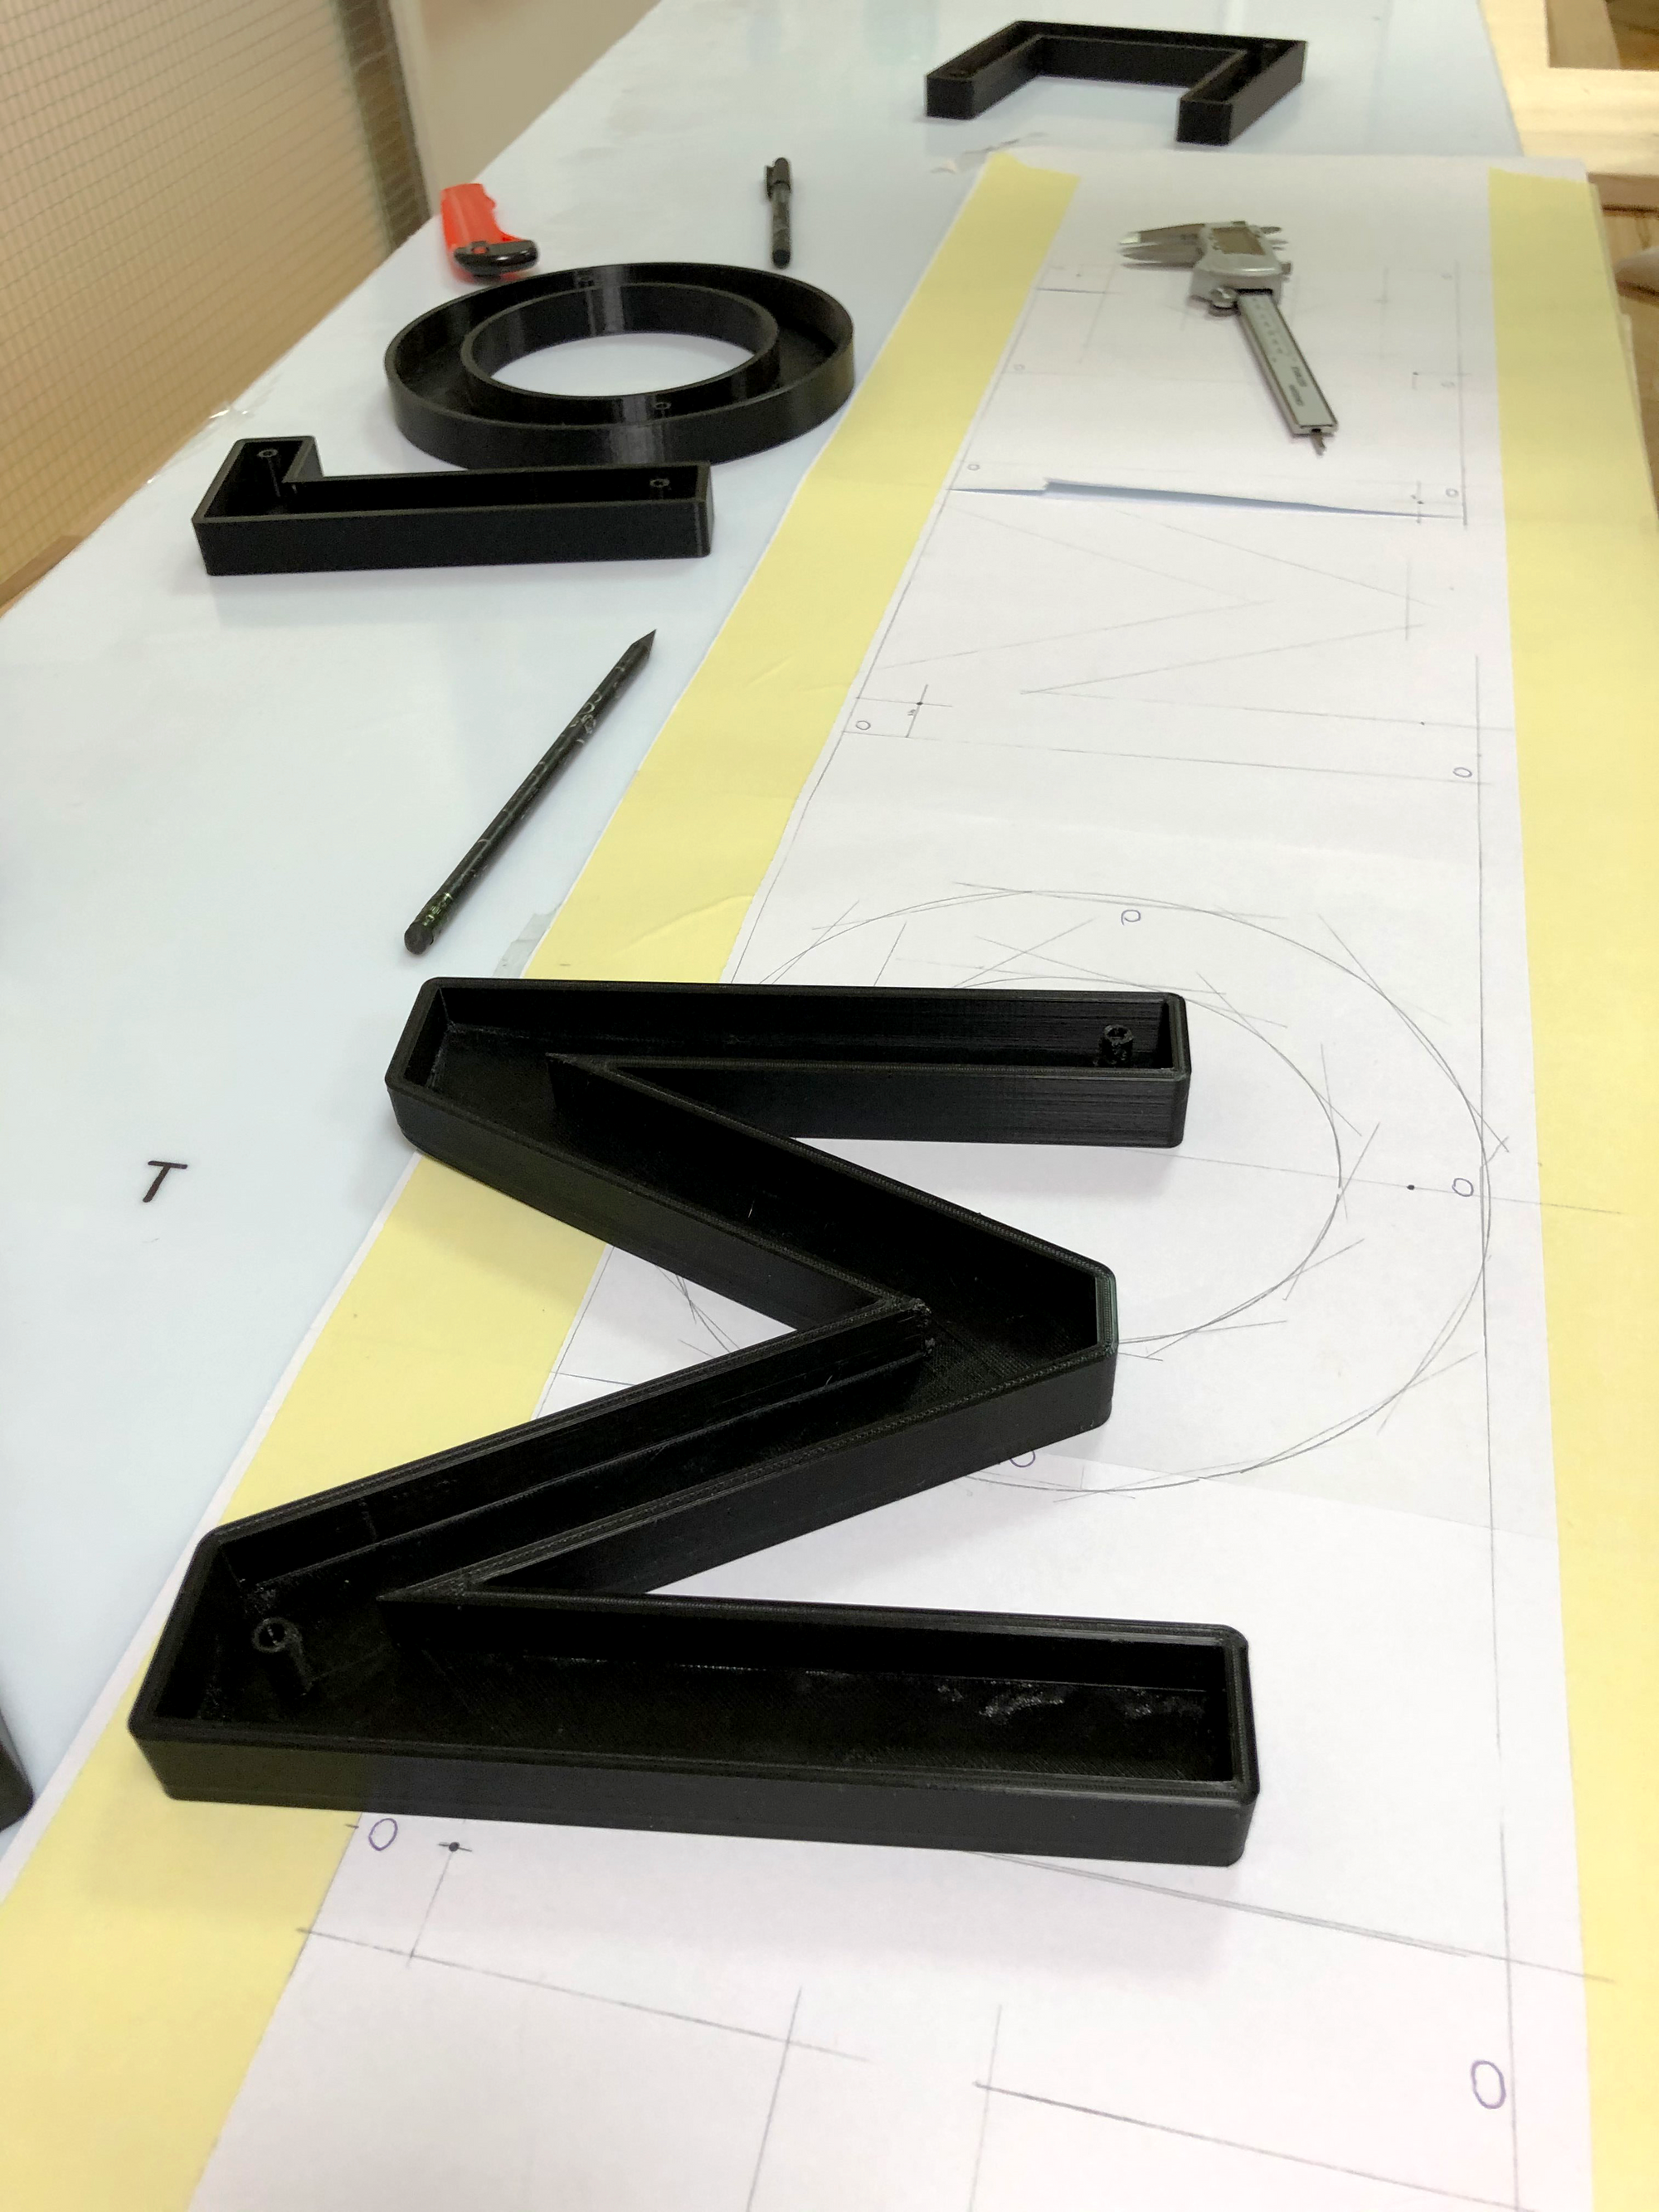
After prototyping with polystyrene, we designed 3D models and 3D printed all the letters out of PLA (Polylactic acid) plastic.
STEP 5
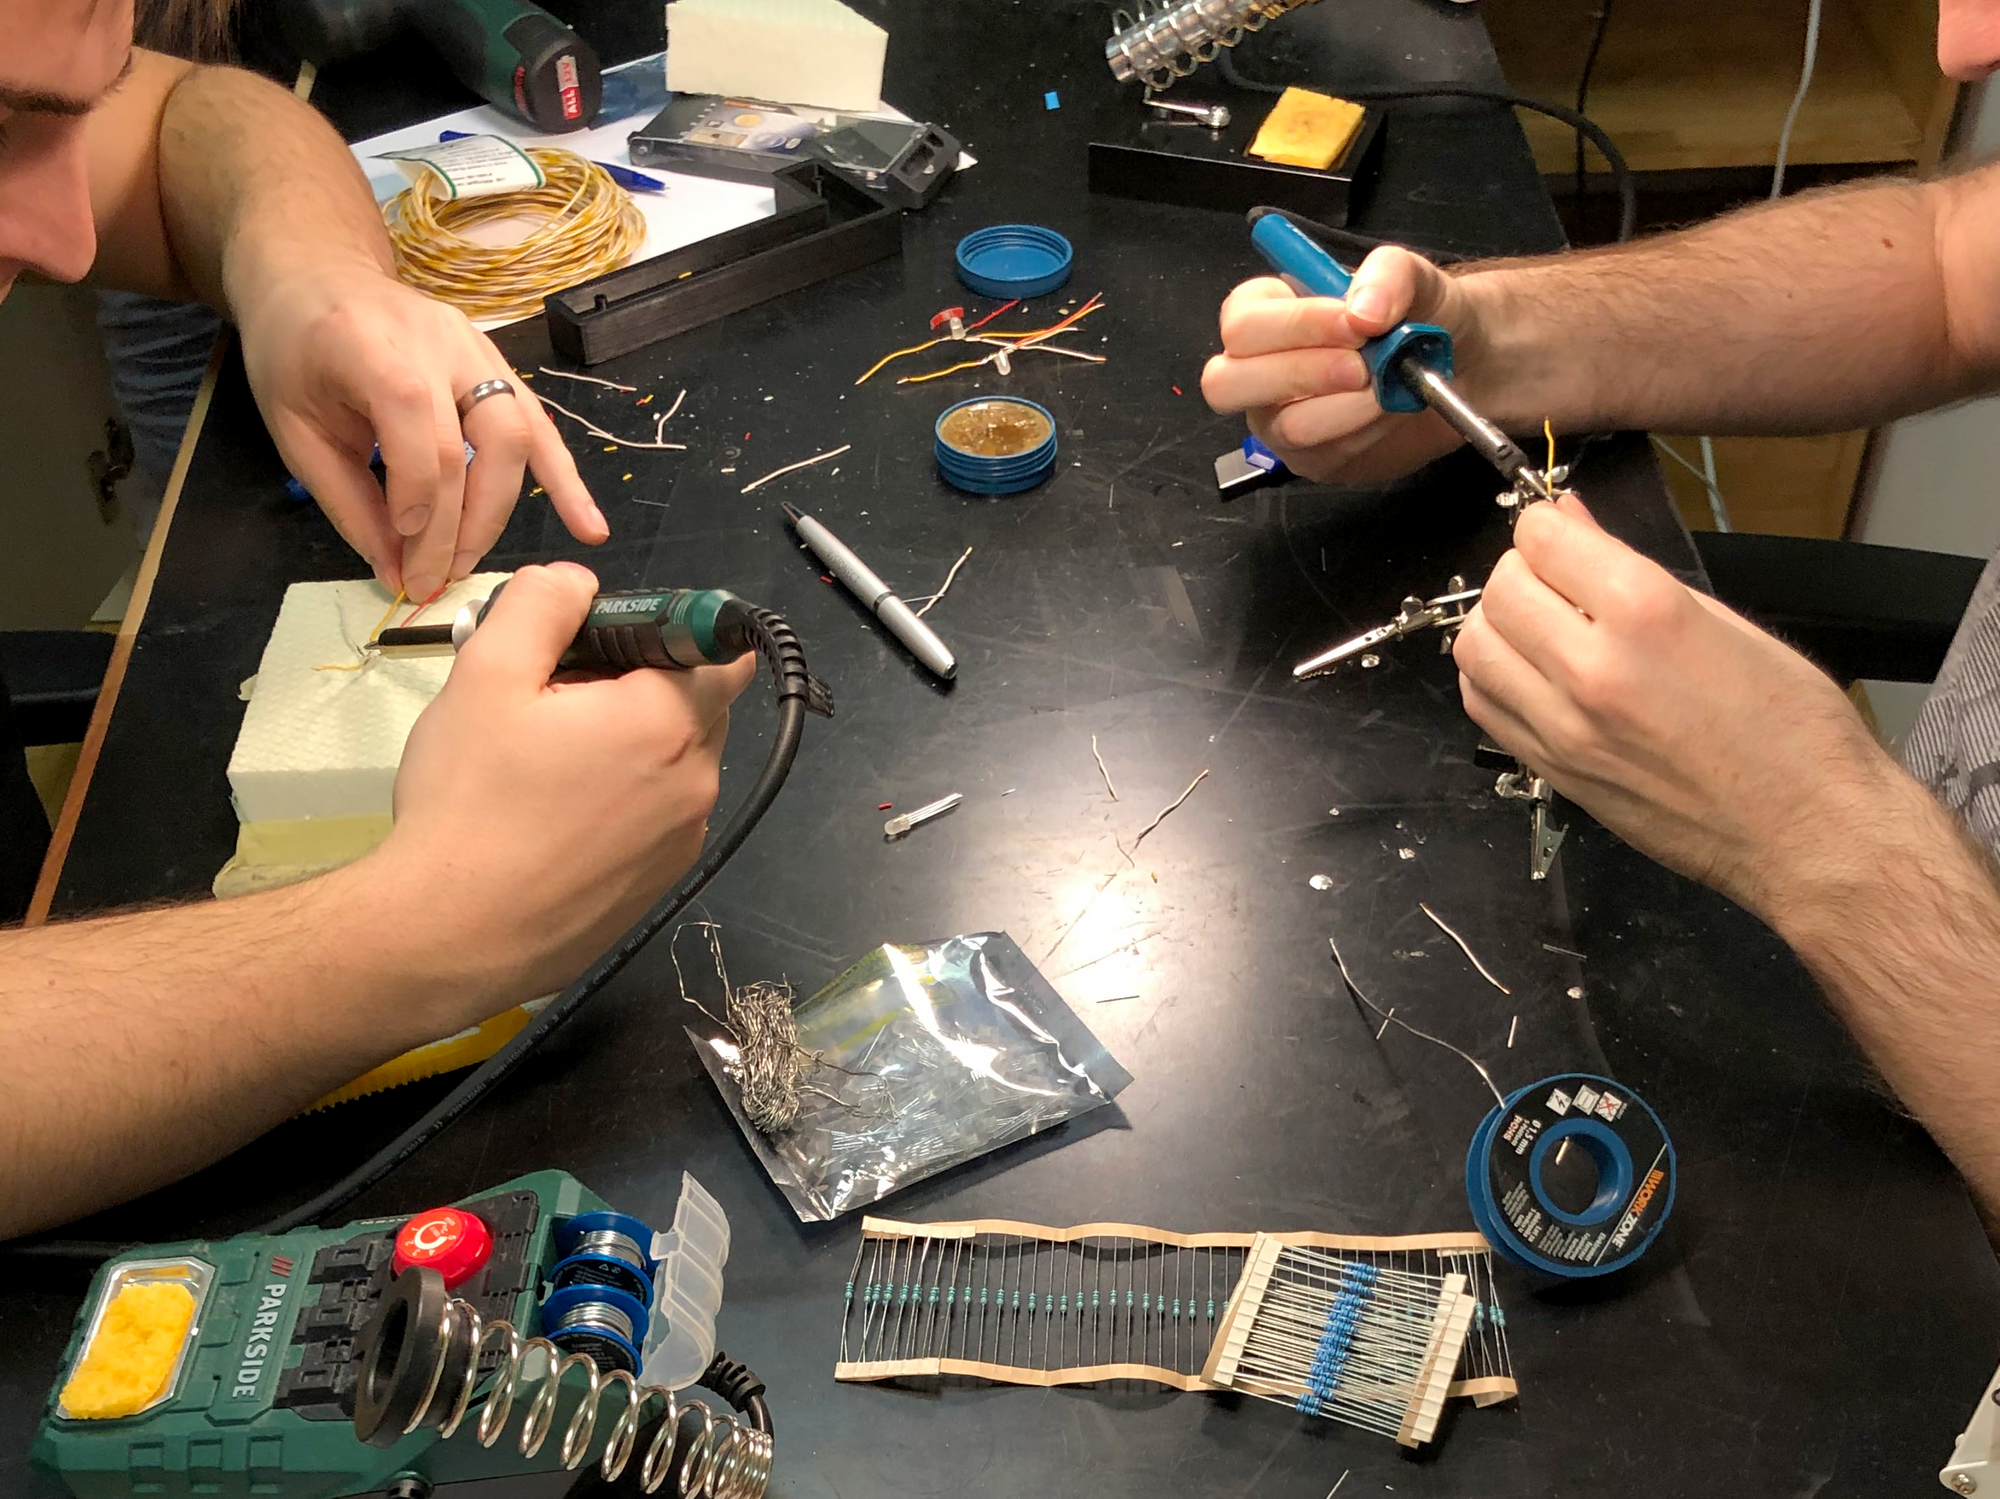
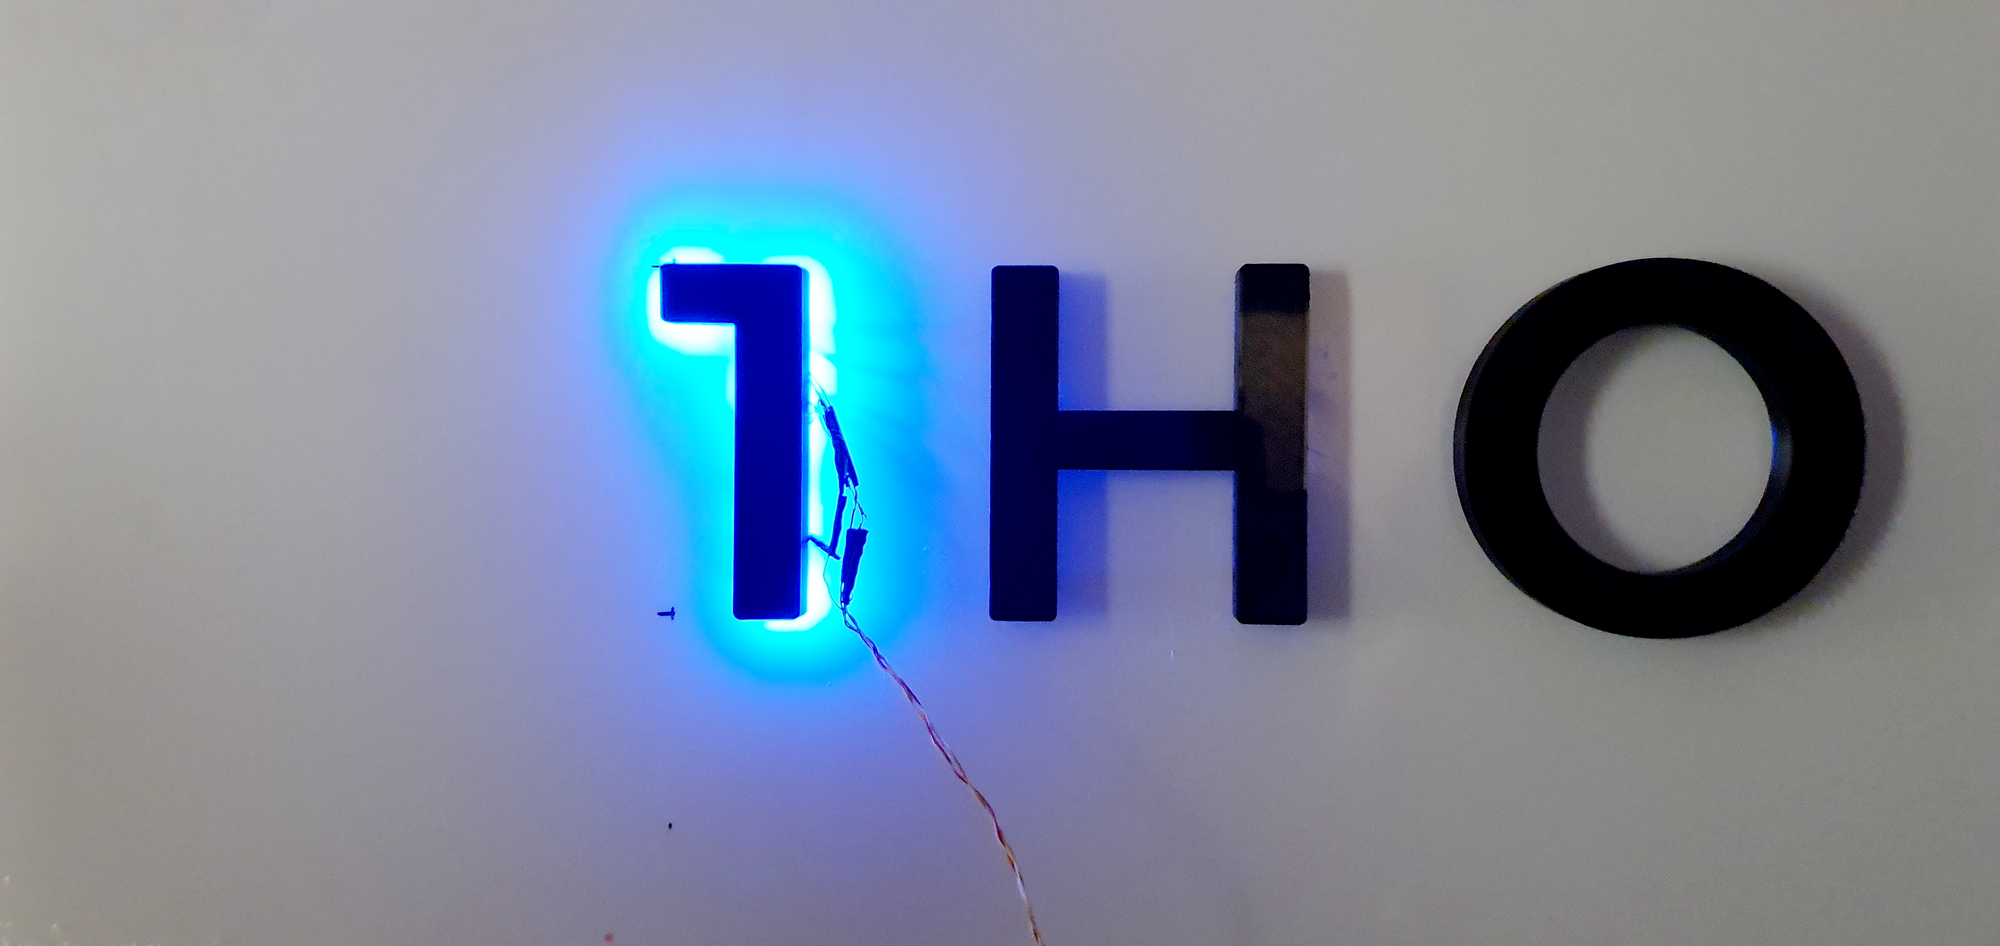
We have decided to use LED diodes that imitate the effect of a light strip and let us manipulate the shape of the letters better. We have connected the diodes while keeping in mind that they are spaced accordingly to ensure enough color for each letter, depending on the shape. With diodes we were also more flexible with adjusting the source of the light and the width of the letters. We used hot glue to stick the wiring to the letters and soldered the wires to the LED diodes.
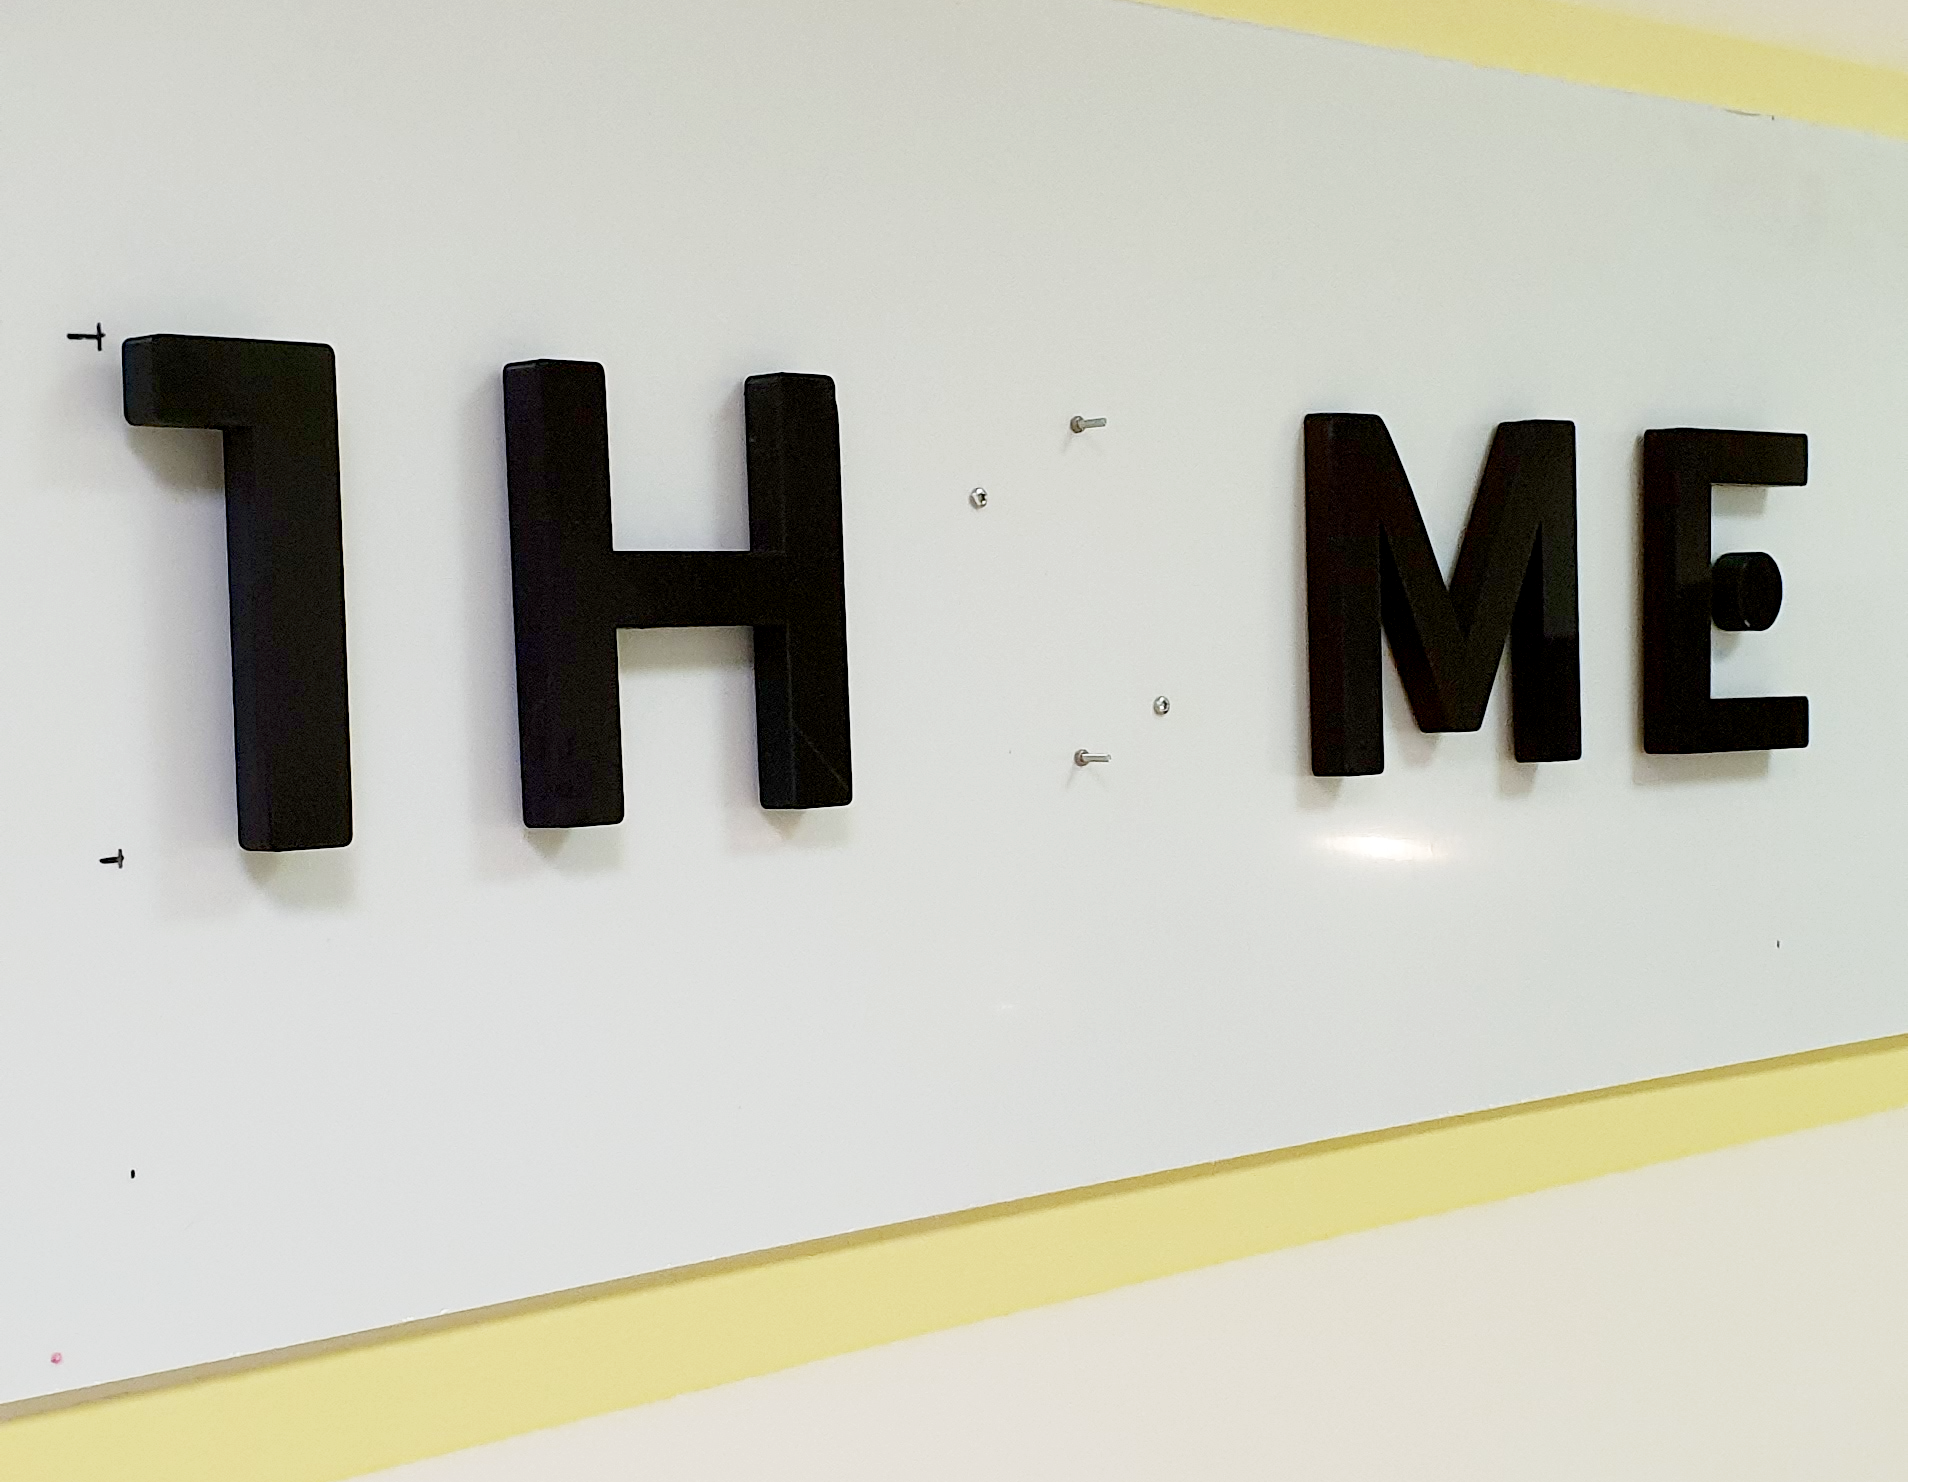
Then we attached the letters to the walls and connected each color of the letters to one cable that was laid to the other side of the wall, where the KNX installation is.
STEP 6
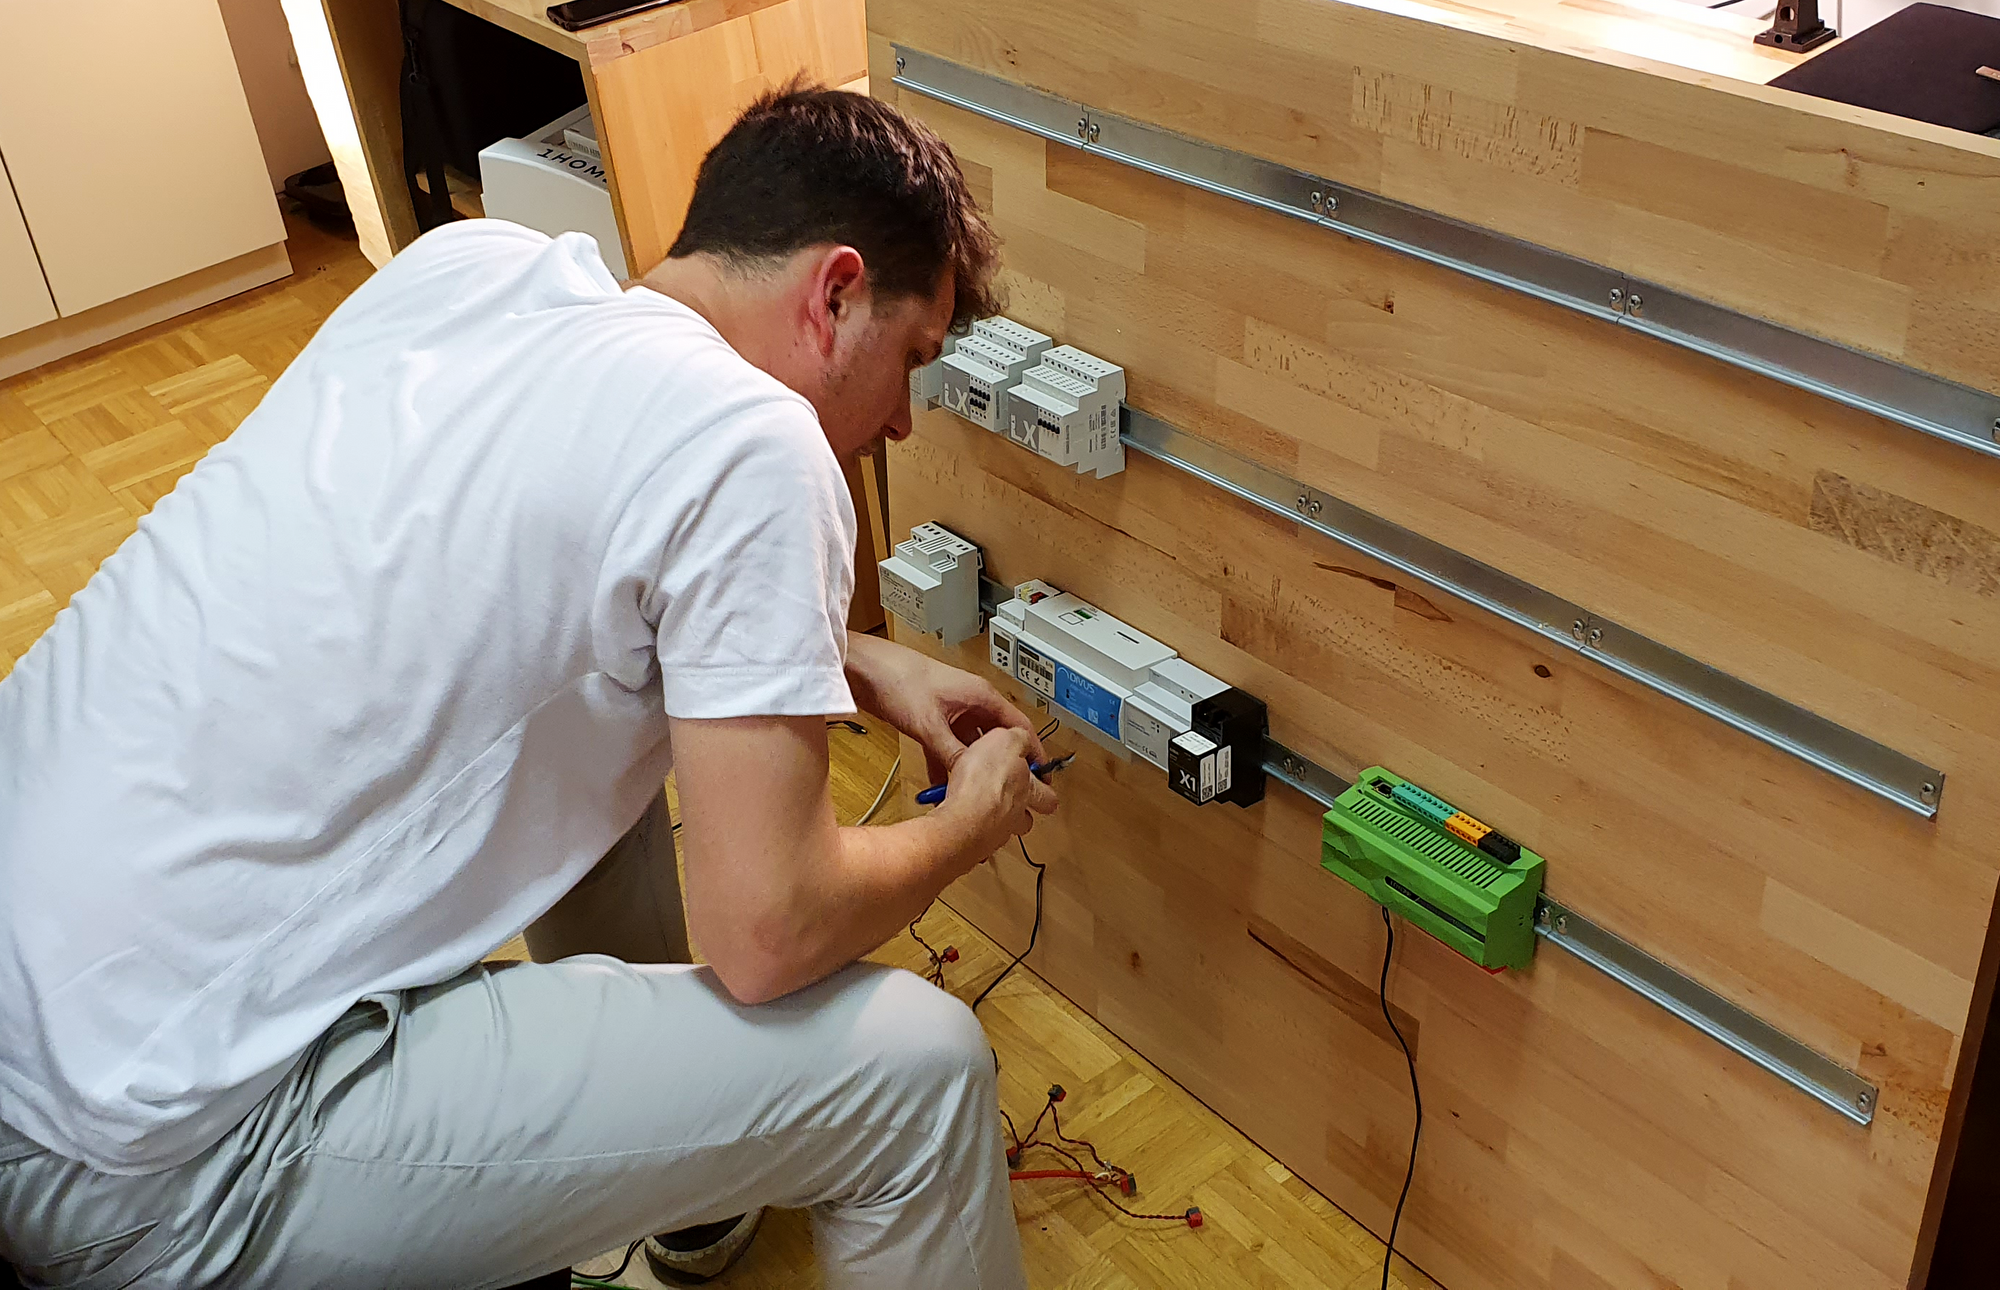
Then we’ve connected the wiring to the KNX installation, that included three smart home visualisations to present support for different kinds of smart home servers.
- Loxone
- Gira X1
- DIVUS KNX server
STEP 7
The next step was KNX programming. First we configured the MDT RGB controller. We assigned both 1 Byte RGB group addresses for controlling each color parameter separately and also a 3 Bytes group address for manipulating RGB and HSV value directly. When completed we moved the same parameterization into used visualization tools.
STEP 8 - the fun part!
We have connected the 1Home Box to ethernet and power, kept it in the same network as the smart home servers, and connected it via the 1Home Dashboard to all three popular voice assistants:
- Amazon Alexa
- Google Home
- Apple HomeKit
Then we got the LED lights imported through the 1Home Box to the assistant’s mobile app (we’ve chosen Amazon Alexa for testing purposes) and were instantly ready to be controlled with voice.
After that, we’ve created a custom Alexa routine (see How to create routines) that triggers the lights when we command:
“Alexa, start 1Home!"
Now it’s your turn, connect your Loxone, Gira, DIVUS or any other KNX smart homes to a voice assistant and control your home devices with voice, make the most of routines, organize devices into groups and change device names to shorter names that will be easier for you to remember and the assistant to understand.
Learn more about how to remember controls for an interface without a screen.
Your new all-in-one KNX / Loxone Server.
