1Home is the easiest way to integrate any popular voice assistant into your smart home. And you can do it all by yourself.
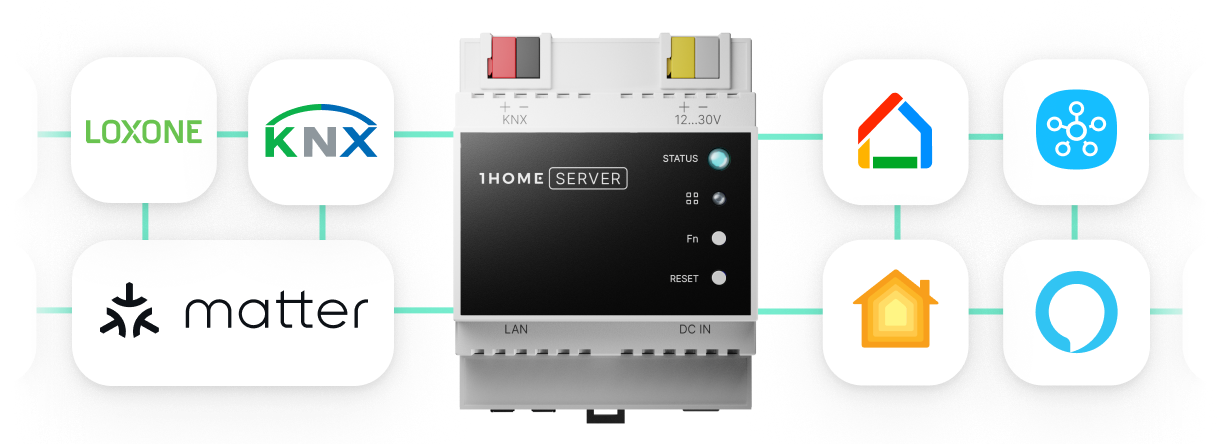
We let you integrate Apple HomeKit, Amazon Alexa and Google Home, and we’re compatible with any KNX system, Loxone, Gira HomeServer, Eisbär Scada, IPAS, Theben IP1 and a handful of other smart home producers.
This integration brings you: voice control, integration of wireless systems (IKEA Trådfri, Philips Hue, Sonos, …) geofencing, custom automations, visualisation and more!
Elevate your building automation system to the next level with a single extension and make your home more energy efficient and fun to live in!

1Home Bridge
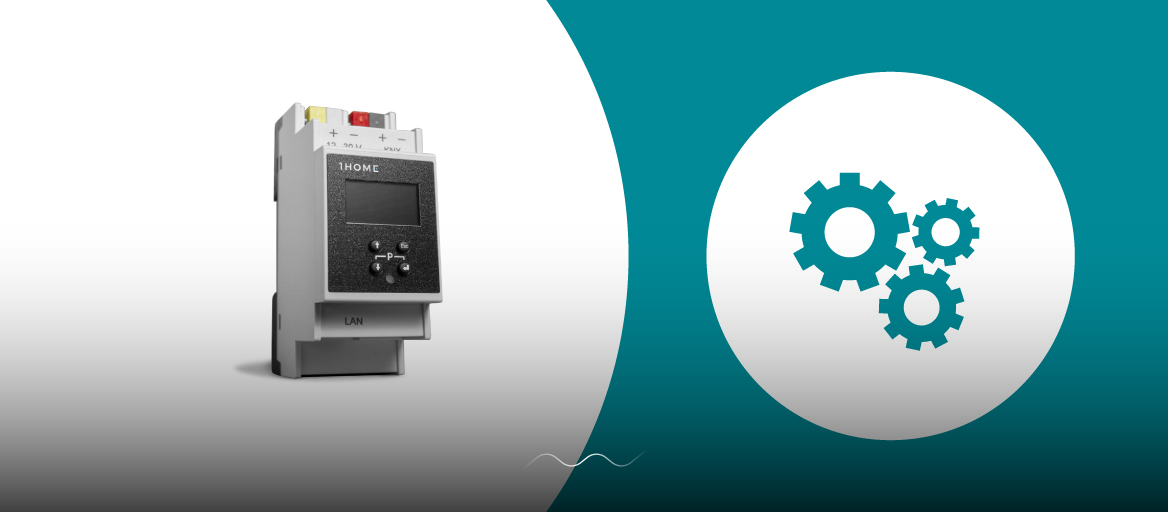
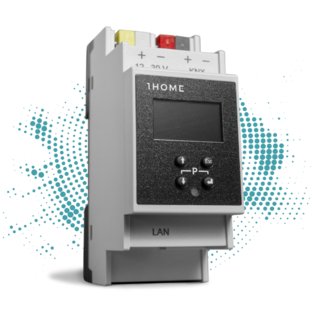
The 1Home Bridge is our newest product, launched this year, that is an upgrade from the 1Home Box due to the way it’s made. The Bridge is based on a Weinzierl IP BAOS 777 KNX product and is both Apple HomeKit and KNX certified.
After plugging in, the 1Home Bridge will automatically read your configuration from your ETS project file, Loxone Miniserver or Gira Homeserver and import them. This saves you a lot of time and nerves by eliminating the manual input of the group addresses of the devices.
All this is enabled by our automatic device detection algorithm that both the Bridge and Box are equipped with. It uses artificial intelligence based on tens of thousands of smart home configurations and does this work for you. The whole configuration can also be done remotely and is regularly done so by our partner system integrators.

The 1Home Bridge can be installed in two different ways, via a KNX IP Interface or directly on the KNX bus.
There are certain benefits to connecting directly to the KNX bus via the KNX TP (twisted pairs) cable:
- Faster command execution and querying.
- More stable control system (the tunnels can’t fill up as we’ve noticed with other IP Interfaces).
- More resistant (if your KNX IP Interface crashes we can’t detect that and recover the configuration, while with the Bridge’s own IP Interface, we can).
- If you don’t already have a KNX IP Interface the Bridge provides a great KNX technology upgrade as it allows you or your installer to program ETS with it.

Let’s present the two connection methods of the 1Home Bridge:
1. Via a KNX IP Interface
The first one is via a separate KNX IP Interface, Gira HomeServer, or Loxone Miniserver. This option is ideal for retrofit and couldn’t be simpler since the device doesn’t need to be connected directly to the KNX bus and is instead a simple plug & play that any customer can do themselves. This allows for a seamless retrofit to an existing smart home infrastructure, be it in commercial or residential buildings.

The setup is literally just plugging two cables, ethernet cable and a PoE (Power over Ethernet) adapter that we provide with your order. Plugging the ethernet and PoE is also the way the 1Home Box connects to your smart home. Both the Bridge and the Box can be shipped to the customer and remotely configured by their installer, so there is no on-site visit required. The customer can easily install the device themselves via the PoE and keep it in the cabinet next to their router.
2. Direct KNX connection
But what makes the 1Home Bridge KNX solution stand out is the second way to connect - the direct KNX bus connection, which is ideal for new installations.
The 1Home Bridge should be DIN rail mounted into your electrical cabinet and connected to a KNX bus cable via KNX module on the device and to an external 12-30 V DC power supply. This means that you (or your installer) should connect it to the KNX bus either with a PoE cable and the red-black KNX TP cable, or without the PoE, using only ethernet cable and the red-black KNX cable with yellow-white charging cable.

Since the Bridge is based on the Weinzierl IP BAOS 777 with integrated web server, it can also act as a stand-alone KNX IP (KNXnet/IP) Interface and lets you program ETS. You can then assign the physical KNX address, set up BAOS username/password and enable/disable various services using ETS. This step is optional and the device also functions using the default settings on the default Individual address 15.15.255.
Read more on the difference between a KNX IP Router and a KNX IP Interface HERE.
If you have any questions regarding your 1Home Bridge, our expert support team (support@1home.io) is always happy to answer them and provide you with new tips to utilize your KNX smart home to its full potential.
Learn more on KNX domotica:
- KNX IP Router: Connecting wired and wireless
- 1Home Bridge: user videos
- Top 8 KNX visualisation servers for building control
- Living in a KNX-Apple HomeKit home
- KNX and Apple are redefining ‘smart’ in a smart home
- Use Apple Watch to control your home
- Loxone or KNX: Which smart home technology is for you?
Your new all-in-one KNX / Loxone Server.

